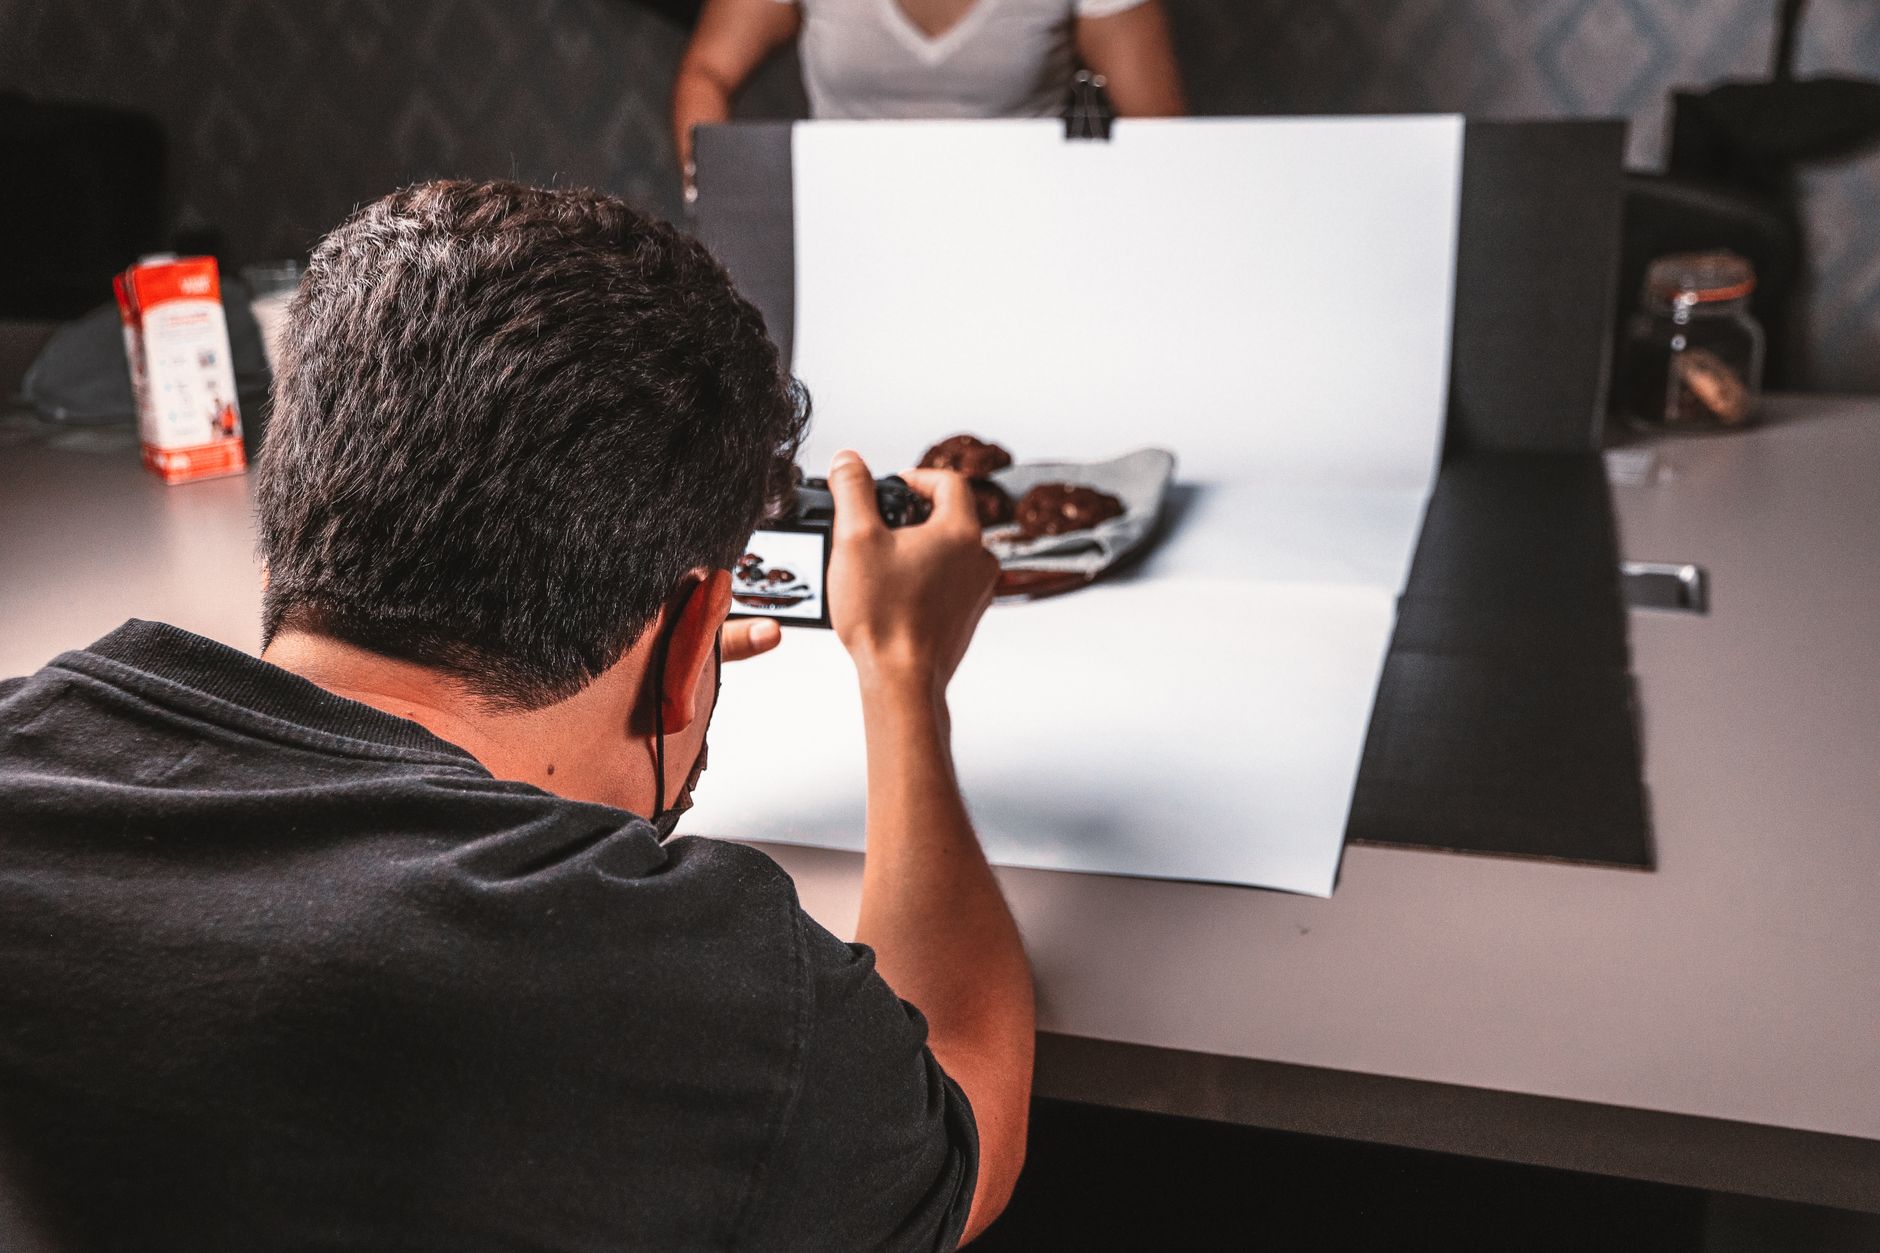
Ever dreamed of capturing that incredible, hidden culinary gem before the world discovers it? This guide will transform your food photography, teaching you how to spot, shoot, and share those mouth-watering dishes like a seasoned pro, long before they hit the mainstream. Get ready to make your followers drool and your travel memories unforgettable. ---
The Thrill of the First Bite (and First Shot!): Hunting Culinary Unicorns
I still remember the first time I truly felt it – that electrifying rush of discovery. It was a scorching afternoon in Marrakech, deep within the labyrinthine souks. My travel buddy and I, famished and a little lost, stumbled upon a tiny, unassuming stall. No fancy signage, just a weathered wooden cart and an old man with kind eyes meticulously grilling skewers of what looked like... well, I wasn't entirely sure. But the aroma! It was a symphony of spices, smoke, and something undeniably Moroccan.
I pulled out my phone, half-expecting a mediocre shot in the harsh midday sun, but as the old man handed me a plate piled high with tender, perfectly charred chicken brochettes and a side of homemade harissa, I knew this wasn't just lunch. This was an experience, a moment, a story waiting to be told. And I wanted to capture it, not just for my memories, but to share its authentic, unpretentious beauty with the world – before the travel guides caught wind, before the queues stretched down the alley, before it became "mainstream."
That day, I learned that the true art of food photography, especially for us intrepid travelers, isn't just about technical skill. It's about the hunt, the discovery, the respect for local culture, and the ability to immortalize those fleeting, delicious moments that most people walk right past. So, if you're ready to elevate your food game from amateur snaps to drool-worthy masterpieces, and capture those hidden culinary unicorns before they gallop into the spotlight, you've come to the right place. Let's dive in!
Decoding Delicious: How to Spot Your Next Viral Dish (Before It's Viral)
Before you can photograph food like a pro, you need to find the food. And not just any food – the kind that whispers tales of tradition, passion, and local flavor. The "before mainstream" philosophy begins here.
Forget the tourist traps and the Instagram-famous cafes (for now). Your mission, should you choose to accept it, is to go local. How?
- Ask the Locals (Seriously!): This is my #1 tip. Strike up conversations. Your hotel receptionist, that friendly barista, the taxi driver, the shop owner whose trinkets you admire – they all have their secret spots. In Lisbon, a kind elderly woman at a padaria pointed me towards a tiny, unmarked tasca serving the most divine bifana (pork sandwich) I’d ever tasted, for just €3. It wasn't on any blog, but the line of locals out the door confirmed its legendary status.
- Wander with a Purpose (or Without): Sometimes, the best discoveries are accidental. Ditch the map for an hour. Follow your nose. See a cluster of locals queuing for something? Join them! In Hanoi, I once found an incredible Bún chả stall down a narrow alley simply by following the enticing smell of grilled pork and watching where the motorbikes stopped.
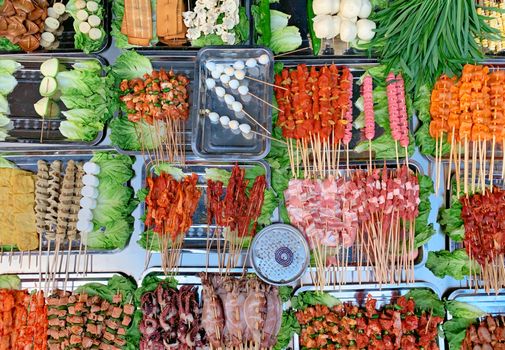
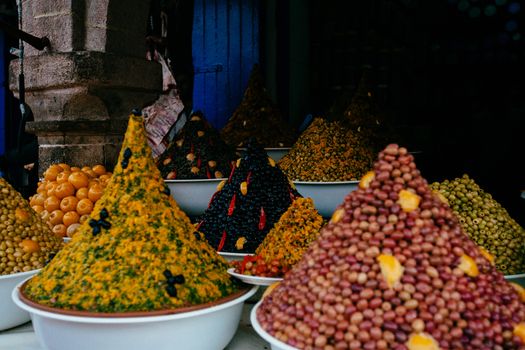
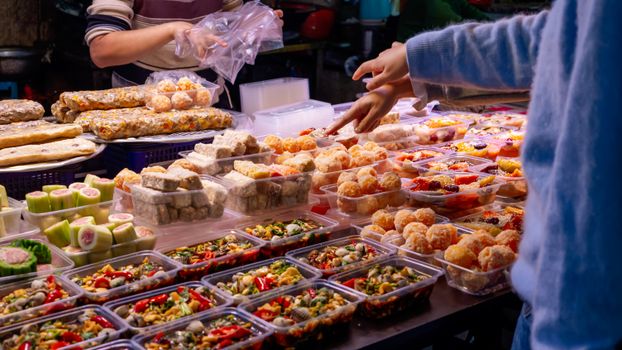
- Markets are Midas Touches: Food markets, wet markets, farmers' markets – these are goldmines. Not just for ingredients, but for prepared street food. The vibrant colors, the bustling energy, the raw authenticity – it's a sensory overload and a photographer's dream. Think of the vibrant spices at La Boqueria in Barcelona, or the bustling cooked food sections of Borough Market in London, but then imagine the smaller, less known local markets in smaller towns like the one in Luang Prabang, Laos, where sticky rice and grilled fish wrapped in banana leaves cost mere pennies.
- Look for the Unassuming: The best food often comes from the most unpretentious places. A roadside cart, a hole-in-the-wall eatery, a family-run stall that's been there for generations. These are the places where culinary magic happens, far from the polished facades of Michelin-starred restaurants.
Once you spot that potential gem, take a moment. Observe the dish, its ingredients, its context. What makes it special? What story does it tell? This observation is crucial for planning your shot.
The Golden Hour, Any Hour: Mastering Light for Mouth-Watering Shots
Light is the single most important ingredient in food photography. It can make a simple dish look gourmet or a masterpiece look drab. And when you're shooting off-the-beaten-path, you often don't have the luxury of studio lighting. You need to become a master of natural light.
- Embrace Window Light: This is your best friend. Look for a window with soft, diffused light. Place your dish near it, but not directly in harsh sunlight. Side lighting (light coming from the side) is generally most flattering, creating subtle shadows that add depth and texture. Backlighting (light coming from behind) can create beautiful highlights and a glowing effect, especially with drinks or translucent foods, but be careful not to underexpose the front of your dish.
- Seek Open Shade: If you're outdoors and the sun is too harsh, find a spot under a tree, an awning, or even the shadow of a building. Open shade provides soft, even light that's perfect for food. I’ve often found myself squatting beside a vendor’s cart in a narrow alley, using the shade of the opposite building to perfectly illuminate a plate of tacos al pastor in Mexico City.
- Overcast Days are Your Friends: Don't let a cloudy day dampen your spirits – it's a food photographer's dream! Overcast skies act like a giant softbox, providing beautifully diffused, even light that makes food pop without harsh shadows.
- Golden Hour Magic (If You Can Get It): The hour after sunrise and before sunset casts a warm, soft glow that is simply magical. If you can time your shoot (or your meal!) during this period, you'll be rewarded with incredibly inviting, rich tones. Imagine a plate of fresh pasta in a Tuscan village, bathed in that golden light – pure poetry.
- Beware of Direct Overhead Light: This is the most common mistake. Overhead light, especially from ceiling lights or midday sun, creates harsh, unflattering shadows and makes food look flat. If you're stuck with it (say, in a dimly lit restaurant), try to move your plate to the edge of the table or near a wall to create some directional light, or use your phone's flashlight (diffused with a napkin) as a makeshift fill light.
- Use Reflectors (Even DIY Ones): A simple white napkin, a piece of white cardstock, or even your phone's screen can act as a reflector, bouncing light back into the shadowy areas of your dish and brightening them up. I always carry a small foldable reflector, but in a pinch, anything white and reflective works!
Remember, the goal is to make the food look as appetizing and natural as possible. Good light enhances its textures, colors, and overall appeal.
Beyond the Flat Lay: Composing Stories on a Plate
While flat lays (overhead shots) have their place, truly pro food photography tells a story. It invites the viewer into the scene, making them almost taste the dish.
- Vary Your Angles: Don't get stuck on just one perspective.
- Overhead (Flat Lay): Great for dishes with many components, patterns, or when you want to show the entire table spread. Think of a spread of tapas in Seville, or a vibrant mezze platter in Istanbul. Ensure your camera is perfectly parallel to the table to avoid distortion.
- 45-Degree Angle (Eye Level): Mimics how we usually view food when sitting at a table. Excellent for showing the depth and layers of a dish, like a towering burger, a bowl of ramen, or a beautifully plated dessert.
- Straight On (0-Degree Angle): Perfect for dishes with height, texture, and interesting sides. Think of a stack of pancakes, a frothy coffee, or a glass of a colorful cocktail. This angle often creates an intimate, personal feel.
- Rule of Thirds (and Breaking It!): Imagine your frame divided into nine equal sections by two horizontal and two vertical lines. Place your main subject (the food) along these lines or at their intersections for a more dynamic and balanced composition. However, don't be afraid to break this rule for impact – a perfectly centered, symmetrical shot can also be powerful, especially for minimalist compositions.
- Leading Lines: Use elements in your scene (cutlery, tablecloth folds, patterns in the food itself) to draw the viewer's eye towards your main subject.
- Negative Space: Don't feel the need to fill every inch of your frame. Empty space around your dish can help it stand out and create a sense of calm and elegance.
- Depth of Field: A shallow depth of field (where your subject is sharp and the background is blurred) helps isolate your dish and makes it pop. Most smartphones now have a "Portrait" mode that simulates this effect beautifully. For cameras, use a wider aperture (smaller f-number like f/1.8 or f/2.8). In a bustling market, a blurred background can elegantly remove distracting elements and keep the focus on that incredible khao soi you just found in Chiang Mai.
- Tell a Story with Context: Don't just photograph the food; photograph its environment. A rustic wooden table, local pottery, the chef's hands, a glimpse of the street outside – these elements add authenticity and narrative. When I shot those bifanas in Lisbon, I made sure to capture the chipped ceramic plate and the worn countertop of the tiny tasca; it was part of its charm.
Experiment with different compositions. Take many shots from various angles. The more you practice, the more intuitive it will become.
Styling with Soul: Authenticity Over Artifice
The "before mainstream" approach to food photography isn't about perfectly manicured, overly styled sets. It's about capturing the authentic essence of the dish and its surroundings.
- Embrace Imperfection: A stray crumb, a drip of sauce, a slightly uneven plating – these details can add character and make the food look more real and inviting. Don't strive for sterile perfection; strive for delicious realism.
- Use Local Props (Naturally): Instead of bringing your own fancy tablecloths and cutlery, use what's available. The rustic wooden table at a roadside diner, the colorful ceramic plate from a local artisan, a simple glass of water, a local spice, or a fresh herb garnish – these add context and authenticity. When I was in Sicily, I photographed a plate of arancini on a simple white plate, but the backdrop was the vibrant tile of the outdoor cafe and a half-eaten lemon from my friend's drink. It felt real.
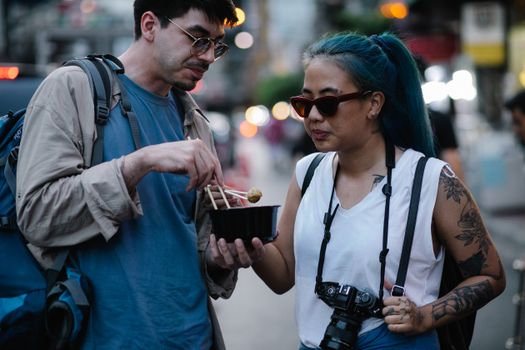
- Hands-On Approach: Human hands can add a wonderful, inviting element to food photos. A hand reaching for a piece of bread, pouring a drink, or holding a fork can make the image feel more dynamic and relatable. This is especially effective for street food or shared dishes.
- Focus on Texture: Food is incredibly tactile. Highlight the crispy skin of fried chicken, the glossy sheen of a sauce, the flaky layers of a pastry, the vibrant freshness of herbs. Close-up shots are great for showcasing these details.
- Garnishes are Your Friends (Subtly): A sprinkle of fresh herbs, a dash of chili flakes, a squeeze of lime – these can elevate a dish visually. But remember, less is more. Don't overcrowd the plate. The garnish should complement, not overpower, the main dish.
- Capture the Process: Sometimes, the most compelling food photos aren't just of the finished product, but of the making. The steam rising from a simmering pot, the chef's hands kneading dough, the vibrant ingredients laid out before cooking – these tell an even richer story. I once spent an hour at a tiny noodle shop in Hoi An, Vietnam, just photographing the chef pulling fresh noodles. The shots were incredibly popular because they showed the craft.
The goal here is to make the food look so good, so real, so accessible, that your audience can almost smell and taste it.
The Subtle Art of the Edit: Enhancing, Not Fabricating
Even the best shot can benefit from a little post-processing magic. But the key, especially when aiming for authenticity, is enhancement, not fabrication. You're refining, not fundamentally changing, what you captured.
- Start with White Balance: This is crucial for making colors look natural. If your photo has a yellow or blue cast, adjust the white balance to make whites look truly white. Most editing apps have an eyedropper tool you can use on a neutral white or gray area in your photo.
- Adjust Exposure and Contrast: If your photo is too dark or too bright, adjust the exposure. Increase contrast to make your food pop, but don't overdo it – you want to retain detail in both shadows and highlights.
- Boost Saturation (Carefully) & Vibrance: A slight increase in saturation can make food colors more vibrant and appealing. However, be very subtle. Too much saturation makes food look artificial and garish. Vibrance is often a better choice, as it selectively boosts less saturated colors without overdoing skin tones or already bright hues.
- Sharpening for Detail: A touch of sharpening can make textures and fine details stand out, making your food look crisp and inviting. Again, a little goes a long way to avoid a grainy or unnatural look.
- Crop and Straighten: Always ensure your horizons are straight and crop out any distracting elements from the edges of your frame. A well-cropped image guides the viewer's eye exactly where you want it.
- Highlight and Shadow Adjustments: Carefully adjust highlights to recover detail in bright areas (like reflections on sauces) and shadows to brighten darker areas without losing depth.
- Use Mobile Editing Apps: You don't need Photoshop. Apps like Adobe Lightroom Mobile, Snapseed, VSCO, or even your phone's native editor offer powerful tools for professional-looking edits. I personally swear by Lightroom Mobile for its precision and presets.
- Consistency is Key: Develop a consistent editing style. This will help your feed look cohesive and professional, making your photos instantly recognizable.
Remember, the best edits are often the ones you don't even notice. They simply make a good photo look great.
Your Go-To Gear: Less Is More for the Off-Grid Gourmand
Forget the notion that you need an expensive DSLR and a bag full of lenses to shoot pro-level food photos. For the "before mainstream" adventurer, portability and discretion are paramount.
- The Mighty Smartphone: This is your primary weapon. Modern smartphones (iPhone 13/14/15 Pro, Google Pixel 7/8, Samsung Galaxy S23/S24 Ultra, etc.) have incredible cameras, often with multiple lenses (wide, ultra-wide, telephoto) and computational photography that can rival entry-level DSLRs. Their "Portrait" mode is fantastic for creating that coveted shallow depth of field. Use grid lines for composition, tap to focus, and manually adjust exposure by sliding your finger up/down on the screen before shooting.
- A Small Mirrorless Camera (Optional): If you're serious about photography and want more manual control without the bulk of a DSLR, a compact mirrorless camera (like a Fujifilm X-T series, Sony Alpha 6000 series, or Canon EOS R series) with a versatile prime lens (e.g., 50mm f/1.8 or 35mm f/2) is an excellent choice. It offers superior image quality and low-light performance compared to a phone but is still relatively discreet.
- Portable Mini Tripod: For low-light situations or perfectly steady overhead shots, a small, flexible tripod (like a Joby GorillaPod) can be invaluable. It ensures sharpness and allows you to experiment with longer exposures if needed.
- Clip-On Lenses (for Smartphones): While not essential, a good quality macro lens clip-on can transform your phone into a close-up powerhouse, perfect for capturing intricate food details. A wide-angle clip-on can also be useful for capturing broader scenes.
- DIY Reflector/Diffuser: As mentioned, a white napkin or small piece of white cardstock is your best friend for bouncing light. A translucent white plastic bag or even a thin white scarf can act as a diffuser to soften harsh light.
- Cleaning Cloth: Always carry a microfiber cloth to wipe your phone or camera lens. A smudge can ruin an otherwise perfect shot.
The beauty of this minimalist gear approach is that you can be agile, discreet, and ready to capture that unexpected culinary gem without drawing undue attention. The focus should always be on your eye and your understanding of light and composition, not on how many thousands of dollars your equipment cost.
The "Before Mainstream" Ethos: Share Responsibly, Discover Deeply
You've found the hidden gem, you've captured it beautifully, and you've edited it to perfection. Now comes the final, crucial step: sharing. But with the "before mainstream" philosophy, sharing comes with a unique responsibility.
- Credit Where Credit Is Due: Always, always, always credit the establishment or the vendor if you know their name. Tag them if they have an online presence. This not only gives them well-deserved recognition but also helps your audience find these amazing places.
- Share the Story, Not Just the Photo: Don't just post a pretty picture. Tell the story behind it. How did you find it? What was the experience like? Who made it? What did it taste like? This adds immense value and encourages deeper engagement. For that Marrakech brochette, I wrote about the kind old vendor, the bustling souk, and the unexpected burst of flavor that transported me.
- Encourage Exploration, Not Over-Exposure: While you want to inspire others to seek out similar authentic experiences, be mindful of potentially "ruining" a truly hidden spot by broadcasting its exact GPS coordinates to millions. Sometimes, a general location (e.g., "a tiny stall in the Marrakech souks") or a hint that requires a little personal digging is better than pinpointing it. The joy, after all, is in the discovery.
- Engage with Your Audience: Respond to comments and questions. Your followers are looking for genuine advice and inspiration. Be a resource for them.
- Be a Cultural Ambassador: Your photos and stories have the power to showcase the beauty and richness of diverse culinary traditions. Approach every shot with respect and curiosity. Learn about the food you're eating – its history, its ingredients, its significance. This knowledge will infuse your photography with authenticity and depth.
By embracing this ethos, you're not just a food photographer; you're a culinary explorer, a storyteller, and a bridge between cultures. You're helping preserve the magic of these "before mainstream" experiences by documenting them thoughtfully and sharing them responsibly.
Conclusion: Your Culinary Lens Awaits!
From that serendipitous chicken brochette in Marrakech to the vibrant bifana in Lisbon, every dish I've captured has been more than just food; it's been a window into a culture, a connection with a local, and a memory etched in time. And with the tips and mindset we've explored today, you're now equipped to do the same.
The world is brimming with incredible, untold culinary stories just waiting for your lens. Forget the pressure of perfection; embrace the adventure of discovery. Hunt for those hidden gems, master the art of natural light and compelling composition, style with authenticity, and edit with a subtle touch. Most importantly, share your discoveries responsibly, inspiring others to embark on their own delicious journeys.
So, what are you waiting for? Grab your phone (or camera!), trust your instincts, and go forth to capture the next wave of mouth-watering, "before mainstream" culinary masterpieces. Your followers (and your taste buds!) will thank you.
What's the most incredible "before mainstream" dish you've ever photographed? Share your stories and photos in the comments below! And don't forget to share this guide with your fellow food adventurers!
---
More pictures

Tags
Share this guide
We may earn a commission if you click a link and buy a product or service, at no extra cost to you. How affiliate links work.
Been there?