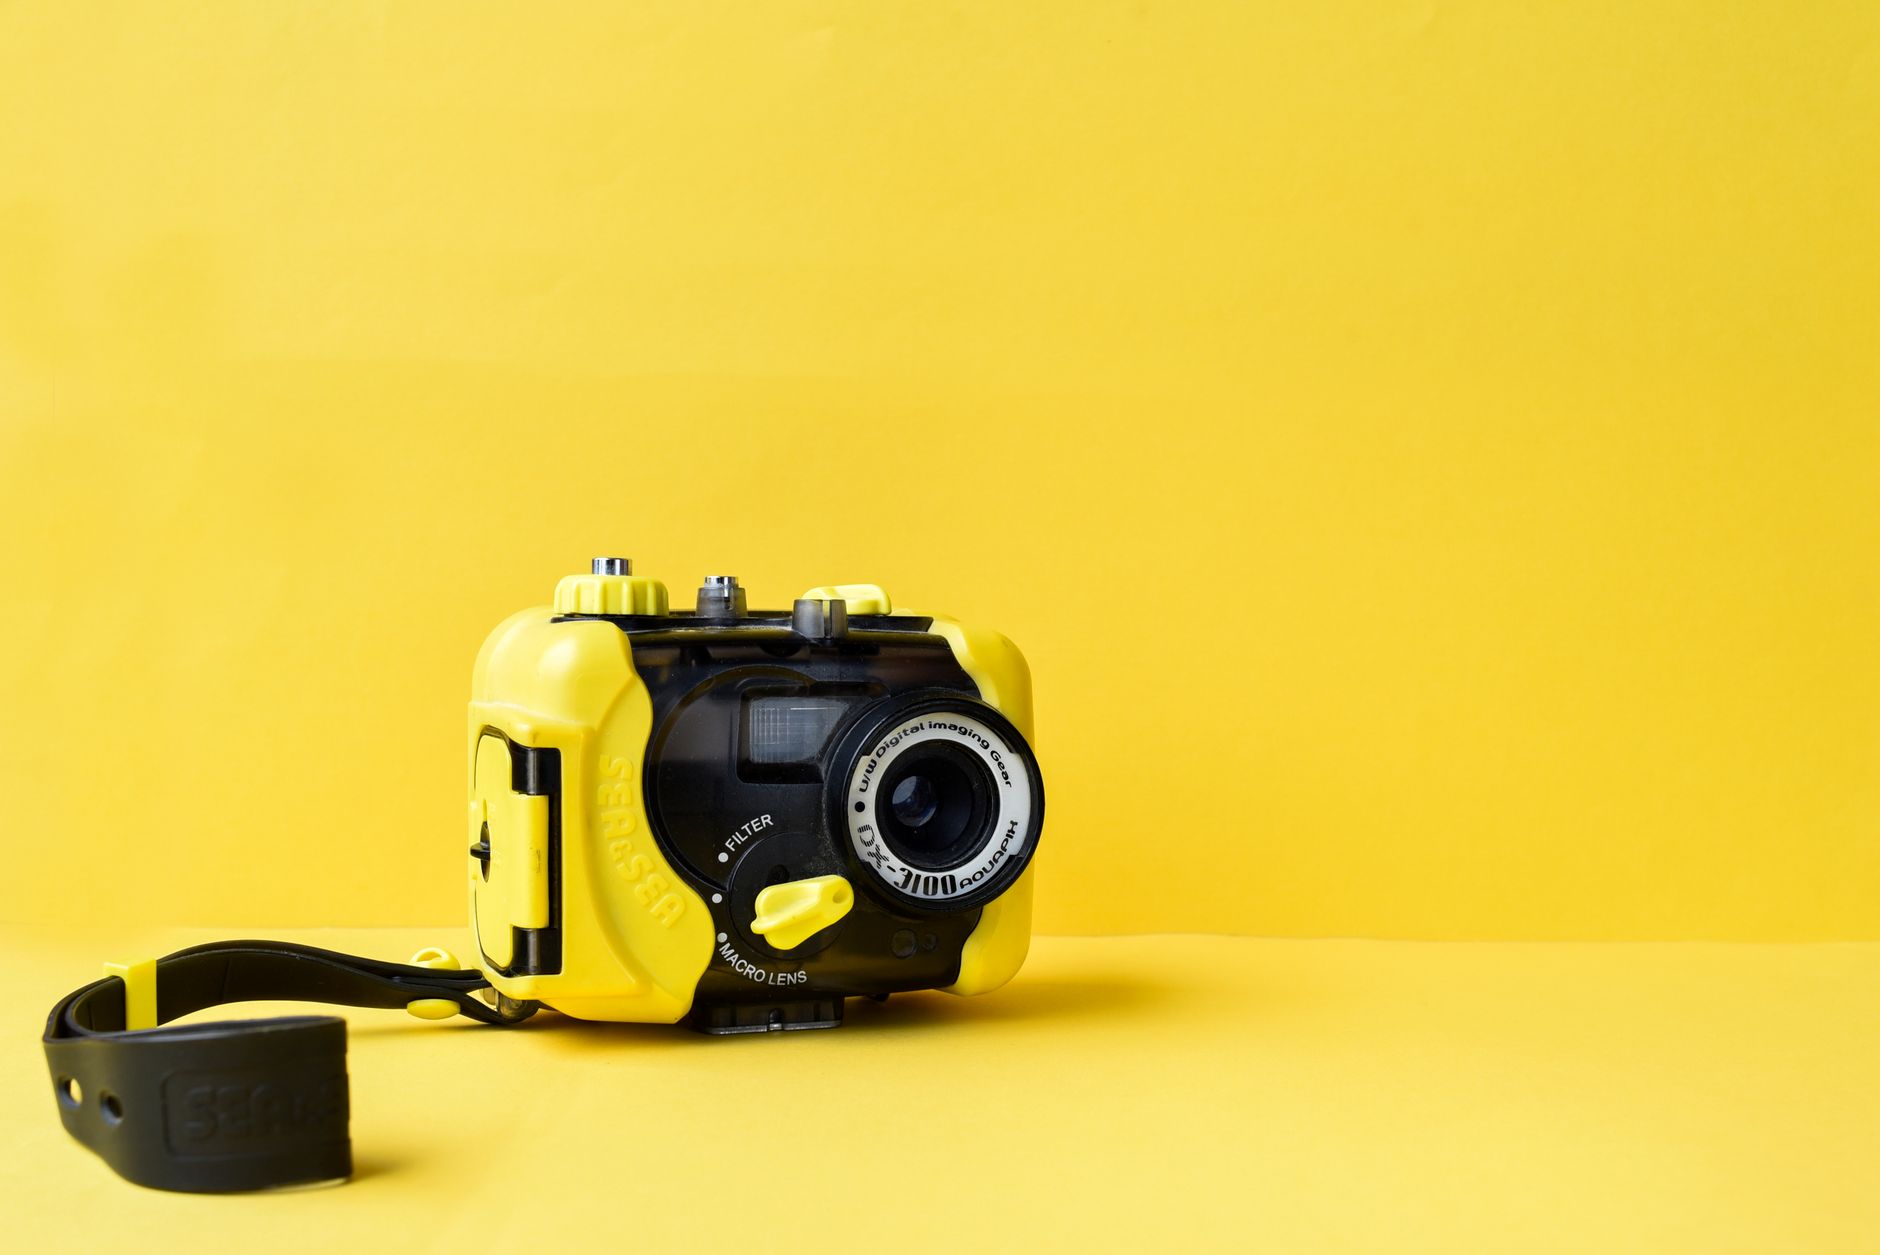
Ever dreamt of capturing the breathtaking beauty beneath the waves, beyond blurry phone snaps? This guide unlocks the secrets to essential underwater photography gear for beginners, empowering you to dive into the mesmerizing world of marine life before it becomes commonplace. Get ready to transform your travel memories into stunning, shareable masterpieces. ---
The first time I really saw the ocean wasn't from a boat or a sandy beach, but through the lens of a mask, twenty meters down off the coast of Koh Lanta, Thailand. A vibrant clownfish darted through an anemone, its electric orange a stark contrast to the azure blue. A majestic hawksbill turtle glided past, its ancient eyes seemingly acknowledging my presence. I remember thinking, "This is it. This is the moment I need to freeze forever."
My initial attempts? Let's just say my phone in a waterproof pouch produced images that looked like abstract art, if abstract art meant blurry green blobs. The frustration was real, but so was the burning desire to share the surreal, silent world I’d discovered. That’s when my journey into underwater photography began – a journey that transformed my travels from mere sightseeing into active storytelling, one frame at a time. And trust me, if I, a self-proclaimed tech-averse adventurer, can do it, so can you.
Right now, the underwater photography world is buzzing, but it’s still very much a niche. This is your golden ticket to get in before everyone else is doing it, before every feed is flooded with professional-grade underwater shots. Imagine being the one sharing those breathtaking, unique glimpses into the deep, inspiring awe and a little bit of envy. So, grab your fins, because we’re diving deep into the essential gear and tips to kickstart your underwater photography adventure.
Why Now is the Time to Make a Splash: The "Before It's Mainstream" Advantage
There's something uniquely thrilling about capturing moments that few others can. While drone photography has exploded, and land-based travel shots are a dime a dozen, the underwater world remains a relatively untapped frontier for casual photographers. This isn't just about getting cool shots; it's about experiencing your travels on a deeper level, quite literally.
For me, it started with a simple desire to remember the vibrant corals of the Philippines or the playful manta rays of Komodo. But it quickly evolved. My camera became a tool for connection, a way to share the fragility and beauty of marine ecosystems with friends, family, and now, with all of you on Tripsora. It’s a powerful way to advocate for conservation, simply by showcasing what’s at stake.
Plus, let's be honest, those underwater shots? They're pure gold for your Instagram feed. They stand out. They tell a story. They make people stop scrolling and say, "Wow." You're not just taking pictures; you're creating art, sharing wonder, and becoming an ambassador for the ocean. And the best part? You don't need to break the bank or be a pro diver to start.
The Absolute Essentials: Your First Kit for Underwater Wonders
Forget the intimidating setups you see pros hauling around. For beginners, the goal is simplicity, reliability, and getting into the water to practice. Here's where we start:
1. The Camera Body: Your Eye Beneath the Waves
- Action Cameras (GoPro Hero Series, DJI Osmo Action): The Ultimate Starting Point
- Why I love them: These are fantastic for beginners, and honestly, many pros still use them as secondary cameras. They’re compact, incredibly durable, and many newer models are waterproof straight out of the box to impressive depths (typically 10-20 meters, some up to 60m with an external housing).
- My Experience: My very first "decent" underwater photos came from a GoPro Hero 7 Black. I was diving in Nusa Penida, Indonesia, trying to keep up with a majestic Mola Mola. While I didn't get a perfect shot of the sunfish, the wide-angle perspective allowed me to capture the sheer scale of the reef and the divers around it. The video capabilities are also superb for capturing movement.
- Specifics: A GoPro Hero 9, 10, or 11 Black (around $300-$500) is a solid choice. They offer excellent video quality (4K, even 5K), good still photo capabilities, and great image stabilization. The DJI Osmo Action 3 (around $300-$400) is another strong contender, known for its robust build and excellent battery life.
- Pro Tip: Always buy the latest model you can afford. The advancements in image stabilization and low-light performance are significant between generations.
- Rugged Compact Cameras (Olympus Tough TG Series): The Next Step Up
- Why they're great: If you want slightly better image quality than an action camera without the complexity of a mirrorless system, the Olympus Tough TG series (like the TG-6, around $400-$500) is legendary in the underwater community. They're waterproof to 15 meters on their own, incredibly robust, and offer advanced features like microscope mode for macro shots.
- My Experience: After outgrowing my GoPro for stills, I upgraded to an Olympus TG-5. Suddenly, the tiny nudibranchs and intricate coral polyps came into sharp focus. On a trip to Raja Ampat, Indonesia, I spent hours trying to photograph pygmy seahorses, and the TG-5's macro capabilities, combined with its built-in flash diffuser, were a game-changer.
- Specifics: The Olympus Tough TG-6 is the current king for beginner-to-intermediate compact underwater photography. It has a bright f/2.0 lens, excellent macro capabilities, and RAW shooting.
- Pro Tip: These cameras often have a "red filter" mode or built-in underwater white balance settings, which are excellent for correcting color loss at depth.
2. The Housing: Your Camera's Personal Submarine
- Why it's essential: Even if your camera is waterproof, a dedicated underwater housing provides extra depth rating, better ergonomics, and crucial protection. For compact cameras like the Olympus TG series, a housing is mandatory for anything beyond snorkeling depths.
- Types & My Recommendations:
- Built-in (for Action Cams): For GoPros, the standard housing usually comes with the camera or is a cheap accessory ($50-$80). It extends the depth rating significantly (e.g., to 60 meters). Always use it for diving!
- Dedicated (for Compact Cams): For cameras like the Olympus TG-6, you'll need a custom housing. Olympus's own PT-059 housing (around $300-$400) is fantastic. Other brands like Ikelite or Nauticam also make housings, but they can be pricier.
- My Experience: I learned the hard way that a housing isn't just about depth. My first generic GoPro housing had slightly stiff buttons, making it hard to switch modes underwater. Investing in a quality housing with smooth, responsive buttons made a world of difference in usability and prevented missed shots.
- Critical Advice: ALWAYS test your housing in a sink or shallow water without your camera inside before your first dive. Look for bubbles indicating a leak. And remember to properly clean and lubricate the O-rings!
3. Lighting: Bringing Color Back to Life
- Why it's crucial: Water absorbs light, especially red and orange, as you go deeper. Without artificial light, everything turns blue-green and flat.
- Starting Simple: Video Lights
- What they are: Continuous light sources, great for both photos and videos.
- My Recommendation: Start with a small, powerful LED video light. Brands like SeaLife or Bigblue offer excellent options for beginners. Look for something with at least 1000-2000 lumens. A good starting point is the SeaLife Sea Dragon Mini 600 (around $150-$200) or a Bigblue AL1200NP (around $150-$250).
- My Experience: My first video light was a cheap, generic one from Amazon. It worked, but the battery life was terrible, and the beam was narrow. Upgrading to a Bigblue light was like turning on a spotlight in a dimly lit room. The colors of the corals in the Similan Islands suddenly popped, revealing purples, yellows, and vibrant reds I hadn't seen before.
- Pro Tip: You'll want a small tray and arm system to attach your light to your camera setup. This keeps the light off-axis, preventing backscatter (those annoying white dots from particles in the water). Brands like Fantasea or ULCS offer good entry-level trays and arms (starter kits around $100-$200).
- Stepping Up: Strobes (Underwater Flashes)
- Why they're better for stills: Strobes are flashes designed for underwater use. They provide a burst of powerful light, freezing action and bringing out incredible colors. They're generally more powerful and have better battery life than video lights for stills.
- My Recommendation (when you're ready): The Sea & Sea YS-03 Solis (around $400-$500) or the Inon S-2000 (around $500-$600) are popular beginner strobes. You'll need an optical cable to connect it to your camera housing.
- Pro Tip: Strobes are a bigger investment and require more understanding of light and camera settings. Focus on mastering natural light and video lights first.
4. Essential Accessories: The Small Details That Make a Big Difference
- Red/Magenta Filters:
- Why you need them: These filters screw onto your camera housing or lens and help restore lost red light in shallower depths (0-15 meters) without artificial light. Red filters are for blue water; magenta for green water.
- My Experience: Before I got a video light, a simple red filter transformed my GoPro footage from murky blue to vibrant greens and blues, especially in the sunlit shallows of the Great Barrier Reef.
- Specifics: Filters are camera-specific but generally inexpensive ($20-$50).
- Lanyards/Wrist Straps:
- Why they're crucial: Never, ever drop your camera! A sturdy lanyard or wrist strap attached to your BCD or wrist is non-negotiable.
- Anti-Fog Inserts:
- Why they're important: These small sachets absorb moisture inside your housing, preventing fogging, especially in colder water or when moving between temperature extremes. They're cheap ($10 for a pack) and save many headaches.
Mastering the Art: Tips for Stunning Shots
Having the gear is one thing; knowing how to use it is another. These tips come from countless hours of trial and error, missed shots, and triumphant captures.
1. Buoyancy, Buoyancy, Buoyancy!
- My Golden Rule: You cannot be a good underwater photographer if you are not a good diver. Period. Your ability to hover motionless, control your depth, and move gently without kicking up sand or bumping into coral is paramount.
- Actionable Advice: Invest in a PADI Peak Performance Buoyancy specialty course. Practice hovering. Learn to use your breath to fine-tune your position. This protects the reef and allows you to compose your shots without drifting. My best shots always came when I was perfectly neutral, allowing me to focus solely on the subject.
2. Get Close, Then Get Closer
- Why: Water reduces contrast and clarity. The more water between your lens and your subject, the more muted and hazy your photo will be.
- Actionable Advice: Fill the frame! This often means getting within a foot or two of your subject. This is where good buoyancy and patience with marine life come in. Respect their space, move slowly, and they often become curious.
3. Understand the Light (or Lack Thereof)
- Natural Light: In shallow, sunny conditions (0-10m), natural light can be beautiful. Shoot with the sun behind you or to the side of your subject for vibrant colors and good contrast.
- Artificial Light (Strobes/Video Lights): As discussed, artificial light brings back color. Position your light slightly to the side and above your subject to create depth and avoid a flat, head-on flash look. This also helps minimize backscatter.
- My Anecdote: I once spent an entire dive off Sipadan, Malaysia, trying to photograph a school of barracuda with just natural light. The shots were okay, but nothing special. The next day, with a video light, the individual scales shimmered, and their silver bodies popped against the blue. It was a revelation.
4. White Balance is Your Friend
- Why: Your camera's auto white balance struggles underwater. You need to tell it what "white" should look like.
- Actionable Advice: Many action cameras and compacts have specific "underwater" or "dive" white balance presets. Experiment with these. For more advanced users, manually white balancing with a white slate or the sand can yield incredible results. This is often the single biggest factor in getting accurate colors without external lights.
5. Shoot in Burst Mode (Action Cams) / RAW (Compact Cams)
- Burst Mode: Marine life moves! Set your action camera to burst mode to capture a rapid sequence of shots. You'll have many duds, but also a few gems.
- RAW: If your compact camera (like the TG-6) shoots RAW, use it! RAW files contain much more image data, giving you far greater flexibility in post-processing to correct colors, exposure, and recover details.
6. Be Patient and Respectful
- My Mantra: The ocean is not a zoo, and marine life are not props. Never chase, touch, or harass animals for a photo. Observe from a respectful distance. Often, if you remain still and calm, curious fish or turtles will approach you.
- Actionable Advice: Learn about the marine life you hope to photograph. Understand their behavior. This not only makes you a better diver but also a more ethical and successful photographer. My most rewarding encounters often happened when I simply waited, becoming part of the environment.
Post-Production Magic: Enhancing Your Underwater World
Even with the best gear and techniques, underwater photos often benefit from a little post-processing. This isn't about faking it; it's about restoring the colors and contrast that the water naturally steals.
- Basic Adjustments: Focus on correcting white balance, adjusting exposure, boosting contrast, and increasing saturation slightly. A touch of sharpening can also make a big difference.
- Software:
- Mobile: Snapseed (free, iOS/Android) is incredibly powerful for quick edits. Lightroom Mobile (freemium) is also excellent.
- Desktop: Adobe Lightroom Classic or Lightroom CC are industry standards for good reason. They handle RAW files beautifully and have excellent tools for color correction.
- My Workflow: I usually start by adjusting the white balance until the blues look natural, then tweak exposure. Next, I boost the contrast and clarity to make the details pop, followed by a slight increase in saturation. Finally, I apply some noise reduction and sharpening. It's amazing how a few sliders can transform a dull image into a vibrant masterpiece. My goal is always to make the photo look like what I saw with my own eyes, not an exaggerated version.
Maintaining Your Gear: The Lifeline of Your Underwater Adventures
Your gear is exposed to salt water, pressure, and sometimes, clumsy hands (mine!). Proper maintenance is not just about longevity; it's about preventing catastrophic leaks.
- Rinse Immediately: After every dive, rinse your camera and housing thoroughly in fresh water (never hot!). Don't press buttons while rinsing.
- Dry Completely: Air dry your housing completely before opening it. Use a soft cloth to gently dry around O-rings.
- O-Ring Care: The O-rings are your housing's seal. Inspect them before every dive for hair, sand, or damage. Lubricate them lightly with silicone grease (provided with your housing) every few dives or if they feel dry. Never over-lubricate.
- Battery Management: Always ensure batteries are fully charged before a dive. Carry spares.
- Travel Smart: When flying, remove your camera from the housing. Pack batteries in your carry-on luggage.
Conclusion: Your Underwater Story Awaits!
The ocean is a realm of unparalleled beauty, mystery, and wonder. With the right beginner underwater photography gear and a willingness to learn, you can become its storyteller. From the vibrant coral gardens of the Red Sea to the majestic whale sharks of the Philippines, every dive becomes an opportunity to capture something truly unique, something that will spark conversations and inspire others.
Don't wait until everyone else has jumped on the bandwagon. Start your underwater photography journey now, capture those fleeting moments, and share the magic of the deep with the world. You're not just taking pictures; you're preserving memories, promoting conservation, and adding an entirely new dimension to your travel experiences.
So, what are you waiting for? Grab your gear, book that dive trip, and let your lens reveal the hidden wonders beneath the waves. The underwater world is calling, and your camera is ready to answer.
What's your dream underwater shot? Share it in the comments below! And don't forget to tag #TripsoraUnderwater on your first epic post!
---
More pictures



Tags
Share this guide
We may earn a commission if you click a link and buy a product or service, at no extra cost to you. How affiliate links work.
Been there?