Learn how to plan, shoot and process northern lights photos, from camera settings and tripods to forecasts, dark locations, composition and cold-weather safety.
Photographing the northern lights is part science, part patience and part simply standing in the cold with your fingers crossed. The aurora is unpredictable, and no technique can guarantee it will appear. But a lot of the difference between a blurry green smudge and a striking image comes down to preparation, understanding a few camera settings and choosing a good location. None of this is secret knowledge. It is a set of habits that experienced aurora photographers share freely, and this guide collects them.
Understand what you are photographing
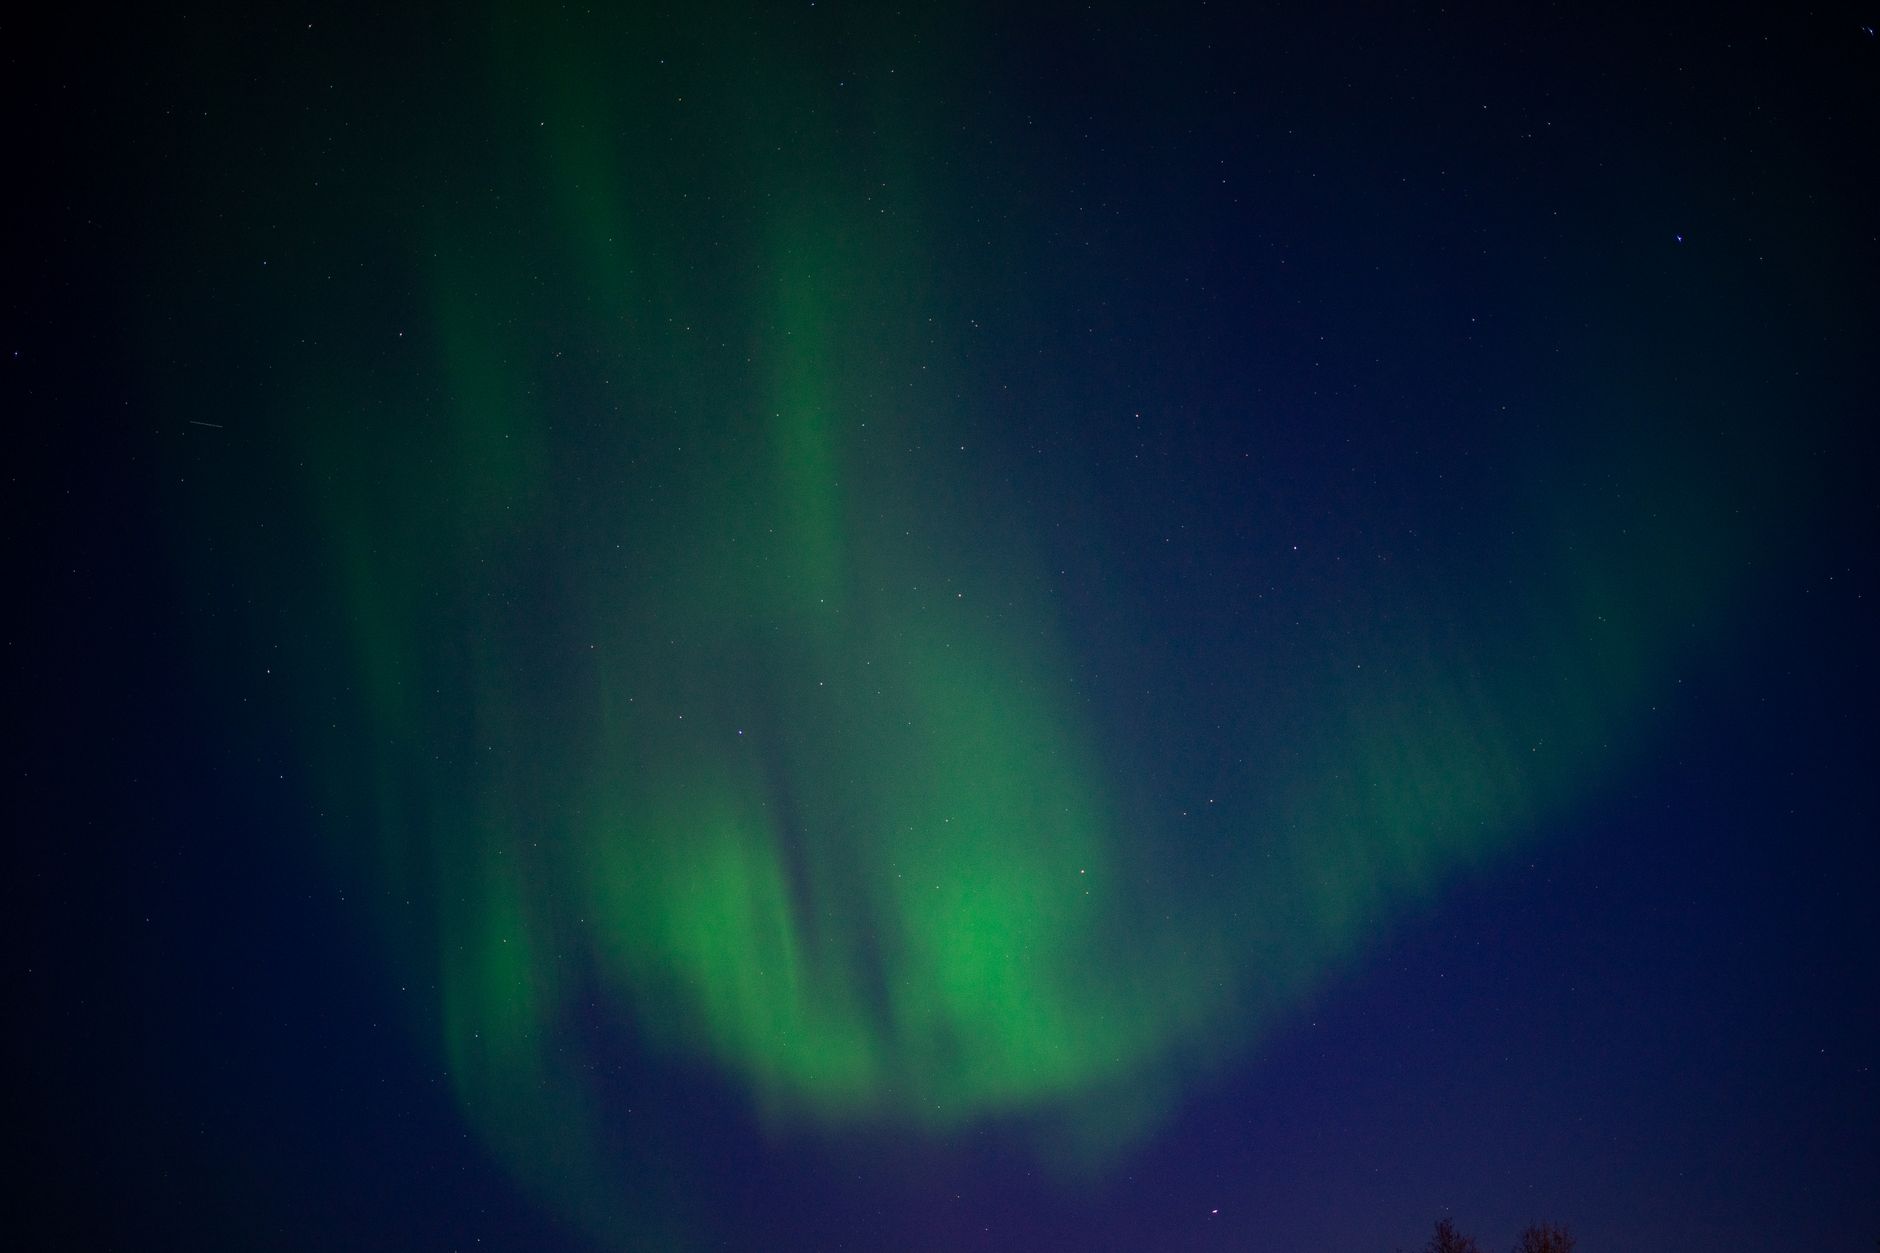
The aurora is created when charged particles from the sun interact with gases in Earth's upper atmosphere. The result is moving light, most often green, sometimes with pink, red or purple tones. Cameras often capture color more vividly than your eyes do, because they gather light over many seconds. On a modest display, the aurora may look like a pale gray-green haze to the naked eye but render as rich green in a long exposure.
This matters for expectations. Your photos may look more dramatic than the live view, and a faint display can still produce a good image. It also means you should not judge whether to shoot based only on what you see. Take a test frame to check.
When and where to go
Northern lights are visible in regions close to the Arctic, in places such as northern Norway, Sweden, Finland, Iceland, Greenland, northern Canada, Alaska and parts of Scotland on strong nights. A few general principles apply.
- Season. You need darkness, so the aurora season usually runs from around late summer through early spring in the northern hemisphere. In midsummer at high latitudes, the sky never gets truly dark.
- Time of night. Activity is often best in the hours around local midnight, but displays can appear earlier or later.
- Moon. A bright full moon lights the sky and landscape. It can wash out faint auroras but also illuminates foregrounds. Many photographers prefer dimmer moon phases for fainter displays, though moonlit scenes can be beautiful.
- Clouds. Clear skies matter as much as aurora activity. Check cloud forecasts as carefully as aurora forecasts.
- Light pollution. Move away from town lights. Even a short drive can improve your view.
- Latitude. Being closer to the auroral zone increases your chances, but activity levels vary from night to night.
Plan several nights rather than one. Weather and solar activity are unpredictable, so a longer stay greatly improves your odds.
Use forecasts wisely
Several tools can help, but none is perfect.
- Aurora forecasts from national space weather agencies and aurora alert services give an indication of expected activity, often using a planetary index called Kp. Higher values suggest stronger and more widespread displays, but even low values can produce lights at high latitudes.
- Cloud cover maps from your local weather service or satellite apps show where gaps in the clouds might be.
- Local knowledge. Guesthouse hosts, local guides and tour operators often know which areas clear first.
- Alerts. Some apps send notifications when activity rises. Treat them as hints, not promises.
Remember that forecasts for solar activity only give limited notice, and the real display may be stronger or weaker than predicted. Be ready to move quickly.
Essential gear
You do not need professional equipment, but a few items are close to essential.
- A camera with manual controls. Mirrorless and DSLR cameras work best, though some compact cameras and many modern phones can capture good results.
- A sturdy tripod. Exposures last seconds, so any movement ruins the image. Choose one that is stable in wind and usable with gloves.
- A wide, fast lens. A wide angle lets you capture more sky, and a wide aperture (a low f-number, such as f/1.8 to f/2.8) lets in more light.
- Spare batteries. Cold drains batteries quickly. Keep spares in an inside pocket close to your body.
- A remote shutter release or the camera's timer. This prevents shake when you press the button.
- A headlamp with a red light mode. Red light preserves night vision and does not ruin other people's photos.
- Memory cards with plenty of space, especially if you shoot raw files.
- Lens cloths and a small bag for condensation management.
Camera settings to start with
There is no single perfect setup, because aurora brightness and movement vary. But the following starting point works for many situations. Adjust from there based on your test shots.
- Shooting mode: Manual.
- File format: Raw, so you can adjust white balance and exposure later.
- Focus: Manual focus set to infinity. Autofocus struggles in the dark.
- Aperture: As wide as your lens allows, for example f/1.8 to f/2.8.
- ISO: Start around 1600 to 3200. Increase if the image is too dark, reduce if it is noisy or overexposed.
- Shutter speed: Start around 5 to 10 seconds. Fast, bright auroras need shorter exposures to preserve structure, while faint displays may need longer ones.
- White balance: Around 3500 to 4500 Kelvin often works, or use auto and fine-tune in processing if shooting raw.
- Noise reduction: Turn off long exposure noise reduction if you want to shoot quickly, and handle noise later.
- Image stabilization: Turn off lens stabilization when using a tripod, unless your manual says otherwise.
Getting sharp focus
Focus is the step many beginners struggle with. Try this method:
- Switch to manual focus.
- Use live view and zoom in digitally on a bright star or distant light.
- Turn the focus ring until the star is as small and sharp as possible.
- Take a test photo and check at high magnification.
- Use tape on the focus ring if you worry about bumping it.
Do this before the aurora arrives, so you are ready when the sky lights up.
Adjusting for movement
If the aurora is dancing quickly, long exposures will blur its structure into a smooth glow. To show detail, use shorter shutter speeds, perhaps 1 to 4 seconds, and raise the ISO or open the aperture. If the aurora is slow and faint, longer exposures are fine. Watch the sky and adapt.
Composition: make the photo about more than green sky
A strong aurora photo has a foreground and a sense of place. Without it, the image can look like any other green sky.
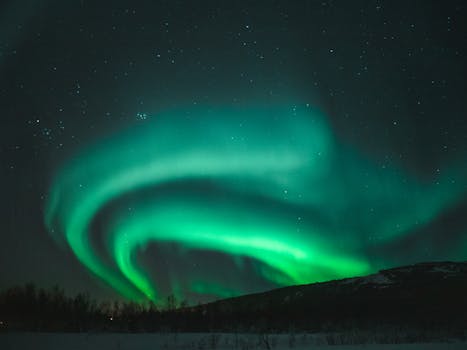
- Look for foreground anchors. Mountains, lakes, frozen waterfalls, trees, cabins or a lone figure give scale and interest.
- Use reflections. Calm water can mirror the lights, doubling the effect.
- Mind the horizon. Keep it straight, and consider placing it in the lower third to give the sky room.
- Include stars. A clear sky filled with stars adds depth.
- Try different focal lengths. A wide lens captures the whole scene, while a slightly longer lens can emphasize details of curtains and arcs.
- Light the foreground carefully. A brief burst from a dim light can illuminate a subject, but use it sparingly and respect others.
- Add people. A silhouetted person looking up gives emotional weight. Ask them to stay still for the entire exposure.
Scout your location in daylight if you can. Knowing where north is, which direction the horizon opens and where safe footing lies helps a lot after dark.
Shooting with a smartphone
Modern phones can capture the aurora, especially those with a night mode. To improve results:
- Use a small tripod or rest the phone on a stable surface.
- Enable night mode, or use a manual camera app to set longer exposures.
- Use the timer or a wireless remote to avoid shake.
- Turn off flash.
- Tap to focus on a distant light or set focus to infinity if your app allows.
- Keep the phone warm, since cold quickly reduces battery life.
Phone results may not match a dedicated camera, but they are very good for sharing the moment.
Dealing with cold safely
Aurora photography involves long periods standing still in freezing conditions. Treat safety seriously.
- Dress in layers, with a base layer, insulating layer and windproof outer shell. Add warm boots, hat, scarf and good gloves.
- Use thin liner gloves under warmer mittens so you can operate the camera briefly without exposing bare skin.
- Bring hand warmers and a hot drink in a thermos.
- Tell someone your plans and avoid going alone in remote areas.
- Be careful on ice and snow. Wear boots with grip and take care near frozen water, since ice may not be safe.
- Drive carefully. Winter roads can be hazardous, and stopping on a roadside in the dark is dangerous. Use designated pull-offs.
- Watch the weather and be prepared to turn back.
This is general guidance, not medical advice. Follow local safety information and consider a guided tour if you are unfamiliar with arctic conditions.
Preventing condensation and gear problems
Moving a cold camera into a warm room causes condensation, which can fog the lens or harm electronics. To reduce the risk:
- Place the camera in a sealed plastic bag or camera bag before going indoors.
- Let it warm up slowly to room temperature before taking it out.
- Keep silica gel packs in your camera bag.
- Wipe the lens gently with a clean cloth and avoid breathing on it.
Also check that batteries are fully charged, cards are formatted and your tripod locks are tight before heading out.
Basic editing
Shooting raw gives you flexibility. A light touch usually works best.
- Adjust white balance to make the sky look natural.
- Reduce highlights slightly if the green is blown out.
- Lift shadows to reveal foreground detail.
- Apply modest noise reduction, since high ISO images are noisy.
- Add gentle contrast and a little clarity to bring out structure.
- Avoid over-saturation. Extremely vivid green can look artificial.
Be honest in how you present images. If you composite or heavily alter a photo, say so.
Respecting places and people
Popular aurora spots can get crowded. A few courtesies go a long way.
- Keep lights off or dim when others are shooting.
- Do not block views with tripods in narrow spaces.
- Respect private land, wildlife and local communities. Do not trespass for a better angle.
- Follow rules at national parks and protected areas, including those about drones and vehicles.
- Take your trash with you.
Frequently asked questions
What is the best camera setting for the northern lights? A good starting point is manual mode, wide aperture, ISO 1600 to 3200 and a shutter speed of 5 to 10 seconds, with manual focus set to infinity. Adjust based on brightness and movement.
Can I photograph the aurora with a phone? Yes, with a stable support and night mode. Results are best with strong displays, and a dedicated camera will usually give more control.
How many nights do I need? Several. Weather and solar activity vary, so three to five nights gives you a much better chance than one.
Do I need a guided tour? Not necessarily, but guides know good locations, weather patterns and safety conditions, which can be valuable in winter and in remote places.
Summary
To photograph the northern lights, plan for dark skies, clear weather and several nights in the right region. Use a tripod, a wide fast lens, manual focus and a starting exposure of a few seconds at a moderate ISO, then adjust to the aurora's brightness and speed. Compose with a strong foreground, protect your gear and yourself from the cold, and respect the places and people around you. No technique guarantees a display, but good preparation gives you the best possible chance to capture it. Always check current forecasts and local safety advice before heading out.
More pictures



Tags
Share this guide
We may earn a commission if you click a link and buy a product or service, at no extra cost to you. How affiliate links work.
Been there?