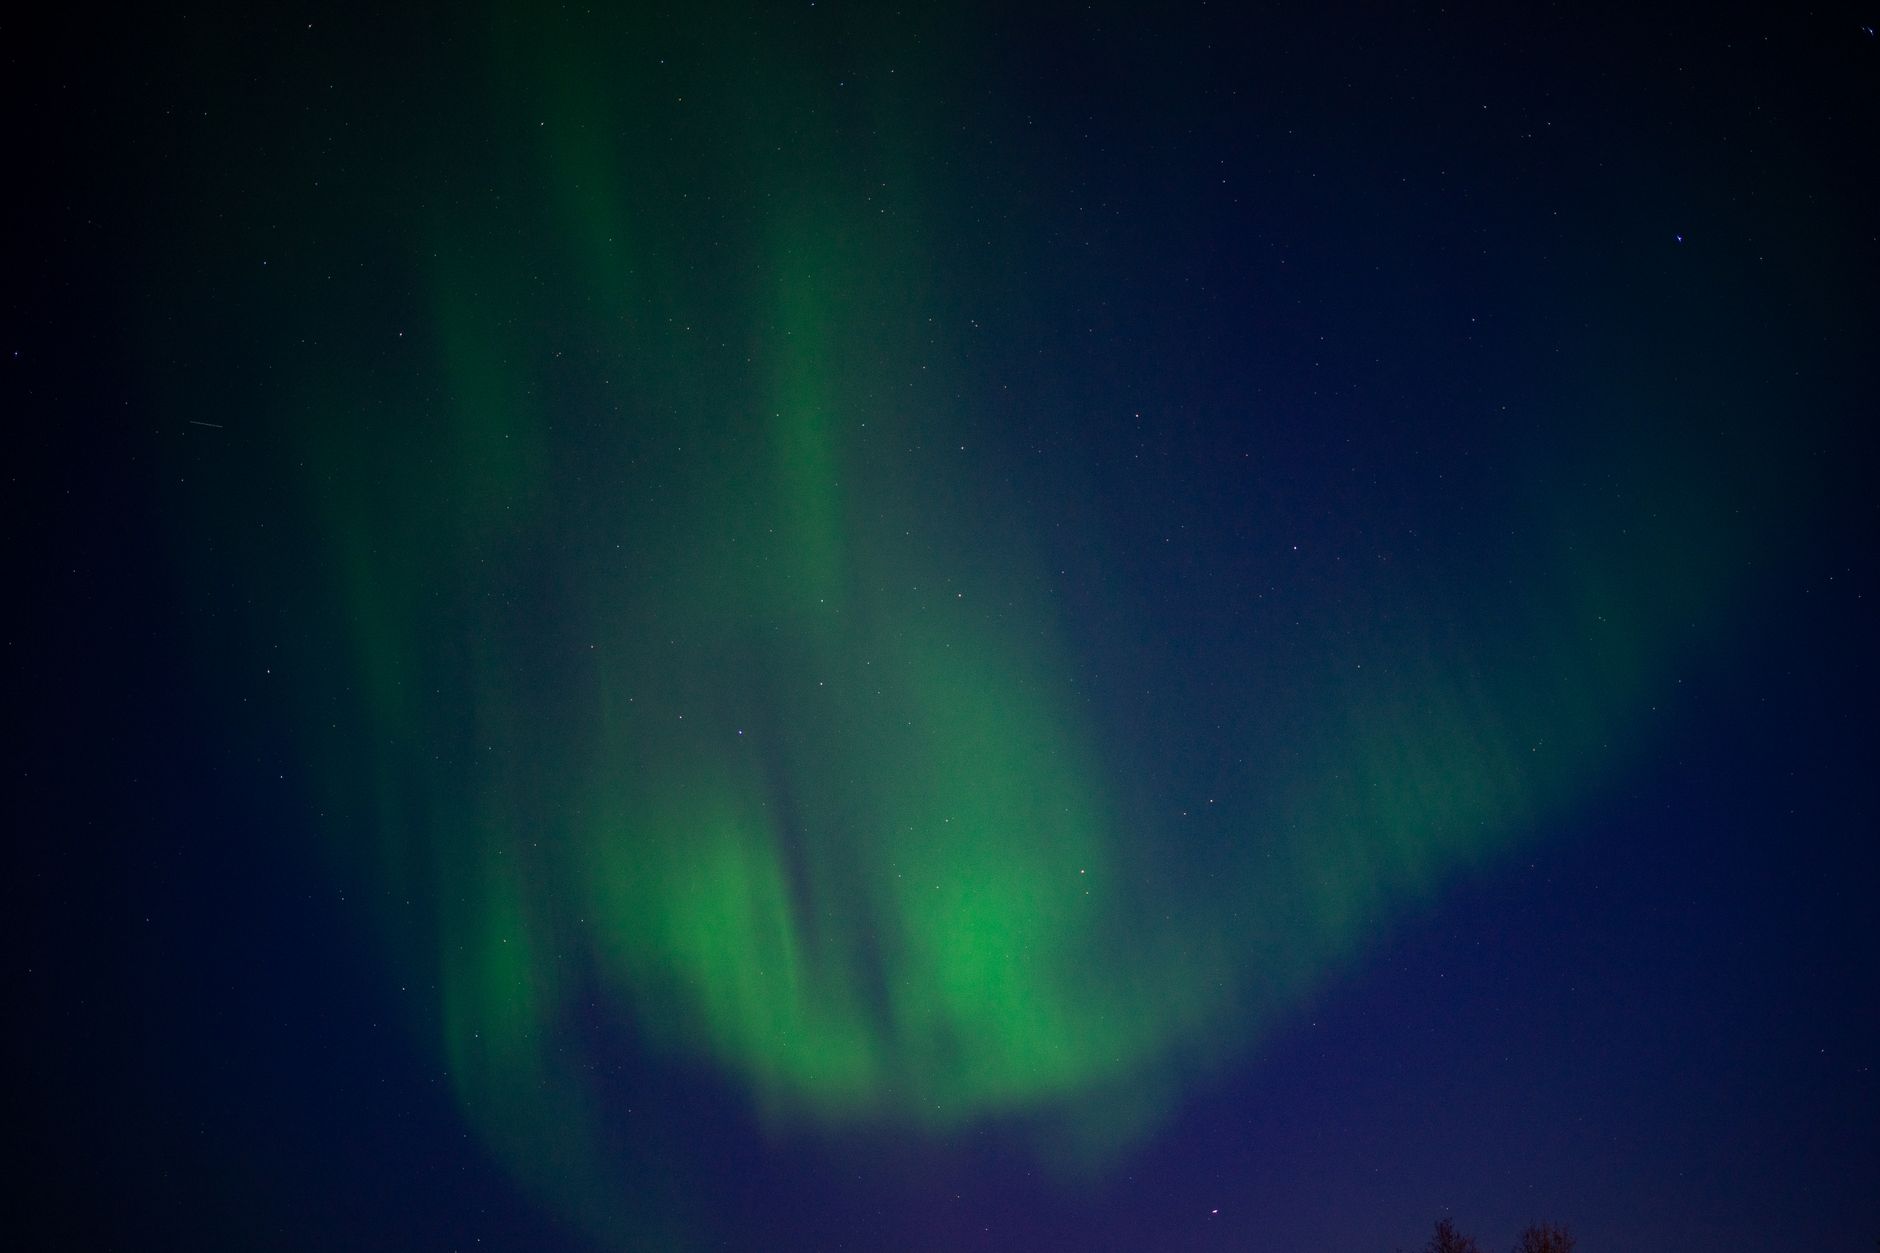
The Northern Lights are a celestial ballet, an ephemeral wonder that beckons adventurers. But as their allure grows, so do the crowds. This guide empowers you to capture their breathtaking beauty through your lens, ensuring you experience and photograph this magic before it becomes a mainstream spectacle.
The Vanishing Act: Your Ultimate Guide to Photographing the Northern Lights Before They Become Mainstream
I remember it like yesterday. The biting cold that seeped into my bones, the crunch of fresh snow under my boots, and the overwhelming silence of the Arctic night. Then, a faint shimmer on the horizon, like a whisper of emerald green. Slowly, tentatively, it grew, stretching across the inky canvas above, morphing into a vibrant, dancing curtain of light. My first encounter with the Aurora Borealis wasn't just a sight; it was a primal, soul-stirring experience that left me speechless, my camera almost forgotten in my numb hands.
That night, somewhere deep in the Finnish Lapland, I fumbled with my camera, desperate to capture the magic. My photos weren't perfect – a little blurry, a bit too dark – but they held the essence of that raw, unforgettable moment. Fast forward a few years, and the Northern Lights have exploded onto everyone's bucket list. Instagram is flooded with stunning aurora shots, travel companies offer packaged tours promising guaranteed sightings, and once-secluded viewing spots are now bustling with busloads of tourists.
Don’t get me wrong, it’s incredible that more people are experiencing this natural wonder. But there’s a distinct difference between seeing the aurora from a crowded viewing platform and witnessing it in the hushed solitude of the wilderness. The "mainstream" wave is coming, and with it, the potential for light pollution, crowded landscapes, and a diluted sense of discovery.
This isn't just a photography guide; it's a call to adventure. It's about empowering you to chase that authentic, untamed aurora experience and capture its ethereal beauty through your lens, preserving not just the image, but the memory of a truly wild encounter, before the secret is out for good.
1. The Urgency of Now: Why Your Aurora Quest Can't Wait
Why the emphasis on "before they become mainstream"? It's not about gatekeeping; it's about preserving the magic. The Arctic is changing, and so is our access to its wonders.
Firstly, climate change is subtly shifting the dynamics. While the aurora itself isn't directly impacted, the conditions for viewing it are. Less predictable snow seasons, changes in ice cover, and even altered weather patterns can influence travel plans and accessibility to remote viewing locations. The pristine, snow-covered landscapes that make for such iconic aurora backdrops might become less consistent.
Secondly, the sheer volume of tourism is growing exponentially. What was once a niche adventure for hardy explorers is now a readily available package holiday. This means:
- Crowded Spots: Iconic locations like Jökulsárlón in Iceland or specific fjords in Norway are increasingly packed with people, making it harder to find a quiet moment or an unobstructed shot. My last trip to Iceland, I saw more camera tripods than actual trees in some areas!
- Light Pollution: While still minimal in truly remote regions, growing infrastructure and increased human presence around popular towns can contribute to light pollution, subtly diminishing the aurora's vibrancy against the night sky.
- Commercialization: While tours are convenient, the experience can feel less personal, more curated. The thrill of the hunt, the hours of patient waiting, and the sheer joy of a spontaneous sighting are often replaced by scheduled stops and pre-planned photo ops.
Going now means you’re still part of that pioneering spirit. You're seeking an experience that feels raw, authentic, and deeply personal. You're not just a tourist; you're an aurora hunter.
2. Your Aurora Arsenal: Gear That Gets the Shot (and Keeps You Warm!)
Capturing the Northern Lights is a technical challenge, but with the right gear, it's incredibly rewarding. Think of your setup as your secret weapon in the cold Arctic night.
- The Camera Body:
- Full-Frame DSLR/Mirrorless (Recommended): Cameras like the Sony a7 series, Nikon Z6/Z7, Canon EOS R/RP, or older models like Nikon D750/D850, Canon 5D Mark IV excel in low light due to their larger sensors. They offer better ISO performance and dynamic range, crucial for capturing faint aurora and starry skies.
- Crop-Sensor DSLR/Mirrorless: Still very capable! Models like the Fujifilm X-T series, Sony a6000 series, or entry-level DSLRs from Canon/Nikon can produce fantastic results. You might just need slightly longer exposures or higher ISOs.
- Advanced Smartphones: Modern phones (iPhone 13 Pro/14 Pro, Google Pixel 6/7 Pro, Samsung Galaxy S22/S23 Ultra) with their "Night Mode" and computational photography are surprisingly good for quick snaps. However, they can't match the detail, low-light performance, or manual control of dedicated cameras. If using a phone, get a sturdy phone tripod adapter and an app like "NightCap Camera" for more control.
- The Lens (Your Most Important Tool):
- Wide-Angle, Fast Aperture is King: You need to capture as much of the sky as possible, and let in as much light as possible.
- Focal Length: 14mm-24mm is ideal for full-frame. For crop sensors, aim for 10mm-16mm to get a similar wide field of view.
- Aperture: f/2.8 or wider (f/1.8, f/1.4) is highly recommended. The wider the aperture, the more light your lens gathers, allowing for shorter shutter speeds and lower ISOs, resulting in cleaner images.
- My Go-To Lenses: For full-frame, I swear by my Sigma 14-24mm f/2.8 Art or a Rokinon/Samyang 14mm f/2.8 (a fantastic budget option!). For crop-sensors, the Tokina 11-16mm f/2.8 is a classic.
- The Indispensable Tripod:
- Sturdy, Sturdy, Sturdy: This isn't optional. Long exposures mean any movement will blur your shot. Invest in a carbon fiber or aluminum tripod that can withstand wind and cold. My cheap travel tripod once buckled in a strong gust, and my camera nearly took an unplanned dive into a frozen lake – lesson learned!
- Ball Head: A good quality ball head allows for quick and precise adjustments.
- Remote Shutter Release:
- Wired or Wireless: Prevents camera shake when pressing the shutter button. Most modern cameras can connect to a smartphone app for remote control, which is incredibly convenient (just watch your phone's battery in the cold!).
- Batteries, Batteries, Batteries:
- Cold Kills Batteries: Seriously, your battery life will plummet faster than you can say "Aurora Borealis." Carry at least 3-4 fully charged spares.
- Keep Them Warm: Store spare batteries in an inside pocket close to your body heat. Pop one in your camera only when you're ready to shoot.
- Memory Cards:
- Plenty of Space: Shoot in RAW (more on this later!), and you'll fill cards quickly. Bring a few high-capacity (64GB+) cards.
- Headlamp with Red Light Mode:
- Preserve Night Vision: A red light allows you to see what you're doing without ruining your (or anyone else's) night vision. White light is an aurora photographer's enemy!
- Warmth is Non-Negotiable:
- Layers: Base layer, mid-layer (fleece/down), outer shell (waterproof/windproof).
- Insulated Boots: With thick wool socks.
- Warm Hat: You lose most heat through your head.
- Gloves: Touchscreen-compatible gloves for operating your camera, and larger, warmer mittens to slip over them when not actively shooting. My hands have gone numb more times than I care to admit.
- Hand Warmers: Chemical hand warmers are a lifesaver, especially for keeping spare batteries warm.
3. Decoding the Dance: Camera Settings for Aurora Magic
This is where the magic happens, and where patience truly pays off. Forget auto mode; you need full manual control.
- Switch to Manual Mode (M): No exceptions.
- Focus - Manual to Infinity:
- Pre-Focus: Before it gets completely dark, focus on a distant object (like a mountain or a far-off tree) and then switch your lens to manual focus. Better yet, use Live View, zoom in 10x on a bright star, and manually adjust until the star is a tiny, sharp pinprick.
- Infinity Mark: Many lenses have an infinity symbol (∞). Focus just shy of the infinity mark, as lenses can sometimes go slightly past true infinity. Tape your focus ring down once set to prevent accidental bumps.
- Aperture - Wide Open:
- Set your aperture to its widest possible setting (e.g., f/2.8, f/1.8, f/1.4). This lets in maximum light.
- ISO - Start High, Adjust:
- Begin with an ISO of 1600 or 3200.
- If the aurora is faint, you might need to go higher (ISO 6400 or even 12800 on full-frame cameras).
- If the aurora is very bright and dancing, you can lower the ISO to reduce noise.
- The goal is to find a balance between brightness and acceptable noise levels.
- Shutter Speed - The Dance of Light:
- This is the most variable setting.
- Faint, Slow Aurora: Start with 15-25 seconds. This gathers enough light to reveal the colors.
- Bright, Dancing Aurora: If the aurora is moving quickly and intensely, shorten your shutter speed to 5-10 seconds. This "freezes" the movement and prevents the aurora from looking like a smeared green cloud.
- Beware of Star Trails: Longer shutter speeds will cause stars to appear as short streaks due to Earth's rotation. The "500 Rule" is a good guideline: 500 / (focal length crop factor) = max shutter speed to avoid star trails. For a 14mm lens on full-frame, that's 500/14 ≈ 35 seconds. But for sharp aurora, you usually want much shorter.
- White Balance - Kelvin is King:
- Auto White Balance (AWB) often makes the aurora look too blue or green.
- Set your White Balance to a Kelvin temperature between 3200K and 4000K. This typically brings out the vibrant greens and purples. You can also try "Tungsten" or "Fluorescent" presets. This is easily adjustable in post-processing if you shoot RAW.
- Shoot in RAW:
- Always, always shoot in RAW format. RAW files contain much more data than JPEGs, giving you far greater flexibility to adjust exposure, white balance, and pull out details in post-processing without degrading image quality. This is crucial for low-light photography.
Test, Review, Adjust: Take a test shot, review it on your camera's LCD (zoom in to check sharpness!), and adjust your settings as needed. The aurora's intensity can change rapidly, so be prepared to adapt!
4. The Hunt: Where & When to Find Your Canvas of Light
Finding the Northern Lights is a three-pronged attack: location, timing, and forecast.
- Best Time of Year:
- Winter Months (September to April): You need dark skies, and the Arctic winter provides the longest nights. December to February generally offer the best chances due to peak darkness and often clearer, colder weather.
- Prime Locations (Seek the Solitude!):
- Iceland: A popular choice, but you can still find quieter spots.
- Popular but Manageable: The Snaefellsnes Peninsula offers dramatic coastlines, the iconic Kirkjufell mountain (a stunning foreground!), and fewer crowds than the South Coast. Stay in a guesthouse in a small town like Grundarfjörður (around $150-250/night for a decent room). Renting a 4x4 car (approx. $70-120/day) is essential for flexibility and reaching secluded spots.
- South Coast: While beautiful (Vik, Jökulsárlón Glacier Lagoon), these areas can be very crowded. Try finding a guesthouse a bit off the main Ring Road. Guided multi-day tours range from $500-1500, but a self-drive adventure offers more freedom.
- Norway: My personal favorite for dramatic landscapes.
- Lofoten Islands: This archipelago is breathtakingly rugged. Rent a traditional rorbu (fisherman's cabin) for $150-300/night. The combination of jagged peaks, calm fjords, and aurora is unparalleled. It's less crowded than Tromsø but requires more planning (flights to Leknes/Svolvær, car rental).
- Tromsø: "The Gateway to the Arctic." More accessible with direct flights. Many aurora tour operators ($150-300 per person for a bus tour, $250-500 for a small group/photo tour). While convenient, be prepared for crowds at popular viewing spots. My advice: rent a car and drive 30-60 minutes out of town away from the city lights.
- Finland (Lapland): The land of Santa and silent forests.
- Rovaniemi/Levi/Saariselkä: These regions offer unique accommodations like glass igloos (starting at $400-800/night, book way in advance!) and traditional log cabins. While popular for winter activities, finding quiet spots in the vast wilderness is still possible, especially if you venture away from the main resorts. Consider a husky sledding trip ($150-300) combined with an aurora hunt.
- Canada (Yukon/Yellowknife): For a truly wild, remote experience.
- Yellowknife, Northwest Territories: Often boasts some of the clearest skies and highest aurora activity. Many Indigenous-led tours offer cultural insights and access to specific viewing cabins (e.g., Aurora Village, prices vary from $100 for a night viewing pass to multi-day packages).
- Yukon Territory (Whitehorse): Offers incredible wilderness and fewer tourists than Yellowknife. Look for local guides who can take you off the beaten path.
- Aurora Forecasts (Your Best Friend):
- KP Index: This is a scale from 0-9 that measures geomagnetic activity. You generally need a KP of 3 or higher for good visibility, but even KP 2 can be visible in dark skies.
- NOAA Space Weather Prediction Center: Reliable for long-range forecasts.
- Apps: "My Aurora Forecast & Alerts" or "Aurora Forecast" are excellent for real-time data and notifications.
- Weather Conditions:
- Clear Skies are Paramount: You can have a KP 9 forecast, but if it's cloudy, you'll see nothing. Check local weather forecasts diligently.
- Patience is a Virtue:
- The aurora is elusive. You might wait hours in the cold, or even several nights, before it appears. My best aurora shots often came after hours of shivering, just when I was about to give up. Bring snacks, a thermos of hot chocolate, and good company!
5. Beyond the Click: Crafting Your Northern Lights Masterpiece
Getting the settings right is half the battle. The other half is about artistry, safety, and respect.
- Composition: Don't Just Shoot the Sky!
- Foreground Interest: A stunning aurora shot needs context. Look for interesting foreground elements: a lone cabin, snow-covered trees, dramatic mountains, a frozen lake reflecting the lights. This adds depth and scale.
- Silhouettes: Position yourself or a friend (with a remote shutter!) as a silhouette against the aurora for a powerful human element.
- Reflections: If you find calm water (a lake, a puddle), the reflection of the aurora can double the magic.
- Self-Portraits with the Aurora:
- Remote Shutter: Essential.
- Light Painting: Briefly use a low-power headlamp or flashlight to "paint" yourself or a foreground object with light during the exposure. Just a quick sweep, don't overdo it!
- Posing: Stand still, look up, and embrace the cold.
- Post-Processing: Enhancing (Not Creating) the Magic:
- Software: Adobe Lightroom Classic is my go-to.
- Basic Adjustments:
- White Balance: Fine-tune the Kelvin temperature to bring out the true colors.
- Exposure: Adjust overall brightness.
- Highlights/Shadows: Recover details in bright areas and open up dark shadows.
- Dehaze: A slight touch can add punch to the aurora.
- Noise Reduction: Low-light shots will have some noise (grain). Use luminance noise reduction carefully – too much can make the image look plastic.
- Color Saturation: Boost the greens and purples slightly, but avoid over-saturating. The goal is to enhance, not fabricate.
- Keep it Natural: The best aurora photos look authentic, not artificially vibrant. Remember, the human eye often perceives the aurora as fainter than the camera captures it, so a bit of enhancement is fine, but don't go overboard.
- Safety First, Always:
- Tell Someone: Always let someone know where you're going and when you expect to return, especially if venturing into remote areas.
- Stay Warm: This cannot be stressed enough. Frostbite is a real danger.
- Know Your Limits: Don't wander onto thin ice or unfamiliar terrain in the dark.
- Local Guides: If unsure, hire a local guide. Their expertise in navigating the terrain and understanding weather conditions is invaluable.
- Respect the Environment (Leave No Trace):
- Pack out everything you pack in.
- Stay on marked trails or established paths.
- Respect wildlife and local communities.
6. The Responsible Adventurer: Preserving the Pristine
As more people discover the wonder of the Northern Lights, the responsibility falls on us, the early adventurers, to ensure its magic isn't diminished. The "mainstream" threat isn't just about crowds; it's about impact.
When I first started chasing the aurora, finding a quiet spot was easy. Now, I sometimes have to drive for hours to escape the glow of a nearby town or the headlights of other aurora hunters. This increased traffic and infrastructure have consequences.
- Light Pollution: Every new hotel, every streetlamp, every car headlight adds to the light pollution that makes the aurora harder to see and photograph. Choose accommodations that are mindful of their light footprint.
- Environmental Impact: More visitors mean more waste, more wear and tear on fragile Arctic ecosystems, and increased carbon emissions from travel.
- Authenticity vs. Experience Factories: The rise of "guaranteed aurora" tours, while convenient, can sometimes strip away the raw, adventurous spirit of the hunt. These tours often visit the same few spots, leading to congestion.
What can you do?
- Choose Sustainable Operators: Support local businesses that prioritize eco-friendly practices.
- Minimize Your Footprint: Practice Leave No Trace principles rigorously.
- Seek Out the Less Traveled: Instead of flocking to the most advertised spots, research smaller towns, more remote guesthouses, or hire a local guide who knows the truly secluded gems.
- Educate Others: Share your photos, but also share the message of responsible travel and the importance of preserving these pristine environments. Encourage others to seek their own unique, respectful encounters.
The true magic of the Northern Lights isn't just in their visual spectacle, but in the profound connection you feel to something ancient, wild, and untamed. It’s about the silence, the cold, the waiting, and the sudden, overwhelming burst of light that reminds you of your small place in a vast universe.
Conclusion: Your Aurora Adventure Awaits
The Northern Lights are more than just a phenomenon; they're an experience that will etch itself into your memory forever. From the moment that first green whisper appears in the sky to the triumphant review of your perfectly captured shot, it’s a journey of awe, challenge, and immense reward.
Don't let this incredible spectacle become just another crowded tourist attraction. Now is your moment to embark on this adventure, to master the art of capturing its fleeting beauty, and to witness it in its purest, most authentic form. Pack your bags, charge those batteries, and brace yourself for a journey that will redefine your understanding of magic.
Don't just dream about those epic shots – go out and capture them! The Aurora is waiting, but not forever. Book that trip, pack that camera, and chase the light. And when you do, share your magic with us using #TripsoraAuroraHunters!
---
More pictures



Tags
Share this guide
We may earn a commission if you click a link and buy a product or service, at no extra cost to you. How affiliate links work.
Been there?