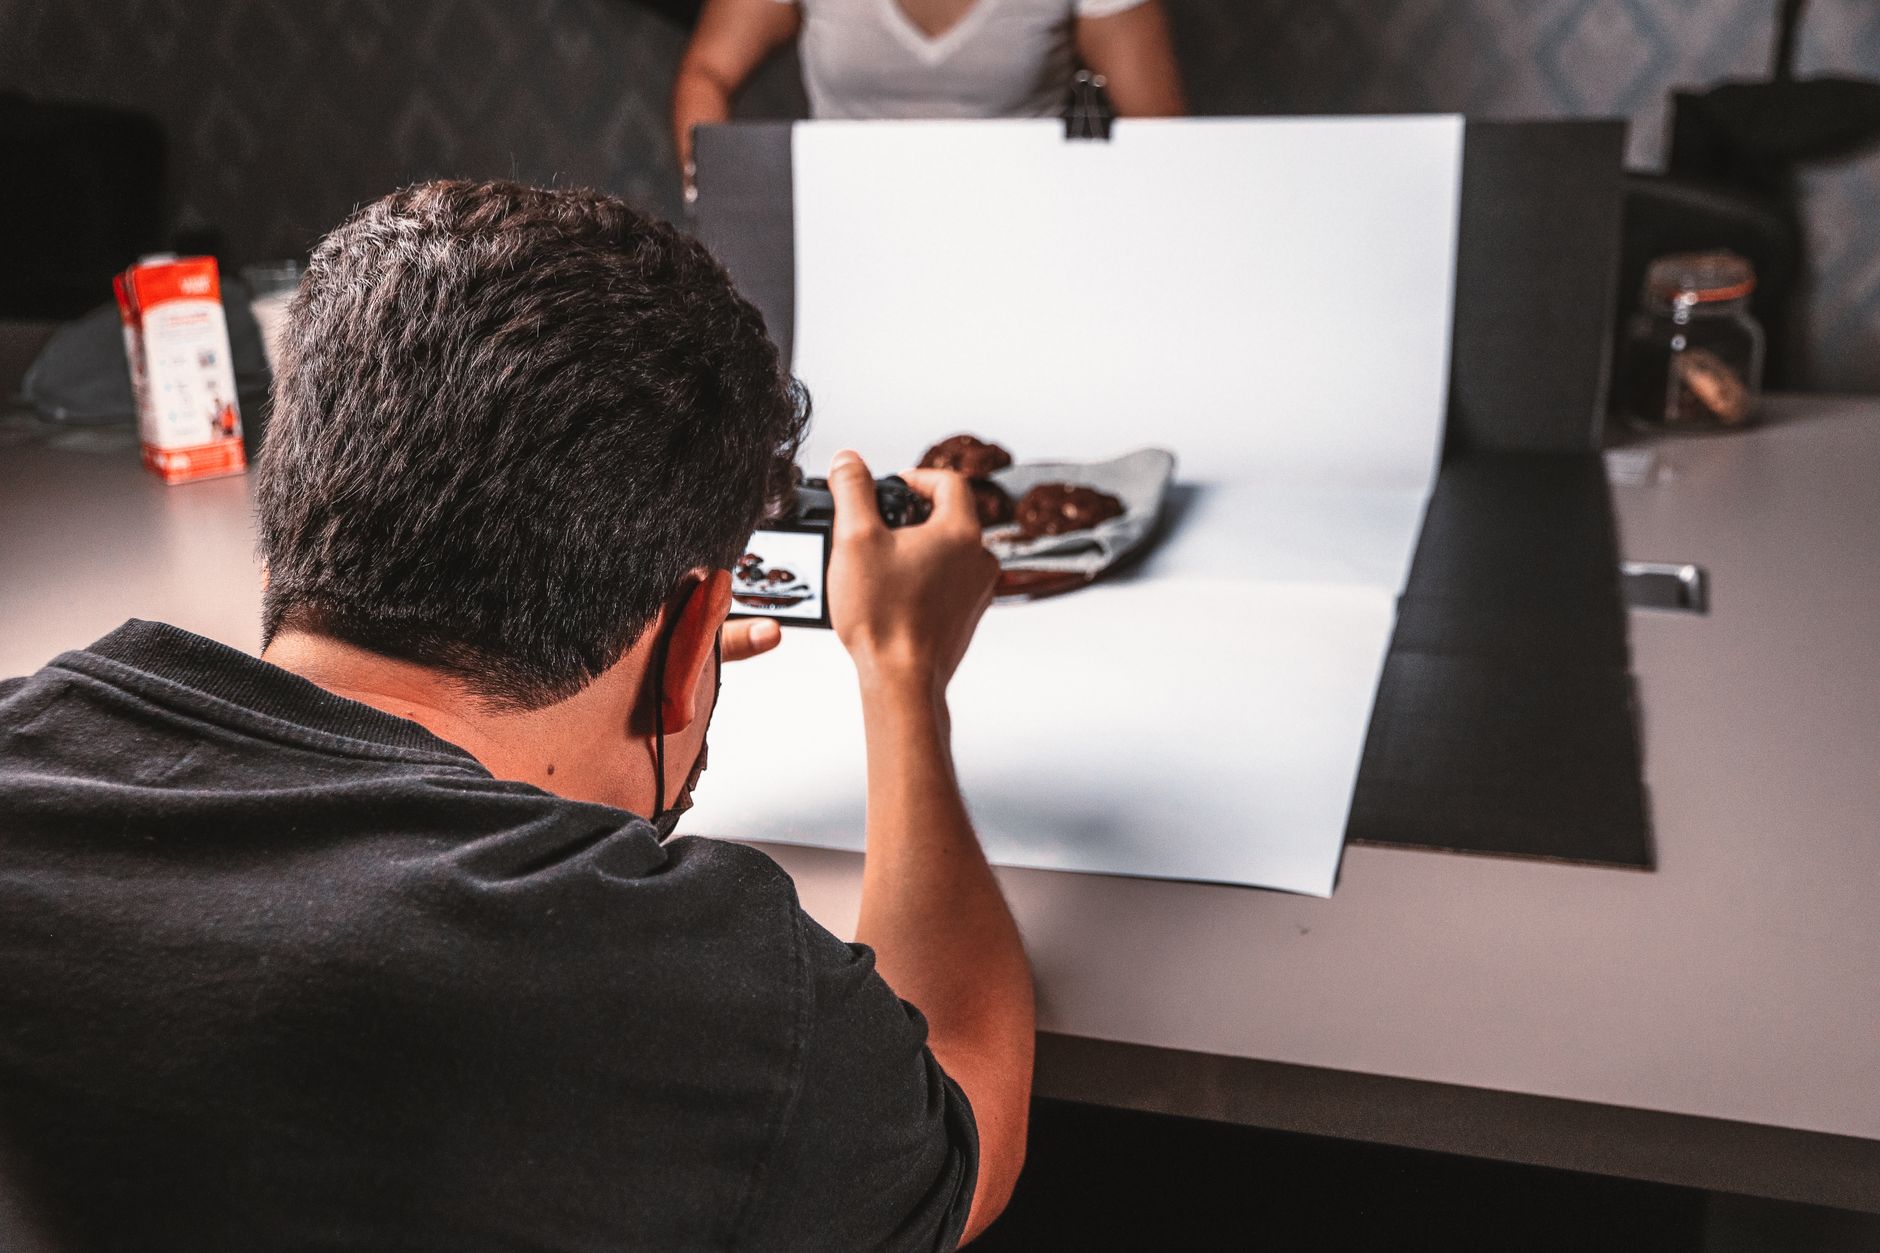
Tired of bland food photos that don't do justice to your incredible culinary adventures? Discover the insider techniques and pro tips that will transform your food photography from "meh" to magnificent, making every dish an Instagram masterpiece. Get ready to capture drool-worthy memories that will blow your mind and everyone else's! ---
Remember that moment? You’re sitting in a bustling little trattoria in Rome, the aroma of fresh basil and simmering tomato sauce filling the air. Before you, a plate of Cacio e Pepe glistens, perfectly al dente, coated in a creamy, peppery embrace. You pull out your phone, snap a quick pic, and… ugh. It looks like a beige blob under harsh yellow light, completely devoid of the magic you’re experiencing. The memory is vivid in your mind, but the photo? It’s an injustice to one of the best meals of your life.
I've been there. So many times. From a vibrant street food stall in Bangkok where my Pad Thai looked like a brown mess, to a delicate sushi platter in Kyoto that turned into a blurry, unappetizing smudge. For years, my food photos were, frankly, terrible. They never captured the explosion of flavors, the cultural context, or the sheer artistry of the dishes I was lucky enough to encounter on my travels.
But then, something shifted. I realized that photographing food isn't just about pointing and clicking; it's an art form that, with a few simple techniques, anyone can master. And let me tell you, once you crack the code, your travel memories—and your Instagram feed—will never be the same. You'll stop just eating the food and start seeing it, appreciating its nuances, and capturing its essence.
This isn't about expensive gear (though we'll touch on it briefly). This is about understanding light, composition, and a few clever tricks that will elevate your food photography from amateur snapshots to professional-level, drool-worthy masterpieces. Get ready to blow your mind, and your followers' minds, with food photos that truly tell a delicious story.
---
Light It Up: Mastering the Art of Illumination for Irresistible Dishes
If there's one secret weapon in food photography, it's light. Forget fancy cameras; bad light will ruin even the best dish. Good light, however, can make a simple plate of scrambled eggs look gourmet.
1. Natural Light is Your Best Friend: This is non-negotiable. Always, always seek out natural light. A window in a café, the open shade of an outdoor market stall, or even just turning your chair slightly towards a well-lit area can make all the difference. Direct sunlight is often too harsh, creating stark shadows and blown-out highlights. Look for soft, diffused light.
- Anecdote: I was once at a tiny, dimly lit izakaya in Tokyo, trying to photograph a beautiful bowl of ramen. Every shot was grainy and flat. Then, I noticed a small window near the entrance. I politely asked to move to a table near it, and suddenly, the steam, the glistening broth, the vibrant green onions – everything popped. It was a revelation. Don't be afraid to move tables or even briefly stand up to find that sweet spot.
2. Avoid Direct Flash Like the Plague: Your phone's flash, or even a camera's built-in flash, is the enemy of food photography. It creates harsh, unflattering light, washes out colors, and makes everything look flat and unappetizing. Just don't do it. Seriously.
3. Embrace Sidelighting and Backlighting: These are your go-to techniques for adding drama and texture.
- Sidelighting: Position your food so the light source is to its side. This creates beautiful shadows and highlights that emphasize texture and dimension. Think of a flaky croissant – sidelighting will make those layers sing!
- Backlighting: Place the light source behind the food, slightly to one side. This creates a gorgeous rim light, highlighting edges and making liquids glow. Imagine a steaming cup of coffee or a glass of chilled rosé – backlighting makes them ethereal. Just be careful not to overexpose the background and use a reflector (even a white napkin!) to bounce some light back onto the front of the food to prevent it from being a silhouette.
4. Diffuse Harsh Light: Sometimes, the natural light is too strong. If you're near a window with direct, bright sun, use anything you can to soften it. A thin white napkin, a menu, or even a piece of paper can act as a diffuser, scattering the light and making it gentler on your food. I once used a white t-shirt held up by a friend to diffuse sunlight for a vibrant tagine shot in Marrakech – worked like a charm!
---
Frame Your Feast: Composing Shots That Tell a Delicious Story
Light sets the mood, but composition tells the story. How you arrange your elements within the frame can elevate a simple photo into a work of art.
1. The Rule of Thirds (and Breaking It!): Imagine your frame divided into nine equal sections by two horizontal and two vertical lines. Placing your main subject (the hero dish!) at the intersections of these lines, or along the lines themselves, creates a more balanced and dynamic image than simply plonking it in the center.
- Anecdote: I learned this the hard way trying to photograph a beautifully presented ceviche in Lima. My initial attempts were all dead-center, making the photo feel static. By shifting the plate slightly to the left and letting the vibrant red onions and cilantro fall into the right third, the image suddenly had movement and visual interest.
2. Leading Lines: Use elements within the scene – cutlery, table edges, even the pattern on a tablecloth – to draw the viewer's eye towards your main subject. This creates depth and guides the gaze.
3. Experiment with Angles: Don't stick to just one perspective.
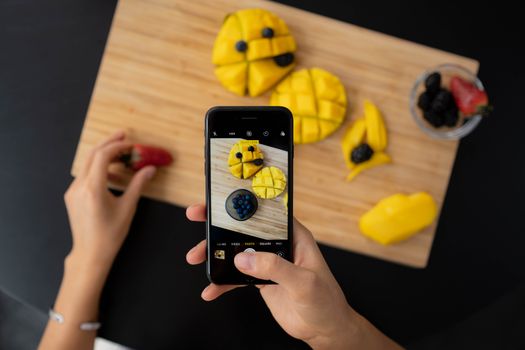
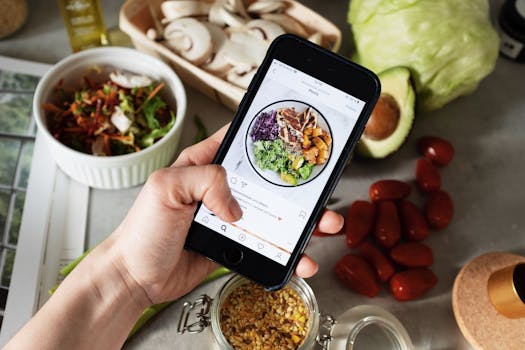
- Overhead (Flat Lay): Perfect for showcasing an entire spread, a busy breakfast table, or dishes with beautiful toppings (like a colorful smoothie bowl or a perfectly arranged pizza). This angle eliminates distracting backgrounds and creates a clean, graphic look. It's especially popular for Instagram!
- 45-Degree Angle: This is the most natural and versatile angle, mimicking how we typically view our food. It's great for dishes with some height, like burgers, cakes, or a bowl of pho.
- Eye-Level/Close-Up: Get down low to capture the details of a towering dessert, the layers of a sandwich, or the steam rising from a hot dish. This angle adds intimacy and makes the viewer feel like they're right there.
4. Negative Space is Your Friend: Don't feel the need to fill every inch of the frame. Empty space (negative space) around your food can make it stand out, giving it room to breathe and allowing the viewer's eye to focus on what matters.
5. Depth of Field (Bokeh): If your camera (or smartphone's "Portrait Mode") allows, use a shallow depth of field to blur the background and foreground, making your food pop. This beautiful blurry effect, known as "bokeh," instantly makes your photos look more professional and emphasizes your hero dish.
---
The Plate is Your Canvas: Simple Styling Tricks for Stunning Shots
Food styling might sound intimidating, but it's really about making your dish look its absolute best, just like a chef would. You don't need a prop kit; you just need an eye for detail.
1. Keep it Clean: This is fundamental. Before you even lift your camera, take a moment to wipe away any drips, crumbs, or smudges from the plate and surrounding surface. A clean presentation instantly elevates the shot. I always carry a small pack of wet wipes for this very purpose!
2. Add Texture and Layers with Garnishes: Fresh herbs (parsley, cilantro, mint), a sprinkle of chili flakes, a drizzle of olive oil, a wedge of lemon, or even a few artfully placed nuts can add color, texture, and visual interest. Think about what complements the dish naturally. For a bowl of vibrant pho in Hanoi, I’d make sure to arrange the lime wedges and chili slices just so, adding a splash of green and red.
3. Strategic Props and Backgrounds:
- Plates & Bowls: Simple, neutral-colored plates (white, grey, black) often work best, as they don't compete with the food. If the restaurant has a unique, beautiful plate, incorporate it!
- Cutlery: A single, elegant fork or a rustic spoon can add context and a human element.
- Tablecloths & Surfaces: Pay attention to the background. A textured wooden table, a simple linen napkin, or a clean, minimalist surface can enhance the shot. Avoid overly busy or distracting patterns.
- Local Elements: This is where travel food photography shines! If you're in Mexico, a small clay pot or a colorful textile could be a perfect prop. In Italy, a scattering of fresh pasta or a bottle of local olive oil. These details tell a story about where you are. I remember using a beautiful, hand-painted tile as a background for a pastel de nata in Lisbon – it instantly transported you there.
4. Capture "Action" Shots: Food isn't always static.
- Steam: Capture the delicious steam rising from a hot bowl of soup or coffee.
- Pouring/Drizzling: A hand drizzling sauce, pouring coffee, or sprinkling cheese can add dynamic movement.
- The "Grab": A hand reaching for a piece of bread or a fork piercing a delicious morsel adds a human, relatable touch. This works especially well for street food where you're eating on the go. Imagine a hand holding a freshly grilled satay skewer at a bustling market in Kuala Lumpur!
5. Find Your "Hero" Ingredient: What's the star of the dish? Is it the perfectly seared scallop, the glistening sauce, or the vibrant fresh vegetables? Focus your composition and styling to highlight that hero.
---
From Smartphone to DSLR: Making the Most of Your Camera Gear
You don't need a professional camera to take mind-blowing food photos. While a DSLR or mirrorless offers more control, modern smartphones are incredibly capable.
1. Unleash Your Smartphone's Power:
- Portrait Mode: This is your best friend for creating that coveted "bokeh" effect (blurred background). It works by simulating a shallow depth of field.
- Grid Lines: Turn on your camera's grid lines (usually in settings) to help you apply the Rule of Thirds and ensure your shots are straight.
- Manual Focus & Exposure: Don't just tap and shoot. Tap on your food to focus, then often a small sun icon will appear allowing you to slide your finger up or down to adjust exposure (brightness). This is crucial for getting the light just right.
- Clean Your Lens: A simple, yet often overlooked tip! Your phone lives in your pocket, collecting dust and fingerprints. A quick wipe with a microfiber cloth can significantly improve clarity.
- Anecdote: I travel with a Sony Alpha mirrorless camera, but honestly, for quick snaps in a busy restaurant like the incredible ramen joint Afuri in Shibuya, my iPhone 14 Pro Max often produces shots that are nearly indistinguishable on social media. The convenience of a phone means you're always ready, and its computational photography is getting insanely good.
2. DSLR/Mirrorless Basics for Food:
- Aperture Priority Mode (Av/A): This mode allows you to control the aperture (which dictates depth of field) while the camera handles the other settings. For food, a wide aperture (low f-number, like f/1.8 to f/2.8) is great for blurring backgrounds.
- Prime Lenses: A 50mm f/1.8 lens (often called a "nifty fifty") is affordable and fantastic for food photography, offering superb sharpness and beautiful bokeh. A macro lens is also amazing for extreme close-ups.
3. Tripod/Stabilizer: For low-light situations or perfectly still flat lays, a small, portable tripod can be invaluable. It eliminates camera shake and allows for longer exposures. A small Gorillapod is a great travel companion.
4. External Light & Reflectors (Optional but Useful): A small, portable LED light panel can be a lifesaver in very dark restaurants. Even better, a simple white or silver reflector (you can buy small collapsible ones for under $20) can bounce natural light back onto your food, filling in shadows and adding sparkle. I carry a small 5-in-1 reflector in my camera bag, and it's saved many a shot!
---
The Magic After the Click: Editing Your Food Photos to Perfection
Editing isn't about transforming a bad photo into a good one; it's about enhancing a good photo to make it great. Think of it as seasoning for your visual feast.
1. Essential Adjustments: These are your bread and butter.
- Exposure: Brighten or darken the image to get it just right.
- Contrast: Add a little pop by deepening shadows and brightening highlights.
- Highlights & Shadows: Recover detail in overexposed bright areas or underexposed dark areas.
- White Balance: Crucial for food! Adjust this to make whites truly white and colors appear natural, removing any yellow, blue, or green color casts from ambient lighting. That beige blob of Cacio e Pepe from earlier? A simple white balance adjustment could have saved it!
2. Color Pop:
- Saturation & Vibrancy: Subtly increase these to make colors richer and more appealing. Don't overdo it, or your food will look artificial.
- Selective Color Adjustments: Many apps allow you to adjust individual colors. For instance, you might boost the reds in a tomato sauce or the greens in fresh herbs without affecting other colors.
3. Sharpening & Clarity: A little sharpening can make details crisp, while clarity adds texture and definition. Use these sparingly to avoid an unnatural, crunchy look.
4. Cropping: This is your final chance to refine your composition. Crop out distracting elements, straighten horizons, or zoom in on the most delicious part of the dish.
5. Favorite Apps & Software:
- Lightroom Mobile (Free & Paid): My absolute go-to. Powerful, professional-grade tools right on your phone. The free version offers plenty, but the paid subscription unlocks cloud sync and advanced features.
- Snapseed (Free): Google's fantastic free editing app. It's incredibly intuitive, with powerful tools like "Selective Adjust" and "Healing" (for removing small imperfections).
- VSCO (Free & Paid): Known for its beautiful film-like filters, VSCO also has excellent editing tools.
- Presets: If you find a look you love, save it as a preset! This allows for consistent editing across your photos, giving your feed a cohesive, professional feel.
- Anecdote: I vividly remember a gelato shot from Florence. The light was harsh, and the colors were muted. A few minutes in Snapseed – adjusting exposure, boosting the reds and yellows of the strawberry and lemon, and adding a touch of contrast – transformed it into a vibrant, mouth-watering image that made people instantly crave Italian gelato. It proved that a good edit can truly make or break a photo.
---
Beyond the Plate: Capturing Culinary Journeys Authentically
Food photography isn't just about the food itself; it's about the entire experience, especially when you're traveling.
1. Be Respectful and Quick: You're in someone else's space, often a restaurant or a busy market. Be mindful of other diners and the staff. Ask permission if you're unsure, and work quickly. Don't let your photography interfere with anyone else's enjoyment or the flow of service. A quick snap or two is usually fine; an elaborate 10-minute setup is not.
2. Embrace the Environment: Don't just focus on the plate. Capture the context!
- Street Food Stalls: Show the bustling energy, the cooking process, the vibrant colors of ingredients.
- Restaurants: Incorporate unique decor, the ambiance, a glimpse of the kitchen (if appropriate).
- Markets: Capture the abundance of fresh produce, the vendors, the local interaction.
- Anecdote: One of my favorite food photos isn't just of a dish, but of the experience. It's a shot from Lau Pa Sat hawker center in Singapore, capturing the steam rising from a sizzling wok, the chef's intense focus, and the blur of people in the background. It tells a much richer story than just a close-up of the food itself, even if the food was incredible (which it was!).
3. Capture the Experience: Include hands holding food, a local chef preparing a dish, or even your travel companion enjoying their meal. These human elements add warmth, authenticity, and relatability.
4. Be Ready: Food appears quickly, especially in busy places. Have your camera (or phone) settings ready to go, lens clean, and positioned for that initial shot before you even order. Sometimes, you only get one chance!
5. Practice, Practice, Practice: Like any skill, food photography improves with practice. The more you shoot, the better you'll understand light, angles, and what works. Don't be afraid to experiment and learn from your mistakes. Every bad photo is a lesson in disguise.
---
Conclusion: Your Culinary Masterpieces Await!
From that first disappointing Cacio e Pepe shot to now, my food photography journey has been a delicious evolution. It’s no longer just about documenting what I eat; it's about preserving a moment, telling a story, and sharing the sheer joy of culinary discovery with the world.
You now have the tools: understand the power of natural light, master composition, subtly style your dishes, maximize your gear (even just your phone!), and polish your images with smart editing. Remember to always be respectful of your surroundings and embrace the unique context of your travel experiences.
The next time you're faced with a plate of incredible food, whether it's a gourmet meal in Paris or a humble, flavorful taco from a street vendor in Mexico City (which might cost you just $1!), you'll have the confidence to capture its essence. These tips aren't just for bloggers; they're for anyone who wants to hold onto their travel memories in the most delicious, visually stunning way possible.
Now it's your turn! Grab your camera (or phone!), head to your next culinary adventure, and start snapping. Don't just eat the food – capture it. Share your mouth-watering masterpieces with us using #TripsoraFoodie and #ProFoodPics! We can't wait to see what deliciousness you uncover.
What's your absolute go-to food photography tip, or your biggest food photo challenge? Share it in the comments below – let's inspire each other!
---
More pictures


Tags
Share this guide
We may earn a commission if you click a link and buy a product or service, at no extra cost to you. How affiliate links work.
Been there?