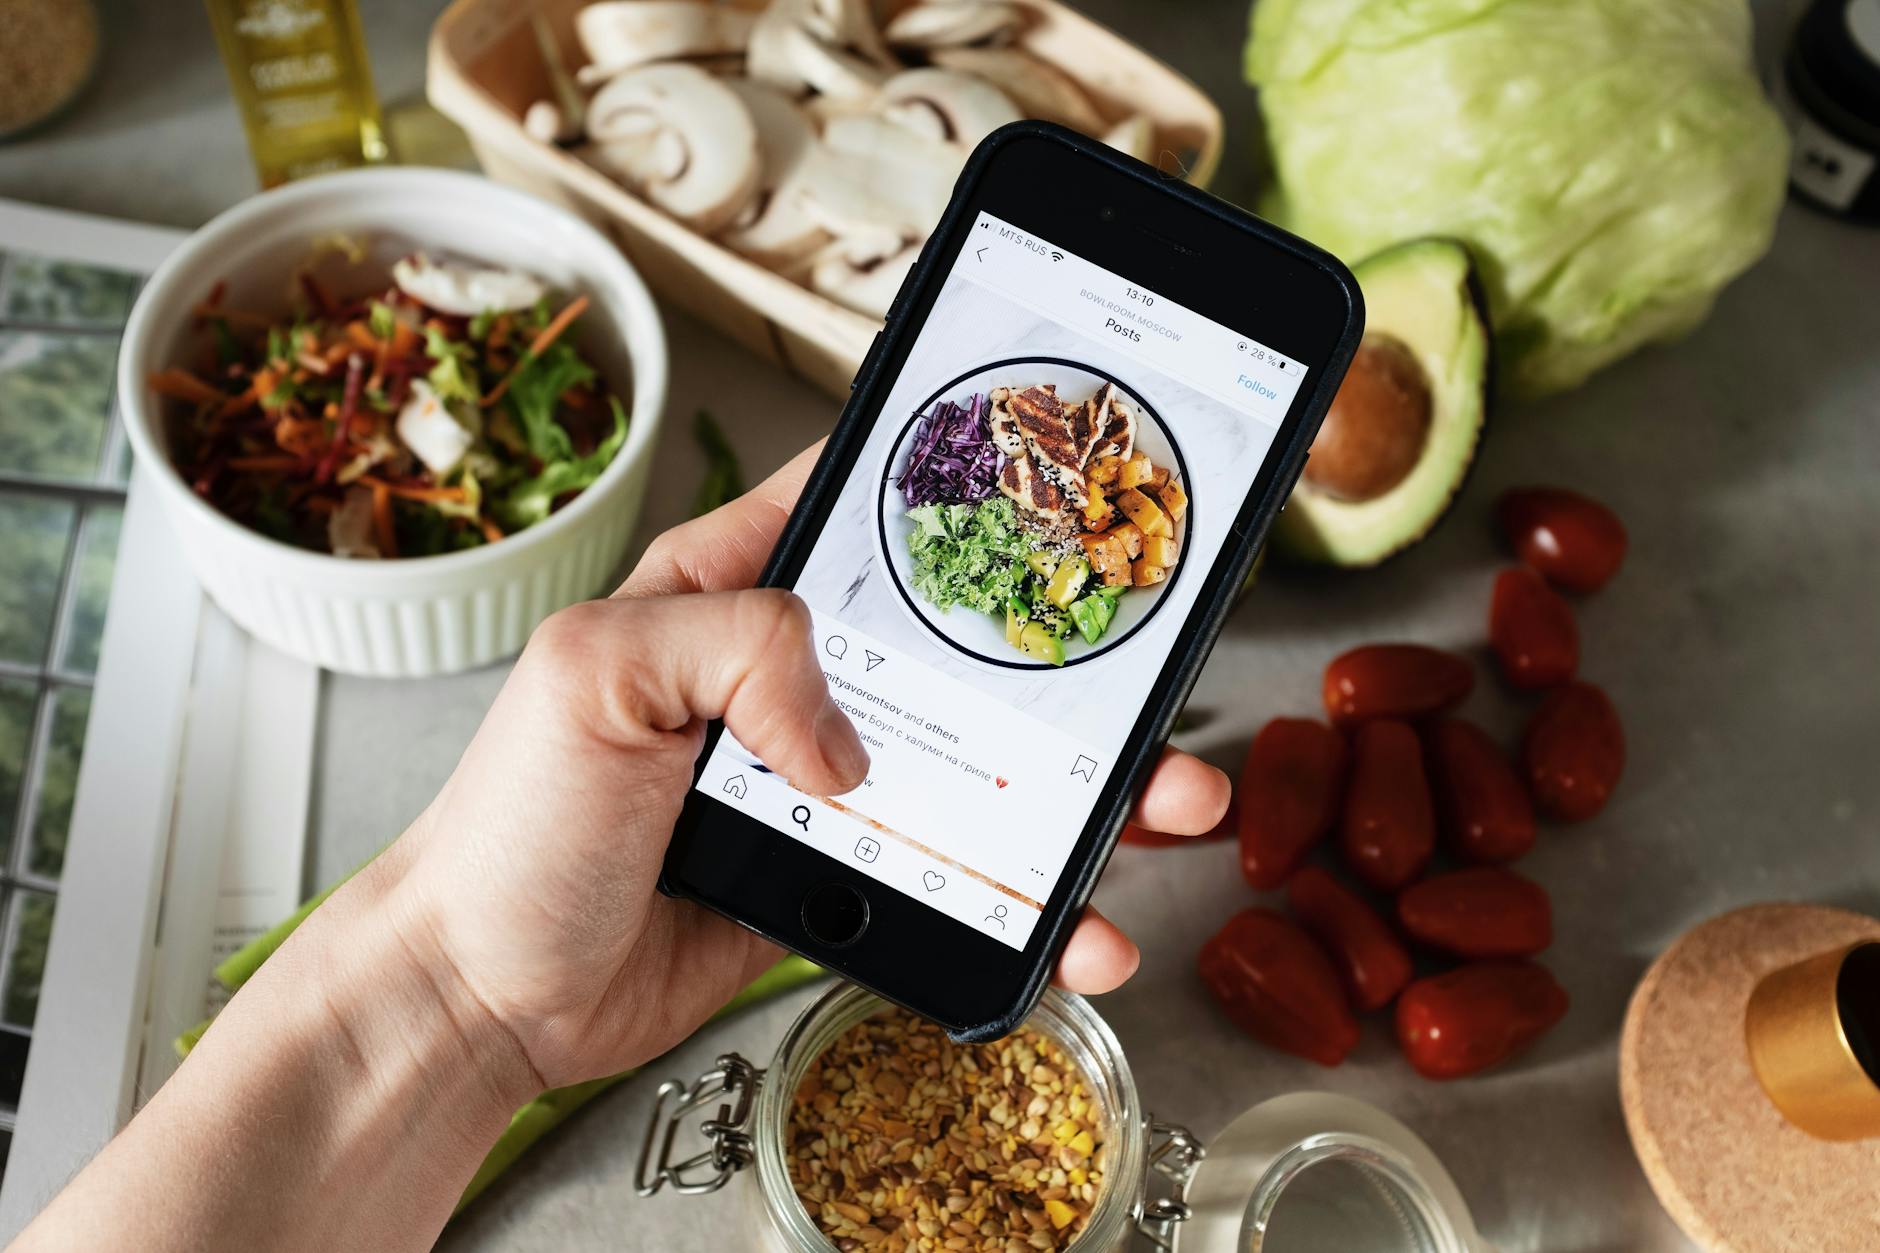
Tired of your travel food photos falling flat? We've uncovered the closely guarded secrets pro photographers use to capture local dishes with mouth-watering authenticity. Get ready to transform your food photography and make every bite look as good as it tastes – a skill even the locals will envy! ---
Uncover Local Food Secrets: Pro Photo Tips Locals Don't Want Tourists to Know
I remember my first trip to Southeast Asia. I was buzzing with excitement, camera in hand, ready to document every vibrant market, every steaming bowl of noodles, every exotic fruit. But when I got home and scrolled through my photos, a wave of disappointment washed over me. My Pad Thai looked like a brown blob, the vibrant colors of a Vietnamese banh mi were muted, and that incredible street-side durian? It looked… well, it looked like a potato. My photos simply didn't capture the magic, the aroma, the soul of the food I had devoured. They were just... tourist photos.
Sound familiar?
For years, I struggled. I’d see other travelers, often locals or seasoned food bloggers, whip out their phone or camera, snap a seemingly effortless shot, and then bam! – a masterpiece. Their pho looked like it was still steaming, their tacos practically leaped off the screen, and their gelato? It looked like pure bliss. What was their secret? What did they know that I didn't?
Through countless trips, endless culinary adventures, and a fair share of photographic failures (and successes!), I started to crack the code. I learned that capturing truly authentic, mouth-watering food photos isn't about expensive gear or elaborate setups. It's about understanding light, composition, and most importantly, respect for the food and its culture – subtle nuances that often go unnoticed by the average tourist. These are the "secrets" the locals inherently understand, the unwritten rules of capturing their culinary heritage that they might not explicitly teach you, but definitely practice.
And today, for Tripsora readers, I’m spilling the beans. Get ready to transform your travel food photography from bland snapshots to shareable, drool-worthy art that tells a story.
1. The Golden Hour (for Your Plate): Mastering Natural Light
Forget everything you think you know about flash photography for food. Just... forget it. The harsh, direct light from your phone's flash is the culinary equivalent of a jump scare – it flattens textures, washes out colors, and casts ugly shadows. The single most important secret to professional-looking food photos? Natural light.
Locals, particularly in bustling markets or cozy cafes, instinctively gravitate towards the best light. They won't set up a portable lighting rig; they'll simply choose the right spot.
The "Secrets" of Natural Light:
- Window Light is Your Best Friend: Always, always, always try to sit near a window. The soft, diffused light from a window creates beautiful, even illumination, highlighting textures and colors without harsh shadows. This is my go-to strategy, whether I'm in a quaint Parisian bistro or a bustling coffee shop in Medellín.
- Open Shade is a Close Second: If you're eating al fresco, avoid direct sunlight. Harsh sun creates blown-out highlights and deep, distracting shadows. Instead, find a spot under an awning, a large tree, or even the shade cast by a building. The open shade provides soft, diffused light that's perfect for food. I learned this trick while trying to photograph vibrant fruit stalls in a Vietnamese market – stepping just under an overhang made all the difference.
- Backlight with Caution: Sometimes, light coming from behind the food can create a beautiful halo effect, especially with steam or liquids. However, it can also underexpose the front of your dish. If you use backlight, try to bounce some light back onto the front using a white napkin or a menu (more on this below).
- Observe the Locals: Watch where people are choosing to sit. Are they all flocking to a particular table? Chances are, that's where the best light is. In a small, dimly lit izakaya in Kyoto, I once noticed a group of Japanese diners meticulously choosing the table closest to the subtly lit shoji screen. Their food photos, snapped quickly, had a beautiful, soft glow. I quickly followed suit.
Actionable Tip: Always scout your seating. If you can't get a window seat, turn off your flash and try to position your plate so the light source (even overhead restaurant lighting) is slightly to the side or behind, not directly above. A simple white napkin, strategically placed opposite your light source, can act as a mini reflector, bouncing light back onto your food and lifting shadows. It’s a trick I picked up from a street vendor in Penang who used a piece of white cardboard to make his satay look irresistible – completely free, completely effective.
2. Angles of Envy: Composing Your Culinary Masterpiece
Once you've got your light sorted, the next step is composition. The angle from which you shoot can completely change the story your food photo tells. Locals aren't afraid to get a little creative (or discreetly efficient) with their angles.
The "Secrets" of Strategic Angles:
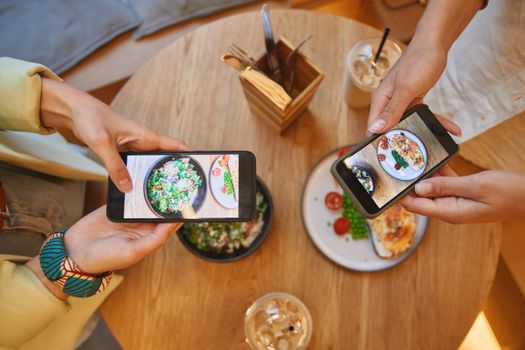
- The Flat Lay (Overhead Shot): This is a social media darling for a reason. Shooting directly from above (90-degree angle) works wonders for dishes with many components, colorful spreads, or interesting table settings. Think tapas, a breakfast spread, or a beautifully arranged bento box. It’s perfect for showing off variety. I used this angle extensively in Lisbon to capture vibrant plates of petiscos (Portuguese tapas) against rustic tile backgrounds. It shows the whole story of the table.
- The 45-Degree Angle (Eye-Level with the Dish): This is your classic, versatile shot. It mimics how you'd see the food if you were about to eat it, offering a sense of depth and showcasing the layers or height of a dish. It’s ideal for burgers, layered cakes, or a towering bowl of ramen. It feels intimate and inviting. I once watched a local in a Florentine trattoria perfectly capture his pasta at this angle, emphasizing the rich sauce and fresh basil.
- The Close-Up (Macro Magic): Sometimes, it's all about the details. A tight shot can highlight the texture of a flaky pastry, the glistening sauce on a piece of chicken, or the perfect char marks on grilled vegetables. This angle can create a powerful emotional response, making the viewer almost taste the food. When photographing street food in Mumbai, I often lean in for a close-up on the spices and textures of a samosa, bringing out its delicious imperfections.
- The "Eating" Shot: Don't be afraid to show the food being enjoyed! A hand reaching in with chopsticks, a fork, or even just holding the dish can add a dynamic, human element. It tells a story of consumption and enjoyment, making the food feel more real and accessible. Just make sure the hands are clean and the focus is still on the food!
Actionable Tip: Don't just take one shot. Experiment! Take an overhead, then a 45-degree, then a close-up. Try different crops. The more you practice, the faster you'll instinctively know which angle works best for a particular dish. Remember the rule of thirds – imagine a grid over your image and place key elements along the lines or at their intersections for a more balanced and engaging composition.
3. Beyond the Plate: Storytelling Through Props & Context
A great food photo isn't just about the dish itself; it's about the entire experience. Locals understand that the environment, the atmosphere, and the subtle details tell a much richer story than a sterile, isolated plate. This is where your photos stop being just "food" and start becoming "travel."
The "Secrets" of Contextual Storytelling:
- Embrace the Background: Don't be afraid to let the background play a role. A blurred hint of a bustling market, a rustic restaurant wall, a local's hand stirring a pot, or even the menu can add incredible depth and authenticity. This is particularly effective for street food. When I photographed a delicious bowl of Laksa in Singapore, I made sure the vibrant hawker center atmosphere was subtly visible, not just the bowl itself.
- Incorporate Local Elements: Use props that are authentic to the location. A traditional drink, local cutlery, unique textiles, a travel guide open to the city map, or even a local newspaper can instantly transport the viewer. In Morocco, I always try to include a traditional tea glass or a ceramic tagine in my shots to ground the food in its cultural setting.
- Show the "Before" and "During": The story of food often begins before it hits the plate. Capture the vibrant ingredients at a market, the chef expertly preparing a dish, or the steam rising from a freshly cooked meal. These moments add anticipation and authenticity. I've found some of my most captivating shots are of a smiling vendor preparing my tacos in Mexico City, rather than just the finished product.
- Don't Over-Style: While props are great, resist the urge to over-style or move things too much. The charm of local food often lies in its natural, unpretentious presentation. A local isn't going to spend five minutes rearranging their pho for a photo; they want to eat it! Your goal is to capture the food as it is, in its natural environment, not to turn it into a magazine spread (unless that's your specific goal, but for authentic travel, less is often more).
Actionable Tip: Before you even raise your camera, take a moment to look around. What elements define this culinary experience? Is it the street art behind the vendor? The unique pattern on the tablecloth? The specific type of chili sauce? Incorporate one or two of these elements naturally into your frame. Use a shallow depth of field (if your camera/phone allows) to blur the background slightly, keeping the focus on your food while still hinting at its surroundings.
4. The Art of the Quick & Discreet Snap: Respecting the Moment
This is perhaps the most crucial "secret" locals employ, and it's less about photography technique and more about cultural etiquette and efficiency. Locals don't want tourists turning their meal into a photoshoot spectacle. They want to eat, enjoy, and move on. Learning to shoot quickly and discreetly is key to getting authentic shots without disturbing anyone, especially in busy, intimate, or culturally sensitive settings.
The "Secrets" of Speed and Subtlety:
- Pre-Visualize Your Shot: Before the food even arrives, or as it's being placed in front of you, quickly plan your shot. Where's the best light? What angle will work? What background elements do you want to include? This mental preparation shaves precious seconds off your shooting time. I do this automatically now; my eyes scan for light and composition as soon as I sit down.
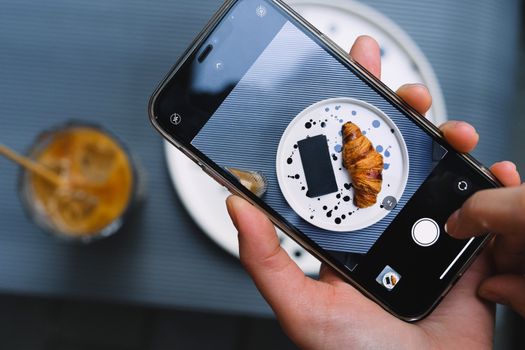
- Have Your Camera Ready: Whether it's your phone or a dedicated camera, have it out, unlocked, and set to your preferred mode. Don't fumble with settings when the hot, steaming dish arrives. For phone users, open your camera app. For DSLR/mirrorless users, have your lens cap off and power on.
- Shoot Fast, Then Eat: Take a few quick bursts from different angles, then put your camera down and enjoy your meal. The best food photos capture the food at its peak – hot, steaming, fresh. The longer you wait, the less appealing it becomes. I've seen tourists spend minutes arranging a bowl of pho, only for the noodles to clump and the broth to cool. Locals just snap and slurp.
- Be Mindful of Others: Don't stand on chairs, block walkways, or use a huge flash that blinds other diners. Be respectful of the space and the people around you. Your goal is to blend in, not to be a disruptive tourist. This is where the "locals don't want tourists to know" truly resonates – it's about being a considerate guest.
- Embrace Imperfection: Not every shot needs to be perfectly staged. Sometimes, the most authentic photos are those quick, slightly candid shots that capture the raw energy of the moment.
Actionable Tip: Practice quick shooting. Set a timer for 30 seconds and try to get 3-5 different shots of a dish. This teaches you to be efficient. And always, always prioritize enjoying the food and the company over getting the "perfect" shot. A slightly less-than-perfect photo of a memorable meal is far better than a perfectly staged photo of a cold, forgotten dish.
5. Post-Processing Power-Up: The Digital Darkroom Secrets
Even the most seasoned food photographers don't just share their photos straight out of the camera. A little post-processing can elevate a good photo to a great one, enhancing colors, sharpening details, and correcting minor imperfections. This isn't about altering reality; it's about making the photo reflect what you saw and tasted in person.
The "Secrets" of Smart Editing:
- Mobile Apps are Your Best Friends: You don't need Photoshop. Apps like Adobe Lightroom Mobile (free version is robust), Snapseed, and VSCO offer powerful editing tools right on your phone. They allow you to make quick, impactful adjustments on the go.
- Key Adjustments to Master:
- Exposure: Brighten or darken your image.
- Contrast: Make the darks darker and the lights lighter, adding punch.
- Highlights & Shadows: Recover detail in overexposed bright areas or underexposed dark areas.
- White Balance: Adjust the color temperature to make whites truly white, removing any yellow or blue casts. This is crucial for making food look appetizing.
- Saturation/Vibrance: Boost colors, but use sparingly! Too much saturation makes food look artificial. Vibrance is often a safer bet as it boosts less saturated colors more subtly.
- Sharpness/Clarity: Enhance details and make textures pop.
- Crop and Straighten: A slight tilt can ruin a good photo. Use the straighten tool, and crop to improve composition (e.g., removing distracting elements or adhering to the rule of thirds).
- Consistency for Your Feed: If you're building an Instagram presence, try to develop a consistent editing style. This means using similar adjustments or a consistent preset for all your food photos, giving your feed a cohesive, professional look.
Actionable Tip: Don't be intimidated by editing. Start with just three adjustments: exposure, white balance, and contrast. Practice on a few photos until you understand how each slider affects your image. You'll be amazed at the difference a few subtle tweaks can make. I learned the hard way that a little bit goes a long way – over-editing can make your food look fake and unappetizing. Aim for natural enhancement, not transformation.
6. The Unwritten Rules: Etiquette & Authenticity
This final secret weaves through all the others. The "locals don't want tourists to know" isn't about hoarding techniques; it's about embodying a respectful, authentic approach to travel and food. It’s about being a mindful participant, not just an observer.
The "Secrets" of Respectful Photography:
- Ask Permission (When Necessary): If you're photographing a vendor, a chef, or a person eating their meal, a quick smile and gesture (or a simple "May I?") goes a long way. Most people are happy to oblige, especially if you then thank them or even offer to show them the photo. This builds connection and allows for truly authentic shots. I've had incredible interactions and even free samples after asking a street vendor in Delhi if I could photograph their chaat.
- Don't Disrupt the Flow: In a busy restaurant or market, be quick and don't block pathways or hold up service. Your photo isn't more important than someone else's meal or livelihood.
- Respect the Dish: Avoid overly rearranging the food, especially if it's a traditional dish with specific presentation. The chef plated it that way for a reason. Make minor adjustments at most.
- Prioritize the Experience: Sometimes, the best "photo" is the memory you create by simply putting your camera down and fully immersing yourself in the moment, savoring every bite, every aroma, every conversation. Not every meal needs to be documented. Some are just meant to be lived.
Actionable Tip: Before you even think about your camera, take a moment to absorb the atmosphere. What's the story here? How can you capture it without disturbing it? Your goal is to be a respectful guest, not a demanding photographer. This approach not only yields more authentic photos but also enriches your entire travel experience.
Go Forth and Photograph!
Mastering food photography like a pro isn't about fancy gear or elaborate setups. It's about understanding light, composing thoughtfully, telling a story, being quick and discreet, adding a touch of digital polish, and above all, respecting the food and its culture. These "secrets," once learned, will transform your travel photos from mere snapshots into mouth-watering narratives that will make your friends, family, and even the locals, stop and stare.
So, next time you're faced with an incredible local delicacy, remember these tips. Choose your light, compose your shot, snap quickly, and then dive in! Your taste buds (and your Instagram feed) will thank you.
Now, it's your turn! Put these tips into practice on your next adventure. Share your most delicious, authentic food photos with us using #TripsoraFoodie and tag us @TripsoraOfficial. We can't wait to see your culinary masterpieces!
---
More pictures


Tags
Share this guide
We may earn a commission if you click a link and buy a product or service, at no extra cost to you. How affiliate links work.
Been there?