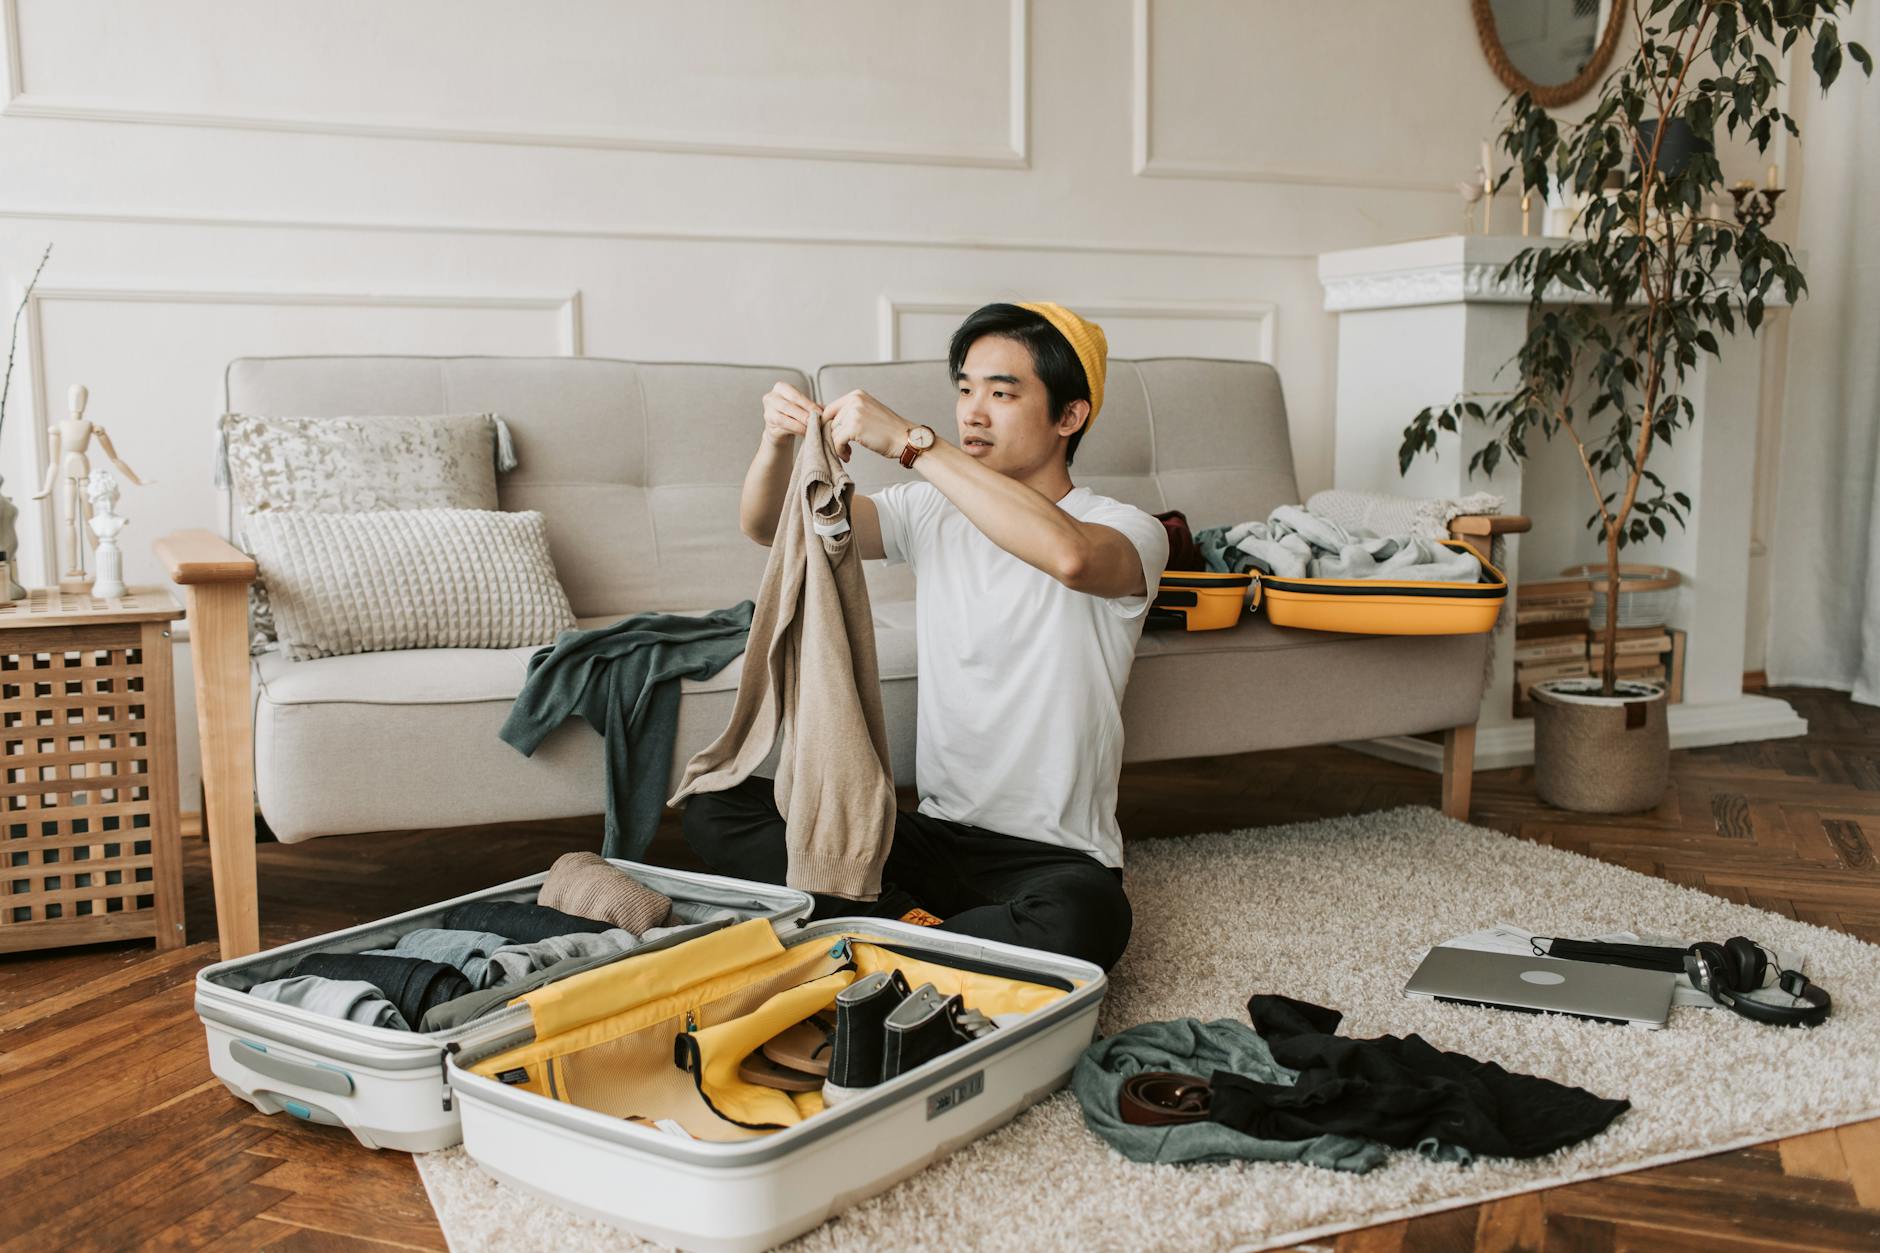
Baggage fees are the bane of every traveler's existence, a sneaky cost that can turn a cheap flight into an expensive ordeal. But what if I told you there's a way to *never* pay them again, unlocking a freedom that will transform your trips forever? Get ready to discover the ultimate travel secrets that will keep more money in your pocket for unforgettable adventures! ---
The Secret to Never Paying Baggage Fees Again: Your Ultimate Guide to Freedom
Oh, the dreaded baggage fee. We’ve all been there, haven't we? Standing at the check-in counter, heart sinking as the agent eyes your perfectly innocent-looking suitcase, then drops the bomb: "That'll be $70 for your checked bag, please." Seventy dollars! That’s a fancy dinner, two nights in a hostel, or a thrilling excursion in a new city. It’s money that could be spent on experiences, not on the privilege of hauling your stuff across continents.
I remember my own wake-up call vividly. It was a few years ago, a spontaneous trip to Barcelona with a budget airline. I thought I was so smart, snagging a flight for under $100. My carry-on was perfectly within limits, or so I thought. But then, at the gate, a stern-faced attendant pulled out a measuring cage that looked suspiciously smaller than the one advertised online. My bag, a beloved travel companion for years, wouldn't quite fit. "That's an oversized carry-on," she declared, with the finality of a judge. "That'll be €60 to check it." Sixty euros! For a bag that was just a hair too big. My "budget" flight suddenly felt like a luxury item.
That moment wasn't just a frustrating expense; it was a revelation. It sparked a mission. I vowed right then and there: I would never pay another baggage fee again. And guess what? I haven't. Not once. In countless flights across Europe, Asia, North America, and beyond, from budget carriers to full-service airlines, I’ve zipped through airports, carry-on and personal item in tow, leaving the baggage fee anxiety in my dust.
This isn't just about saving money (though that's a huge perk!). It’s about freedom. The freedom to move swiftly, to avoid lost luggage nightmares, to embrace spontaneity, and to feel like a true travel ninja. And today, my fellow adventurers, I’m going to share every single one of my hard-won secrets with you. This isn't just a guide; it's a lifestyle change, one you absolutely need to experience before you die.
Ready to reclaim your travel budget and your sanity? Let’s dive in!
1. The Mindset Shift: Carry-On is King (and Queen!)
The first, and perhaps most crucial, step to never paying baggage fees again is a fundamental shift in your travel philosophy. You need to embrace the "carry-on only" mindset. This isn't just a suggestion; it's the golden rule, the North Star of fee-free travel.
Think about it: airlines primarily charge for checked bags. If you don't check a bag, you don't pay a checked bag fee. Simple, right? But it goes deeper than that. Traveling with just a carry-on and a personal item forces you to be intentional, to question every single item you pack. Do you really need that third pair of shoes? Is that entire bottle of shampoo essential, or will a travel-sized version suffice?
This mindset change will transform your entire travel experience. Imagine breezing past the long check-in lines, heading straight for security. Picture yourself being the first one out of the airport upon arrival, not waiting anxiously by the baggage carousel. Envision the flexibility of being able to hop on an earlier flight, or even change your destination last minute, without worrying about your luggage. This isn't just about saving money; it's about saving time, stress, and unlocking a level of travel agility you never thought possible.
My first "carry-on only" trip was a nervous experiment for a two-week multi-city European adventure. I packed and repacked a dozen times, convinced I'd forgotten something vital. But once I was on the road, navigating bustling train stations and cobbled streets with ease, I realized the immense liberation. I felt light, unburdened, and utterly free. That feeling? That's what we're chasing.
2. Mastering the Art of the Personal Item: Your Secret Weapon
Here's where the magic truly happens, and where many travelers miss a huge opportunity. Most airlines, even the strictest budget carriers, allow you to bring two items on board: a carry-on bag (which goes in the overhead bin) AND a personal item (which must fit under the seat in front of you). The personal item is your secret weapon, your hidden compartment for crucial extras.
- Know Your Dimensions (and Be Ruthless!): This is paramount. Personal item dimensions vary wildly. Ryanair, for example, is notoriously strict, often allowing only a small bag (e.g., 40x20x25 cm or 16x8x10 inches) that must fit under the seat. Other airlines like Southwest or Delta are more generous. Always, always, always check your specific airline's policy for both carry-on and personal item dimensions before you fly. Print them out if you have to!
- Invest in the Right Bag: Don't just grab any old backpack. Look for backpacks or soft duffel bags specifically designed to maximize personal item dimensions. Many brands now offer "underseat compliant" bags that are surprisingly spacious. My go-to is a soft-sided travel backpack (like the Osprey Fairview/Farpoint 40 or a comparable budget option) that, when not fully stuffed, can often squeeze into personal item dimensions, or act as my main carry-on. For my personal item, I often use a smaller, shapeless backpack or a large tote bag that can be squished.
- What Goes Inside? Your personal item is for your essentials, but also for your heaviest, densest items that might push your carry-on over a weight limit (if applicable). Think:
- Electronics: Laptop, tablet, camera gear, chargers.
- Documents & Valuables: Passport, wallet, important papers.
- Entertainment: Books, headphones.
- A Change of Clothes: Always pack one emergency outfit in your personal item, just in case your carry-on gets gate-checked (it happens!).
- Toiletries: Your 3-1-1 liquids bag.
- Heavy Clothing: A sweater, a pair of jeans, or a pair of shoes can be strategically placed here if your carry-on is getting tight.
- My Lisbon Personal Item Hack: I once managed to pack enough for a 4-day trip to Lisbon in just my personal item (a small backpack that was 40x20x25cm). How? Minimalist clothing (2 pairs of pants, 3 tops, underwear, socks), a travel-sized toiletries kit, my camera, and a very thin pair of sandals. It was tight, but it worked, and I bypassed even the carry-on fee some budget airlines charge! The key was rolling everything tightly and wearing my bulkiest items on the plane.
3. The Packing Ninja's Toolkit: Gear & Techniques
Now that your mindset is aligned and your personal item game is strong, let's talk about the actual packing. This is where strategic gear and smart techniques come into play, allowing you to fit more into less.
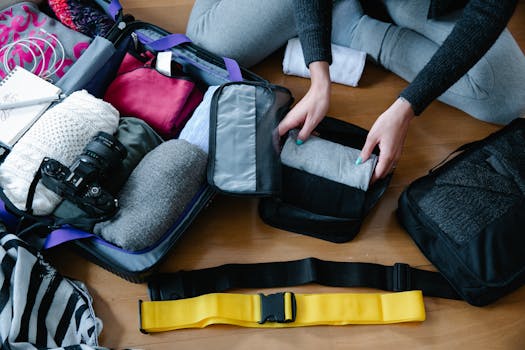
- Packing Cubes are Non-Negotiable: If you take one piece of advice from this entire article, let it be this: invest in a good set of packing cubes. These fabric organizers compress your clothes, keep them tidy, and make it incredibly easy to find what you need without ransacking your entire bag. They are a game-changer for maximizing space. I use different colored cubes for different categories (e.g., blue for tops, green for bottoms, grey for underwear/socks), which makes unpacking and repacking a breeze, especially when moving between hotels.
- Compressible Bags (Use with Caution): Some packing cubes are "compression" cubes that have an extra zipper to squeeze air out. These are excellent. Vacuum seal bags are another option, but be warned: while they save space, they don't reduce weight. You might end up with a tiny, dense brick that exceeds weight limits (if your airline has them for carry-ons).
- Travel-Sized Everything: This seems obvious, but people still forget. Solid shampoo bars, travel-sized toothpaste, refillable small bottles for your favorite liquids (under 100ml/3.4oz, remember the 3-1-1 rule!). Ditch the bulky hair dryer; most accommodations provide one.
- Microfiber Towels: If you need a towel (e.g., for hostels, beach trips), a compact, quick-dry microfiber towel is infinitely better than a bulky cotton one.
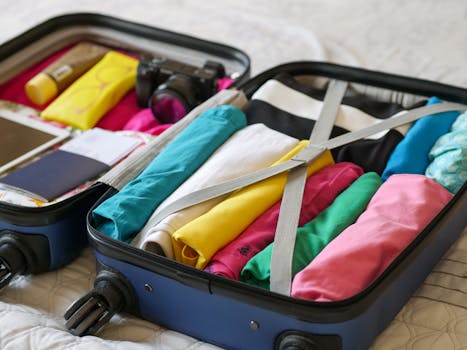
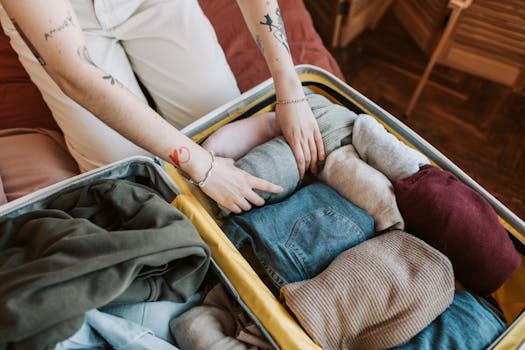
- Rolling vs. Folding: The eternal debate! For most items, I find rolling tightly saves more space and reduces wrinkles more effectively than folding. Roll individual items, then place them snugly into your packing cubes.
- The "Bundle Wrapping" Method: This advanced technique involves wrapping smaller, wrinkle-prone items (like shirts and dresses) around a central core (like a toiletry bag or a soft jacket). It's excellent for formal wear, but takes practice.
- Utilize Every Nook and Cranny: Stuff socks into shoes. Fill hats with smaller items. Use the inside of your jacket pockets. Every inch counts!
- My Southeast Asia Packing Revelation: For a month-long trip through Thailand, Vietnam, and Cambodia, I relied heavily on packing cubes and quick-dry fabrics. My carry-on (a 40L backpack) held everything. I had enough clothes for about a week, and simply did laundry every 5-7 days. The freedom of not hauling a massive suitcase through humid markets and up countless hostel stairs was priceless.
4. The Wardrobe Wizardry: Smart Clothing Choices
Your clothing choices are pivotal to successful carry-on travel. This isn't about sacrificing style; it's about making smart, versatile decisions.
- The Capsule Wardrobe Concept: This is your best friend. Choose a color palette (e.g., black, white, grey, navy, plus one accent color) so that every top can go with every bottom. This maximizes outfit combinations with minimal pieces.
- Versatile Fabrics: Opt for lightweight, quick-dry, wrinkle-resistant fabrics. Merino wool is a miracle fabric – it's naturally odor-resistant, temperature-regulating, and dries incredibly fast. Synthetics work well too. Avoid heavy cotton or denim where possible, as they take up space, are heavy, and take ages to dry.
- Layering is Key: Instead of packing a huge, bulky coat for every climate, pack layers. A light base layer, a fleece or sweater, and a waterproof/windproof shell will cover most weather conditions. Wear your bulkiest jacket on the plane.
- Shoes, Shoes, Shoes: This is often the biggest culprit for overpacking. Limit yourself to 2-3 pairs:
- Wear your bulkiest pair: Hiking boots, heavy sneakers.
- Pack one versatile, comfortable pair: Stylish sneakers that can be dressed up or down, or comfortable walking sandals.
- Optional: one dressy/minimalist pair: Flats or thin sandals that take up almost no space.
- Pro Tip: Stuff socks and underwear into your packed shoes to save even more space!
- My Patagonia Packing Challenge: I once packed for a two-week trip to Patagonia, involving both hiking and city exploration, with just a carry-on. The secret? Merino wool base layers, a packable down jacket, waterproof shell, quick-dry hiking pants that looked decent enough for town, and a single pair of versatile trail runners. I wore my bulkier hiking boots on the flights. It was all about layers and multi-purpose clothing.
5. Beyond the Bag: Sneaky Hacks & Airline Know-How
Even with the best packing techniques, sometimes you need a little extra edge. These hacks often come from years of trial and error (and a few close calls!).
- Research Airline Policies Religiously: I cannot stress this enough. Every airline is different. Ryanair, Spirit, EasyJet, Frontier are notorious for strict size and weight limits for both carry-on and personal items, and their fees can be exorbitant ($50-$100+). Full-service airlines like Delta, United, or British Airways might be more lenient. Check their exact dimensions (length x width x height) and any weight limits (some airlines have carry-on weight limits, others don't). Don't guess. Don't assume. Know.
- Wear Your Luggage (Literally!): Consider a multi-pocket travel jacket or vest (like those from Scottevest). These garments are designed with dozens of hidden pockets for laptops, tablets, cameras, books, even a change of clothes. If it’s on your person, it’s not in your bag, and it doesn’t count towards your baggage allowance. This is a legitimate (and often hilarious) way to carry extra weight without paying.
- The Duty-Free Bag Trick (Use with Caution!): This is a cheeky one, and it's a bit risky depending on the airline and the gate agent. After security, buy something small (a candy bar, a bottle of water) from a duty-free shop. Ask for a large duty-free bag. You can then discreetly transfer some overflow items from your personal item or carry-on into this "duty-free purchase" bag. Most airlines won't count a duty-free bag as an extra item. I've used this to stash a jacket or a book that wouldn't quite fit. Just make sure it looks like a legitimate purchase, not a bulging personal item.
- Anecdote: Once, departing from Rome, my small personal item was just a tad too full. I bought a tiny keychain at a souvenir shop, asked for their biggest bag, and managed to shift my somewhat bulky travel pillow and a sweater into it. The gate agent didn't bat an eye. Pure relief!
- Layer Up on the Plane: This isn't just about wearing your heaviest jacket. If your bag is overweight or oversized, you can literally put on extra layers of clothing – an extra t-shirt, a sweater, maybe even a pair of pants under your main ones. It might be a bit uncomfortable for the first few minutes, but it's temporary and saves you cash.
- Gate Check vs. Paid Checked Bag: If, despite all your efforts, your carry-on is deemed too big at the gate, sometimes the airline will "gate check" it for free (especially if the overhead bins are full). This is better than being forced to pay for a checked bag at the counter, but it's not guaranteed. The goal is always to fit everything into compliant carry-on and personal items.
- Loyalty Programs & Credit Cards: While the ultimate goal is zero fees, some airline loyalty programs or travel credit cards offer benefits like free checked bags. If you must check a bag for some reason (e.g., traveling with specialized equipment), these perks can save you money. But remember, for the true "never pay again" philosophy, we're aiming for no checked bags at all!
6. The "Pre-Flight Prep" Checklist: Your Final Safeguard
Before you even leave for the airport, a little preparation can save you a lot of grief (and money!).
- Weigh and Measure at Home: Don't guess! Invest in a cheap luggage scale and a measuring tape. Measure your packed carry-on and personal item. If they're even slightly over, re-evaluate. It’s far better to adjust at home than to panic at the airport.
- Practice Your Pack: Do a trial run. Pack everything you intend to bring, then try to zip up your bags. If it's a struggle, you've packed too much.
- Dress Strategically: Wear your heaviest shoes, bulkiest jacket, and any extra layers you might need. Pockets are your friends!
- Digitalize Everything: Load books onto your e-reader, download movies/shows, save all your travel documents to your phone and cloud storage. Less paper, less bulk.
- Leave the "Just-in-Case" Items: Be honest with yourself. Do you really need that extra dress or that second pair of high heels? If you don't use it regularly at home, you probably won't need it on your trip. You can almost always buy essentials at your destination if truly needed.
- Anecdote: I once packed a carry-on that was just at the weight limit for a flight to Iceland. At the check-in counter, the scale showed 0.5kg over. My heart jumped. Quick thinking: I pulled out my heavy camera lens and put it in my jacket pocket, then took out a book and put it in my personal item. Re-weighed: perfect! Crisis averted. Those few seconds of swift action saved me a hefty fee.
The Ultimate Freedom Awaits You
Embracing the "never pay baggage fees again" philosophy isn't just about saving money; it's about transforming your entire travel experience. It’s about being nimble, stress-free, and truly present in your adventures. Imagine the envy of your fellow travelers as you glide past them, unburdened by heavy suitcases, ready to explore the moment you step off the plane.
This isn't some mythical travel hack; it's a proven system that I, and countless other savvy travelers, use on every single trip. It requires a bit of planning, a dash of discipline, and a willingness to rethink how you pack. But the rewards – the extra cash in your pocket, the freedom from baggage claim anxiety, the sheer joy of unencumbered exploration – are absolutely worth it.
So, what are you waiting for? Your next adventure awaits, and this time, it's going to be fee-free. Try these tips on your next trip, and prepare to be amazed at how much lighter (and richer!) you feel.
What's your best baggage fee hack? Have you tried any of these strategies? Share your experiences and tips in the comments below! Let's build a community of fee-free travel ninjas!
---
More pictures

Tags
Share this guide
We may earn a commission if you click a link and buy a product or service, at no extra cost to you. How affiliate links work.
Been there?