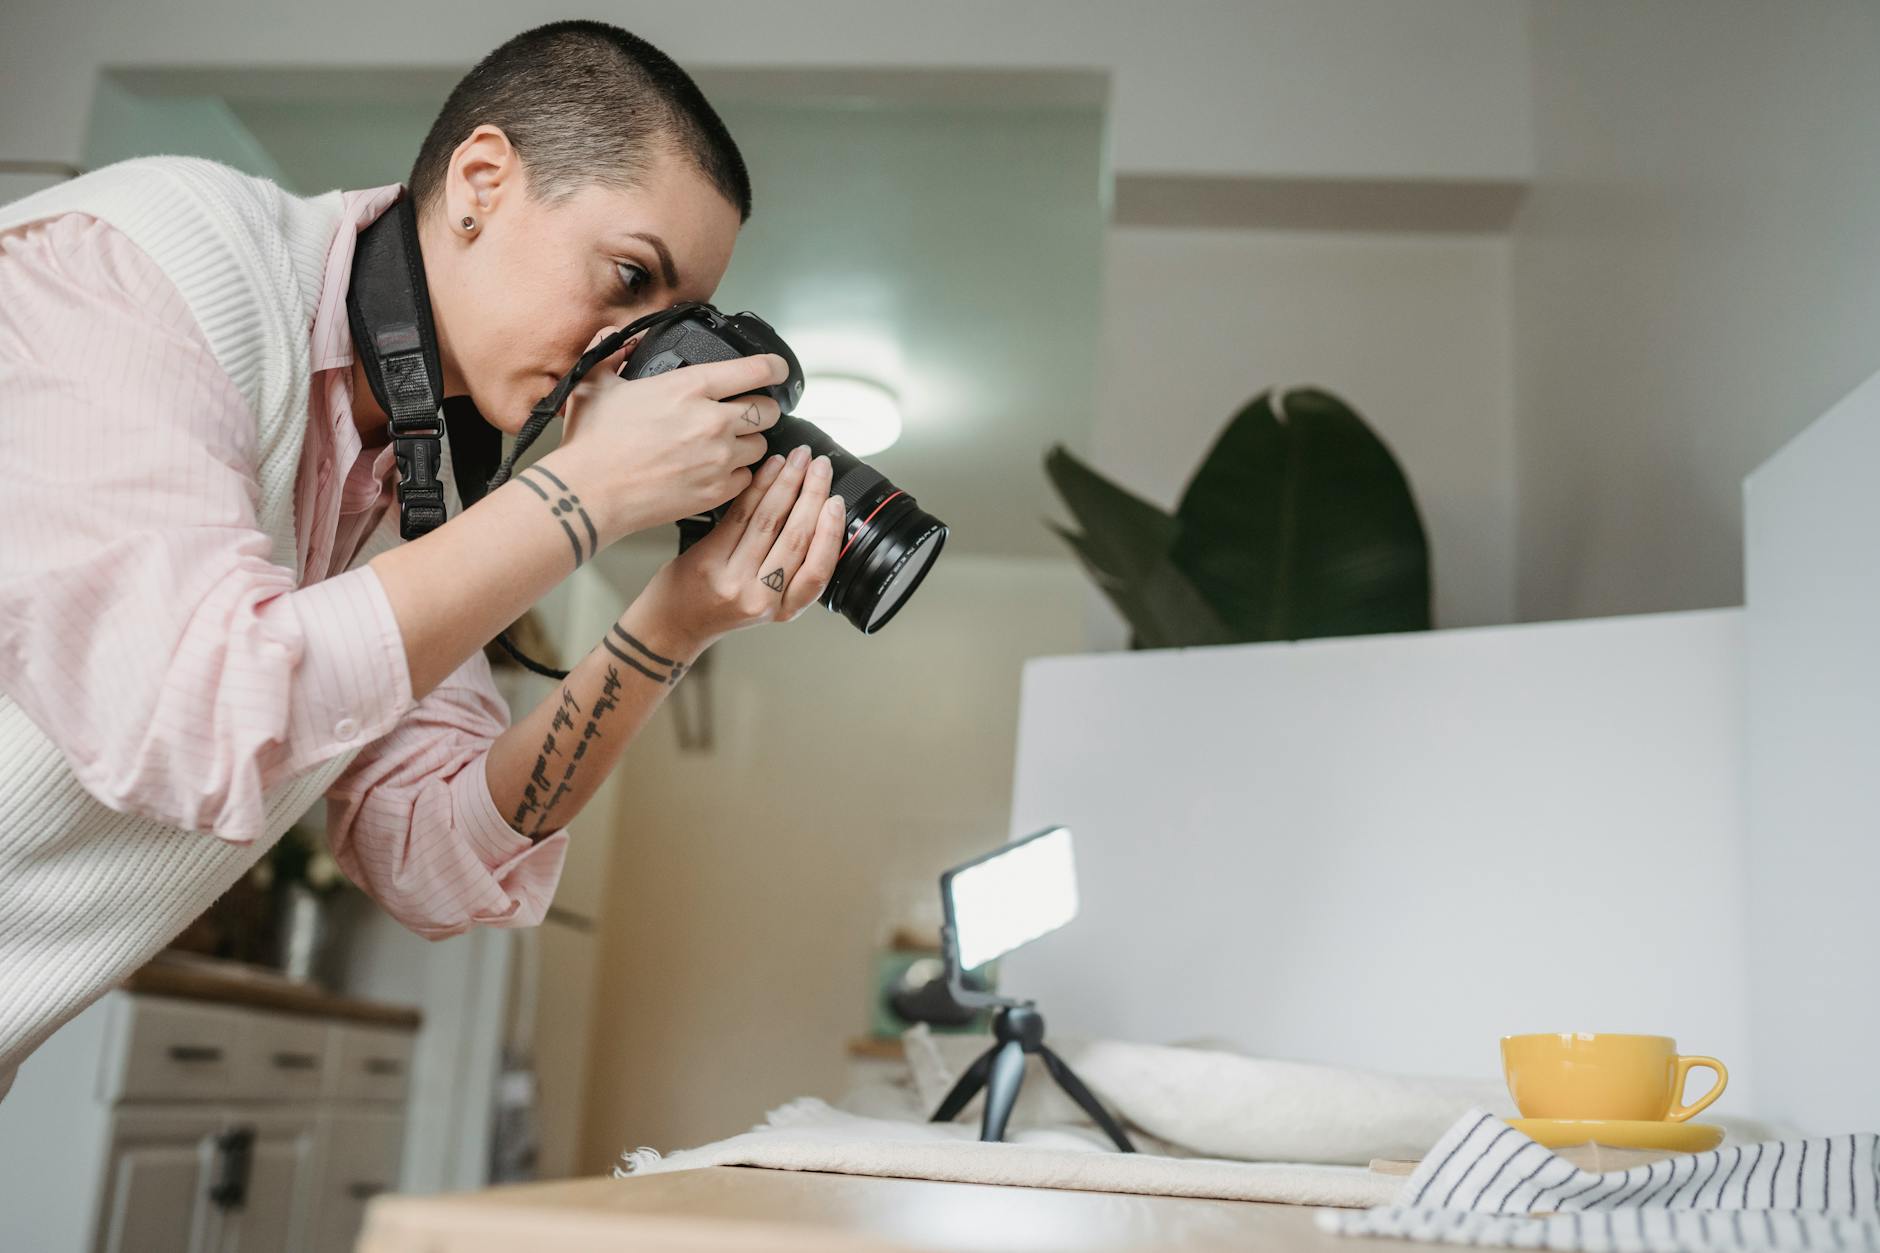
Ever struggled to capture the magic of an indoor space while traveling? I used to, until I unlocked the secrets of lighting. These game-changing tricks transformed my photography, turning dull shots into vibrant, shareable memories, and they will change yours too! ---
From Blurry Blahs to Brilliant Baes: The Indoor Lighting Secrets That Changed My Life Forever!
Oh, the memories! Picture this: I’m standing in a breathtakingly beautiful boutique hotel room in Kyoto, Japan. The morning sun is just starting to peek through the traditional shoji screens, casting a soft glow. I meticulously arrange my matcha tea set, a delicate mochi, and my travel journal, aiming for that perfect, serene, Instagram-worthy shot. I snap away, convinced I’ve nailed it.
Later, reviewing the photos, my heart sinks faster than a faulty hot air balloon. The room looks dim, the colors are flat, and that "soft glow" I saw with my own eyes? It’s a sad, muddy mess on my screen. My stunning Kyoto moment looked like it was shot in a cave. This wasn't an isolated incident. From the vibrant souks of Marrakech to the cozy cafes of Paris, my indoor shots consistently fell flat. My outdoor photos were usually great, but as soon as I stepped inside, it was like my camera forgot how to work.
For years, this was my photography Achilles' heel. I was missing out on capturing so much of the true essence of my travels – the intimate hotel details, the mouth-watering local dishes, the intricate museum exhibits, the cozy cafe vibes. My frustration grew with every blurry, underexposed, or color-distorted image.
Then, something clicked. Or rather, I started learning how to make the light click for me. Through countless hours of experimentation, online courses, and observing professional photographers, I began to understand the magic of light, even when it seemed scarce or non-existent indoors. And honestly? It changed my travel photography, my blog, and my entire approach to capturing the world. Forever.
Today, I rarely sweat an indoor shoot. I know the tricks, the hacks, and the subtle adjustments that transform a dull scene into a vibrant, shareable masterpiece. And I’m about to spill all the tea (and perfectly lit coffee!) so you can do the same. Get ready to bookmark this, because your indoor travel photos are about to get a serious glow-up!
1. The Divine Dance of Natural Light: Your First and Best Friend
Let's be real, natural light is the Beyoncé of photography lighting – powerful, captivating, and always in demand. When you have it, use it! But "using it" isn't just pointing your camera at a window. It's about understanding its direction, quality, and how to manipulate it.
Chasing the Sun: Mastering Ambient Light for Jaw-Dropping Shots
My biggest revelation was realizing that even a small window could be a photography studio.
- Front-facing window light: This is your softbox. Position your subject (or yourself for a selfie!) facing a window. The light will be even, flattering, and minimize harsh shadows. I’ve used this in countless hotel rooms, like the one at The Hoxton in Paris, where the large windows overlooking Rue du Sentier provided the perfect backdrop for my morning coffee flat lays.
- Side-facing window light: Ah, drama! When the light comes from the side, it creates beautiful shadows and highlights, adding depth and dimension. This is fantastic for portraits, food photography, or showcasing architectural details. Think of those stunning shots of pastries in a Parisian boulangerie – often, the light is streaming in from a side window, emphasizing their flaky layers. I once shot a delicious pastel de nata in a small cafe in Lisbon (Café A Brasileira, if you're ever there!) by positioning it just to the side of a window, and the results were incredible – the shadows gave it so much character.
- Back-facing window light: This is trickier but can create magical, ethereal shots. Your subject will be backlit, creating a halo effect. You’ll need to expose for your subject, not the bright background, or use a reflector (more on that later) to bounce light back onto the front of your subject. I've used this to capture stunning silhouettes of friends enjoying breakfast against a sunrise over the Amalfi Coast from our villa in Positano.
- Diffusing Harsh Light: Sometimes, natural light is too strong. Sheer curtains, blinds, or even a white bedsheet can act as a diffuser, softening the light and preventing harsh shadows and blown-out highlights. My go-to trick in brightly lit Airbnbs is to pull the sheer curtains – instant softbox!
Tripsora Tip: Always scout for the best natural light source when you enter a room. Turn off any artificial lights initially to see how the natural light behaves. It will save you a lot of grief later!
2. Befriending Artificial Light: When Nature Takes a Break
Let's be honest, natural light isn't always available. You're exploring a dimly lit museum, enjoying a romantic candlelit dinner, or stuck in your hotel room on a rainy day. This is where artificial light becomes your secret weapon, and no, I'm not talking about your camera's pop-up flash (please, for the love of good photography, don't use that!).
Illuminating the Indoors: Harnessing Lamps, LEDs, and Even Your Phone Flash
The key here is control and quality.
- Using existing lamps: Don't just rely on overhead lights, which often cast unflattering shadows. Look for lamps with shades that diffuse light. You can move them closer to your subject, or even bounce their light off a white wall or ceiling to create a softer, broader light source. I’ve often used a bedside lamp in a hotel room, positioning it behind or to the side of my subject, and then bouncing its light off the wall opposite the window for a beautiful fill.
- Understanding Color Temperature: Different light sources have different "colors" (warm, cool, neutral). A tungsten lamp will cast a warm, orange glow, while a fluorescent light might be greenish. Your camera's white balance setting is your best friend here. Learn to adjust it (or use your phone's white balance tools) to neutralize unwanted color casts. This was a game-changer for my food photos in cozy, often dimly lit restaurants. No more unappetizingly orange pasta!
- Portable LED Panels: This is a professional blogger's secret weapon that's now super accessible. Small, rechargeable LED panels (like the Aputure MC or Lume Cube) are compact, powerful, and often let you adjust brightness and color temperature. They fit in any camera bag and have saved countless shots for me. I used my Lume Cube to illuminate the intricate details of a mosaic in a dark corner of the Hagia Sophia in Istanbul, where flash was prohibited. It made all the difference!
- Your Phone's Flash (the right way): While your camera's pop-up flash is a no-go, your smartphone's flashlight can be surprisingly useful. Don't point it directly at your subject! Instead, use it as a continuous light source and diffuse it. Hold a thin white napkin or a piece of tissue paper over the flashlight, or bounce the light off a white surface nearby. This can work wonders for close-up shots of food or details when you’re in a pinch. I've done this in a dimly lit tapas bar in Barcelona, using a menu to bounce my phone's light onto the patatas bravas for a quick snap.
Tripsora Tip: Experiment with turning off some lights and keeping others on. Mixed lighting (e.g., warm lamp light and cool window light) can create interesting effects, but it can also make white balance tricky. Pick one dominant light source if you're just starting out.
3. The Power of Props and Reflectors: Everyday Items, Extraordinary Results
You don't need fancy gear to make a huge difference in your indoor shots. Some of the most effective lighting tools are probably already in your hotel room or backpack.
Beyond the Light Source: Everyday Items That Transform Your Photos
This is where creativity truly shines!
- White Cards/Menus/Napkins: This is my absolute favorite, most versatile, and cheapest trick. Anything white and somewhat rigid can act as a reflector. When you have a light source (natural or artificial) coming from one side, it often creates shadows on the other. Hold a white card (like a hotel room service menu, a piece of paper, or even a white napkin) on the shadowed side, and it will bounce light back onto your subject, filling in those harsh shadows. I use this constantly for food photography. In a quaint café in Rome, trying to photograph my cacio e pepe, I used a spare white paper menu to bounce light from the window onto the pasta, making it look much more appetizing.
- Foil/Silver Wrappers: For a more intense, specular highlight, crinkled aluminum foil or a silver candy wrapper can work wonders. This is great for adding sparkle to jewelry, drinks, or details that need to pop. Just be careful not to create too harsh a reflection.
- Small Mirrors: A compact mirror can direct a small beam of light exactly where you want it. This is useful for adding a catchlight to eyes in a portrait or highlighting a specific detail in a busy scene.
- Your Laptop Screen/Tablet: Need a soft, glowing fill light in a pinch? Open a blank white document on your laptop or tablet screen and position it strategically near your subject. It's surprisingly effective for close-ups! I've used my iPad to illuminate products for flat lays in hotel rooms.
Tripsora Tip: Always observe how the light falls on your subject. Identify the darkest areas and try to bounce light into them. A small reflector can make a massive difference, turning a flat image into one with beautiful dimension.
4. Composition and Exposure: Making the Light Work For You
Understanding light is one thing; knowing how to capture it with your camera settings is another. Even the best lighting won't save a poorly exposed or composed shot.
Framing the Glow: Exposure Settings and Composition for Indoor Brilliance
This is where your camera (or phone camera's pro mode) comes into play.
- ISO: Embrace the Grain (a little): Indoors, you often need more light. Increasing your ISO makes your camera's sensor more sensitive to light. However, too high an ISO introduces "noise" or grain. Find the sweet spot for your camera where images are bright enough without becoming overly grainy. For most modern cameras, ISO 800-1600 is often perfectly usable indoors. For phones, push it to 400-800 if needed.
- Aperture: Let More Light In: A wider aperture (smaller f-number, e.g., f/1.8, f/2.8) lets in more light and creates that lovely blurred background (bokeh). This is ideal for isolating your subject in busy indoor environments, like a bustling market stall in Vietnam or a crowded museum. Just remember, a wider aperture means a shallower depth of field, so ensure your focal point is sharp.
- Shutter Speed: Steady Hands or a Tripod: Indoors, especially in low light, you'll need a slower shutter speed to capture enough light. This makes your camera more susceptible to blur from movement (camera shake or subject movement). Use the slowest shutter speed you can handhold steadily (generally 1/60th of a second or faster, but experiment!). For anything slower, a small travel tripod or even propping your camera/phone on a stable surface (a table, a stack of books) is essential. I carry a small Joby Gorillapod everywhere for this very reason, especially when capturing the grandeur of places like the Sistine Chapel (no flash, remember!).
- Composition: Use Light as a Guide: Light naturally draws the eye. Use windows as natural frames, or let a beam of light highlight your subject. The "Rule of Thirds" still applies, but also think about leading lines created by light and shadow. Look for patterns, reflections, and how light interacts with textures. I once found a single shaft of light cutting through a dark hallway in a castle in Scotland, and by composing my shot around that light, I created a dramatic, moody image that got tons of engagement.
Tripsora Tip: Don't be afraid to underexpose slightly if it preserves highlights (like a bright window). You can often recover shadows in post-processing more easily than blown-out highlights.
5. Post-Processing: The Final Polish for Perfection
Even with the best lighting tricks, your indoor photos will almost always benefit from a little post-processing magic. This isn't about faking it; it's about refining what your camera captured to match what your eyes saw and to make it truly shine.
From Good to Glorious: Editing Your Indoor Shots for Maximum Impact
Think of editing as your digital darkroom.
- White Balance Correction: This is crucial for indoor shots. If your photos have an orange, blue, or green tint, adjust the white balance. Most editing apps (Lightroom Mobile, Snapseed, VSCO) have an eyedropper tool you can use on a neutral white or grey area in your photo, or you can manually adjust the "temperature" and "tint" sliders until the colors look natural. This alone can transform a sickly looking shot into a vibrant one.
- Exposure Adjustments: Brighten up underexposed areas (increase "Exposure" or "Shadows") and recover detail in overly bright areas (decrease "Highlights" or "Whites"). A little contrast can also add punch.
- Clarity and Sharpening: Indoor photos can sometimes lack crispness. A touch of "Clarity" can add definition, and "Sharpening" can bring out details, especially if you had to use a higher ISO. Be careful not to overdo it, or your photos will look artificial.
- Noise Reduction: If you had to crank up your ISO, you might have noticeable grain. Most editing apps have a "Noise Reduction" slider. Use it sparingly, as too much can make your image look soft and plasticky.
- Cropping and Straightening: A simple crop can dramatically improve composition, and straightening a crooked horizon (or wall!) makes a huge difference.
Tripsora Tip: Develop a consistent editing style. This helps create a cohesive look across your blog and social media. I often use a slightly warm preset for my indoor shots to enhance that cozy, inviting vibe. My go-to apps are Adobe Lightroom Mobile (free version is robust!) and Snapseed.
6. Real-World Challenges: Tackling Tricky Indoor Lighting Situations
Travel throws curveballs, and indoor lighting is often one of them. Here’s how to apply these principles to common scenarios:
Navigating the Nuances: Solutions for Every Indoor Setting
- Restaurants & Cafes:
- Low Light/Candlelight: Embrace the mood! Use a wide aperture (low f-number), increase ISO, and steady your camera. If permitted, use your phone flashlight (diffused!) for close-ups of food. Focus on the highlights the candles create.
- Overhead Spotlights: These can be harsh. Try to position your dish so the light hits it at an angle, creating some shadow and dimension, rather than directly overhead which can flatten it. Use a white napkin as a reflector to fill shadows.
- Museums & Galleries:
- No Flash Rule: This is paramount. Rely on ambient light. Use a wide aperture and higher ISO. A small, discreet portable LED panel (like the Lume Cube I mentioned) can be a lifesaver for illuminating details on a painting or sculpture, but always be mindful of other visitors and museum rules.
- Glass Cases: Watch for reflections! Change your angle, get closer, or use your hand/body to block reflections from overhead lights. A polarizing filter on your lens (or phone attachment) can also significantly reduce glare.
- Hotel Rooms & Airbnbs:
- Mixed Lighting: Often you'll have natural window light mixed with warm lamps. Decide which light source you want to prioritize and adjust your white balance accordingly, or turn off the less desirable artificial lights.
- Bathroom Selfies: Bathrooms often have excellent, even lighting (especially around the mirror!). Use this to your advantage for quick, flattering self-portraits.
Tripsora Tip: Always be respectful of your surroundings and other people. Don't block pathways, use excessive gear, or disturb the atmosphere. The best photos are taken with consideration.
My Life-Changing Moment: The Santorini Sunset Indoors
I remember a particularly challenging shoot in Santorini. It was our last night, and a sudden, unexpected storm rolled in, completely obscuring the famous sunset. I was gutted. My beautiful, cliffside hotel room, usually bathed in golden light, was now dim and moody. I wanted to capture the cozy, intimate atmosphere of our final evening, but the light was terrible.
Instead of giving up, I applied every trick I'd learned. I turned off the harsh overhead lights, pulled the sheer curtains slightly to diffuse the remaining grey light, and positioned a small table lamp to bounce light off a white wall. I used my portable LED panel to subtly illuminate my partner and me as we sat by the window, sipping local wine. I increased my ISO, opened my aperture wide, and then carefully edited the white balance to enhance the warm, inviting glow of the lamp.
The photos weren't the vibrant sunset shots I’d envisioned, but they were better. They captured the unique, intimate mood of that stormy evening, telling a different, more personal story. They were authentic, warm, and full of character – and they went viral on my Instagram! That's when I truly understood: it’s not about having perfect light; it’s about making the light perfect for your story.
Your Indoor Photography Revolution Starts Now!
Learning to master indoor lighting wasn't just about taking better photos; it was about seeing the world in a new way. It taught me to appreciate the subtle nuances of light, to be resourceful, and to always look for the hidden beauty, even in the darkest corners. It opened up a whole new realm of storytelling for my travels, allowing me to capture the quiet moments, the delicious meals, and the intricate details that truly define a destination.
So, ditch the frustration and embrace the glow! Go forth, experiment with these tricks, and transform your travel memories. Don't let a lack of natural light stop you from capturing the magic indoors. Your next stunning, shareable, life-changing photo is just a few lighting tricks away!
Now it's your turn! What's the trickiest indoor lighting situation you've faced while traveling? What's your go-to hack? Share your thoughts and photos in the comments below, and don't forget to tag #TripsoraLights on social media so I can see your incredible transformations! Happy shooting!
---
More pictures

Tags
Share this guide
We may earn a commission if you click a link and buy a product or service, at no extra cost to you. How affiliate links work.
Been there?