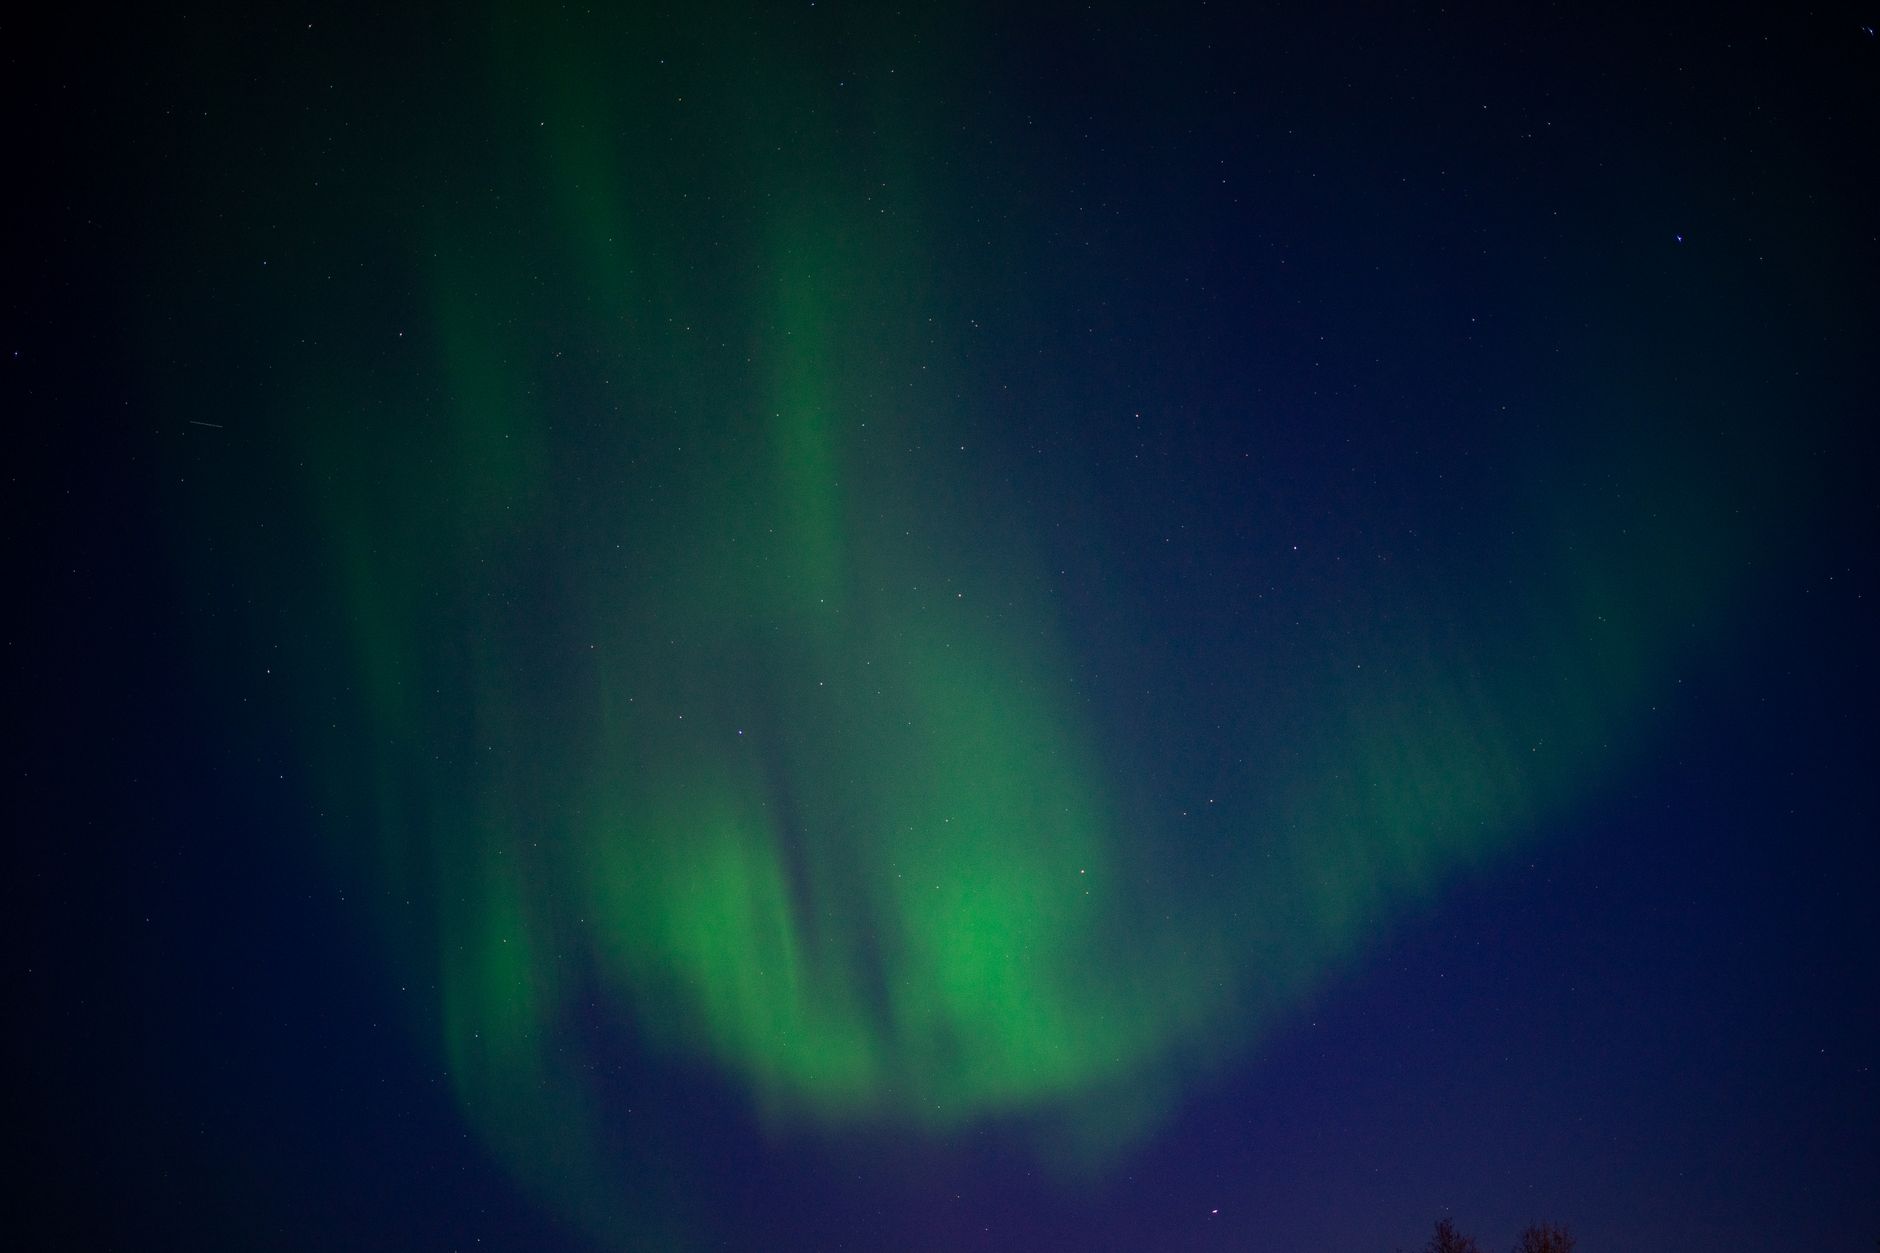
Dreaming of capturing the aurora's ethereal dance but intimidated by complex gear or 'secret' settings? Forget what influencers tell you! We're peeling back the curtain to reveal the practical, no-nonsense guide to photographing the Northern Lights like a seasoned pro, ensuring your shots are truly unforgettable. ---
The Real Aurora Magic: How to Photograph the Northern Lights Like the Pros (No Influencer Secrets Needed!)
The Arctic wind bit at my exposed cheeks, my fingers, already numb despite two layers of gloves, fumbled with the tiny buttons on my camera. Above me, a faint green glow pulsed across the inky canvas of the Finnish sky. It was my first time seeing the Northern Lights, and I was utterly mesmerized… and absolutely terrified I’d mess up the shot.
My first few attempts were, to put it mildly, a disaster. Blurry streaks, grainy pixels, an exposure so long it looked like a daytime shot of a green cloud. I’d spent weeks poring over Instagram, admiring the impossibly vibrant, crystal-clear aurora photos from travel influencers, convinced they had some magic lens or a secret setting only accessible to the elite. I felt like I was missing a crucial piece of the puzzle.
But as the night wore on, and with a little guidance from a seasoned local guide (who probably saw my panic and took pity), something clicked. It wasn't about expensive gear or a mystical "influencer secret." It was about understanding the fundamentals, having patience, and embracing the raw, unpredictable beauty of nature. And by the end of that trip, I had my own collection of breathtaking aurora shots that weren't just technically sound, but truly captured the emotion of the moment.
That’s why I’m writing this for you. Because you don’t need a five-figure camera setup, a private guide, or a secret handshake with the aurora gods to get stunning Northern Lights photos. You just need the right knowledge, a little practice, and a whole lot of wonder. Forget the curated feeds and the perfectly posed shots; we're diving into the real, actionable tips that will transform your aurora photography from 'meh' to 'masterpiece.'
Let's demystify the aurora and empower you to capture its magic, no gatekeeping allowed.
1. Debunking the 'Secret' Gear Myth: Your Camera is Probably Good Enough
Before we dive into settings, let's talk gear. Many influencers subtly imply you need the latest, most expensive full-frame mirrorless camera with a f/1.2 lens to capture the aurora. While top-tier gear certainly helps, it's not a prerequisite. The biggest "secret" they don't tell you is that any camera capable of manual mode and a decent wide-angle lens can produce incredible results.
What you actually need:
- A Camera with Manual Mode (M): This is non-negotiable. Whether it's a DSLR or a mirrorless camera, you must be able to control ISO, aperture, and shutter speed independently. Even some advanced compact cameras or bridge cameras can do this.
- A Fast, Wide-Angle Lens: This is arguably the most important piece of equipment after the camera itself.
- Wide-Angle: You want to capture as much of the sky as possible, along with some foreground interest. Lenses in the 14mm-24mm range (on a full-frame sensor, or 10mm-16mm on an APS-C sensor) are ideal.
- Fast: This refers to the lens's maximum aperture (the f-number). You want a lens with a maximum aperture of f/2.8 or wider (e.g., f/2.0, f/1.8, f/1.4). A wider aperture lets in more light, allowing for shorter exposure times and lower ISOs, which means less noise in your photos. My go-to is often a 14mm f/2.8 or a 24mm f/1.4.
- A Sturdy Tripod: Also non-negotiable. You'll be taking long exposures (10-30 seconds), so even the slightest camera movement will result in blurry photos. Invest in one that can withstand wind and cold.
- Remote Shutter Release or Timer: Pressing the shutter button directly can cause camera shake. Use a remote (wired or wireless) or your camera's 2-second timer to avoid this.
- Extra Batteries: Cold temperatures drain batteries at an alarming rate. Seriously, bring at least two, preferably three, fully charged spares. Keep them warm in an inside pocket until needed.
- Headlamp with Red Light Mode: Essential for seeing what you're doing without ruining your night vision or others' shots. The red light won't impact your eyes' adjustment to the dark.
- Warm Clothing: This isn't photography gear, but it's crucial. Layers, insulated boots, thick gloves (with touch-screen fingertips if possible), and a warm hat are your best friends. Nothing ruins a photo session faster than frostbite.
My first aurora hunt in Iceland taught me the battery lesson the hard way. I had one spare, thinking it would be enough. Within an hour, both were dead, and the aurora was just starting to pop! I watched helplessly as others captured incredible shots. Never again! Now, I pack four.
2. Mastering the Manual: Camera Settings That Actually Work (The Real 'Secrets')
This is where the magic happens. Forget auto modes; they simply can't handle the low light of an aurora display. You need to take control.
Here’s a step-by-step guide to your camera settings:
- 1. Set Your Camera to Manual Mode (M): Twist that dial!
- 2. Aperture (f-stop): As Wide as Possible (Lowest f-number):
- Set your lens to its widest aperture (e.g., f/2.8, f/2.0, f/1.8). This allows maximum light to hit your sensor, making the aurora brighter and allowing for shorter shutter speeds.
- 3. ISO: Start High, Adjust Down:
- Begin with an ISO of 1600 or 3200. If the aurora is faint, you might go up to 6400. If it's incredibly bright and dancing, you might be able to drop to 800 or 1000.
- Higher ISOs make your sensor more sensitive to light, but they also introduce "noise" (graininess). Find the balance between brightness and acceptable noise levels for your camera.
- 4. Shutter Speed: The Dance of Light & Movement:
- This is the most variable setting. Start with 15-20 seconds.
- If the aurora is faint and slow-moving: You might need 25-30 seconds to gather enough light.
- If the aurora is bright and rapidly dancing: Shorten your exposure to 5-10 seconds. Longer exposures will blur the distinct shapes and "curtains" of a fast-moving aurora into a green cloud. You want to capture the structure!
- 5. Focus: Manual to Infinity:
- In the dark, autofocus is useless. Switch your lens to Manual Focus (MF).
- Set your focus to infinity. On many lenses, there's an infinity symbol (∞). If not, use your camera's Live View, zoom in on a distant bright star or the moon (if visible), and manually adjust focus until the star is a pinpoint. Once set, do not touch your focus ring again!
- 6. White Balance: For True Colors:
- Auto White Balance (AWB) can often make aurora photos look too warm or too cool.
- Experiment with Kelvin (K) settings between 3500K and 4500K for a natural look.
- Alternatively, try Tungsten or Fluorescent presets, which often give a pleasing cool tone.
- Pro Tip: Shoot in RAW! This gives you maximum flexibility to adjust white balance and other settings in post-processing without losing image quality.
Quick Checklist for Your First Shot:
- Camera on M.
- Aperture: f/2.8 (or widest).
- ISO: 3200.
- Shutter Speed: 15 seconds.
- Focus: Manual to Infinity.
- White Balance: 4000K or Tungsten.
- Use a remote release or 2-second timer.
Take a shot, review, and adjust! Is it too dark? Increase ISO or shutter speed. Too bright? Decrease ISO or shutter speed. Too blurry? Check focus or shorten shutter speed if the aurora is moving fast.
3. Beyond the Camera: Location, Conditions & Patience, My Friend
Having the right settings is only half the battle. The other half is being in the right place at the right time, and having the fortitude to wait.
- Dark Skies are Paramount: Light pollution is your enemy. Get away from cities and towns. Use apps like "Light Pollution Map" (available on iOS/Android) to find truly dark-sky areas. The darker the sky, the more vibrant your aurora will appear.
- Clear Skies are Non-Negotiable: Even the strongest aurora won't penetrate thick cloud cover. Check the local weather forecast religiously. Websites like Yr.no (for Norway) or Vedur.is (for Iceland) offer detailed cloud cover predictions.
- Aurora Forecasts: Your Best Friend:
- Apps like "My Aurora Forecast & Alerts" or "Aurora Alerts" (iOS/Android) are invaluable. They provide real-time KP index readings (a measure of geomagnetic activity, 0-9), cloud cover, and short-term forecasts.
- A KP index of 3 or higher is generally good for visible aurora, but even a KP 2 can produce a stunning display in truly dark skies.
- Websites like SpaceWeatherLive.com offer more in-depth data for the truly dedicated.
- Timing is Everything: The best time to see the aurora is usually between 10 PM and 2 AM local time, though it can appear anytime from sunset to sunrise. The prime viewing season in the Northern Hemisphere is from late August/early September to April, when the nights are long and dark.
- Composing Your Shot: Don't Just Point Up!
- An aurora shot is good; an aurora shot with a compelling foreground is great. Look for interesting elements to frame your aurora: snow-covered trees, a rustic cabin, a frozen lake reflecting the lights, dramatic mountains, or even a silhouetted figure (you!).
- Use the rule of thirds. Place the horizon on the bottom third, and let the aurora fill the top two-thirds.
- One night in Tromsø, Norway, the aurora was strong but featureless. I drove for an hour, scanning the landscape, until I found a small, isolated fishing hut by a fjord. The reflection of the green lights in the still water, framed by the hut, turned a good shot into a truly memorable one. It's all about scouting!
4. The Influencer Aesthetic: It's All in the Post-Processing (But Don't Overdo It!)
Here’s a truth bomb: those impossibly vibrant, perfectly balanced aurora photos you see on Instagram are almost always post-processed. It's not cheating; it's an essential part of digital photography, especially astrophotography. The "secret" isn't a magical filter; it's knowing how to enhance what your camera captured without making it look fake.
- Shoot in RAW, Always: I mentioned this earlier, but it bears repeating. RAW files contain far more data than JPEGs, giving you immense flexibility to adjust exposure, colors, and shadows without degrading image quality.
- Essential Adjustments (in Lightroom, Photoshop, Affinity Photo, or free alternatives like GIMP/Darktable):
- Exposure: Gently brighten the overall image if it's a bit underexposed.
- Highlights & Shadows: Recover detail in bright areas (like the brightest parts of the aurora) and lift shadows to reveal foreground elements without making them too bright.
- Whites & Blacks: Adjust these to create contrast and "pop."
- Color Grading (Temperature & Tint): Fine-tune the color of the aurora. If it looks too green, you might add a touch of magenta to the tint. If it's too cool, warm up the temperature slightly. Aim for natural, but remember aurora colors can vary!
- Vibrance & Saturation: Use these sparingly. A slight bump in vibrance can make colors richer without looking artificial. Over-saturating the aurora is a common mistake that makes it look fake and cartoonish.
- Noise Reduction: This is crucial for high-ISO aurora shots. Apply luminance noise reduction to smooth out graininess. Be careful not to overdo it, as it can soften details.
- Sharpening: A touch of sharpening can bring out detail, especially in the aurora's structure.
- Lens Corrections: Enable profile corrections to fix lens distortions and chromatic aberration.
The goal is to enhance the natural beauty, not invent it. A truly impactful aurora photo feels authentic, even if it's been carefully processed.
5. Beyond the Still Frame: Video & Time-Lapse Aurora Magic
While stunning still photos are often the primary goal, don't forget the power of movement! Capturing the aurora dancing in video or a time-lapse can be incredibly rewarding and highly shareable.
- Aurora Video:
- Many modern cameras can shoot excellent video in low light.
- Settings will be similar to stills but with a faster shutter speed to maintain a smooth frame rate (e.g., 1/30th or 1/60th of a second).
- You'll likely need to push your ISO higher (e.g., 6400-12800) and keep your aperture wide open.
- Focus manually to infinity.
- The aurora needs to be quite strong to register well on video without significant noise.
- Aurora Time-Lapse: This is where you can truly show the aurora's ethereal movement.
- Intervalometer: You'll need an external intervalometer or a camera with a built-in time-lapse function.
- Exposure Settings: Use your still photo settings as a base (e.g., f/2.8, ISO 3200, 10-15 seconds).
- Interval: Set the interval between shots to be slightly longer than your shutter speed (e.g., if your shutter is 15 seconds, set the interval to 18-20 seconds). This gives the camera time to process the image before taking the next.
- Total Shots: Aim for at least 300-500 shots for a decent length time-lapse (at 24-30 frames per second, this gives you 10-20 seconds of video).
- Post-Processing: Batch process all your RAW files with consistent settings, then compile them into a video using software like Lightroom's time-lapse module, Adobe Premiere Pro, or DaVinci Resolve.
My most shared aurora content isn't a single photo, but a 30-second time-lapse from northern Finland, showing the lights exploding across the sky over a reindeer farm. It brings the scene to life in a way a still image simply can't.
6. Tales from the Arctic Circle: My Aurora Chasing Adventures & Lessons Learned
Capturing the Northern Lights is as much an adventure as it is a photographic pursuit. Here are some of my favorite spots and practical insights from countless nights spent under the aurora.
- Iceland: The Land of Fire and Ice:
- Why I love it: Accessible, stunning landscapes (waterfalls, glaciers, black sand beaches) provide incredible foregrounds.
- Best Time: September to March.
- Logistics: Self-driving is popular and allows for ultimate flexibility. Rental car prices vary widely ($50-$200/day, depending on season/vehicle). Aurora tours from Reykjavik typically cost $80-$150 per person and are great for first-timers or those without a rental car.
- Hotspots: Jökulsárlón Glacier Lagoon (reflections!), Snaefellsnes Peninsula, the Golden Circle area (away from light pollution).
- Personal Anecdote: One night near the Seljalandsfoss waterfall, a tour bus arrived, headlights blazing, just as the aurora intensified. I quickly moved away from the crowd, found a small, frozen stream, and used its icy surface for a reflection. Lesson: Be adaptable and find your own unique angle, even if it means moving away from the "popular" spots.
- Norway: Dramatic Fjords & Coastal Wonders:
- Why I love it: The jagged mountains and deep fjords offer some of the most dramatic aurora backdrops imaginable.
- Best Time: October to March.
- Logistics: Tromsø is often called the "Gateway to the Arctic" and has many tour operators (dog sledding + aurora tours can be $200-$400+). The Lofoten Islands are breathtaking but require more planning (and often a car).
- Hotspots: Tromsø region, Lofoten Islands, North Cape.
- Personal Anecdote: I once spent three nights in a small cabin in the Lofoten Islands, battling blizzards and cloud cover. On the fourth night, the sky cleared, and the aurora exploded over the iconic fishing village of Hamnøy. It was a testament to patience – never give up after just one cloudy night!
- Finland: Winter Wonderland & Glass Igloos:
- Why I love it: The serene, snow-covered forests and unique accommodation like glass igloos offer a magical experience.
- Best Time: Late September to April.
- Logistics: Rovaniemi (Santa's official hometown) is a hub. Further north, places like Levi, Saariselkä, and Inari offer more remote viewing. Glass igloo stays can be pricey ($400-$1000+ per night), but offer comfortable viewing.
- Hotspots: Lapland region.
- Personal Anecdote: While staying in a glass igloo, the aurora appeared directly above me. I grabbed my camera, ran outside (in minimal clothing, because adrenaline!), and captured a few frames before the cold drove me back in. It reminded me to always be ready, even when you least expect it!
The True Secret: Patience, Persistence, and Pure Wonder
The "secrets" Instagram influencers don't want you to know aren't secrets at all. They're foundational photography principles, combined with a deep understanding of nature, relentless patience, and a willingness to embrace imperfection. The most beautiful aurora shots aren't just technically perfect; they convey the awe and wonder of being under that dancing sky.
So, pack your warmest clothes, charge those batteries, set your camera to manual, and go chase the lights. Don't worry about getting the "perfect" shot on your first try. Worry about being present, soaking in the magic, and letting your camera be a tool to remember that extraordinary moment. Your authentic experience will shine through far brighter than any heavily filtered, overly saturated influencer shot.
Now, go capture your own magic! When you do, share your breathtaking aurora photos with us using #TripsoraAurora and tag @Tripsora. We can't wait to see your journey unfold. Ready to plan your Arctic adventure? Check out our guides to Iceland, Norway, and Finland to start your aurora-chasing dream!
---
More pictures



Tags
Share this guide
We may earn a commission if you click a link and buy a product or service, at no extra cost to you. How affiliate links work.
Been there?