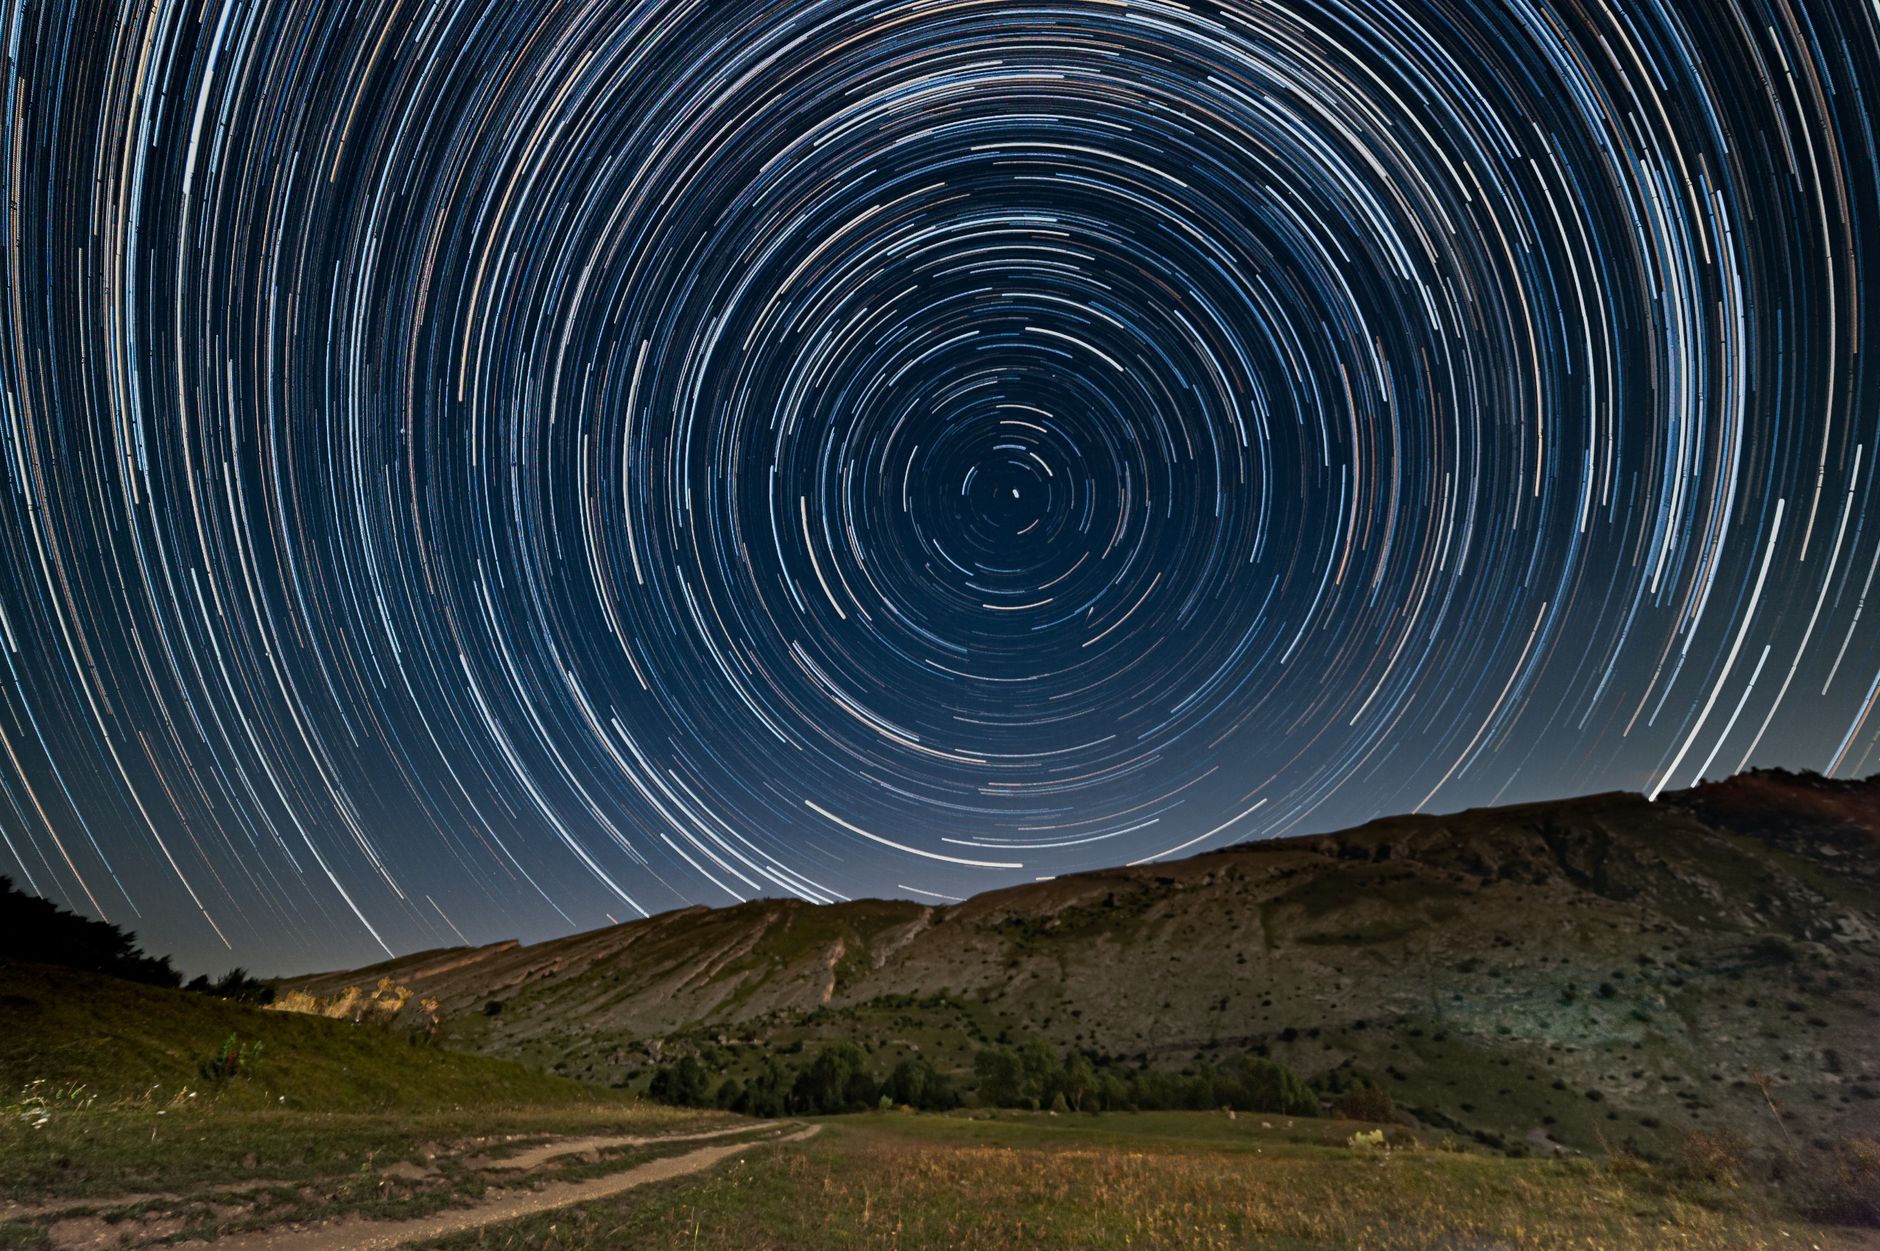
Ever wondered how to capture the mesmerizing flow of a bustling market or the serene shift of a sunset over a hidden village? This guide reveals the "secret sauce" to creating stunning time-lapse videos while traveling, moving beyond typical tourist shots to capture the authentic pulse of a destination that even locals cherish. Get ready to transform your travel memories into cinematic masterpieces!
The sun dipped below the horizon, painting the sky in fiery hues of orange and purple over the ancient temples of Bagan, Myanmar. But it wasn't just the sunset that held me captive; it was the subtle, almost imperceptible transformation of the landscape. Hot air balloons, like giant, colorful dreams, slowly ascended into the dawn, then drifted gracefully away as the morning mist burned off. Monks in saffron robes moved silently along dusty paths. A single, sweeping shot couldn't capture this symphony of movement and change. Only a time-lapse could truly tell the story of that magical morning.
That’s when it hit me: travel isn't just about what you see, but how you experience and remember the flow of a place. And time-lapse? It’s the ultimate secret weapon for capturing that flow, for revealing the hidden rhythms that locals know intimately but most tourists rush past. Forget the static postcard shots; we're diving into the art of cinematic storytelling that will make your friends hit 'share' faster than you can say "wanderlust."
You see, locals don't actively hide these moments from tourists, but they live them daily. They know the quiet hum of the early morning market before the crowds, the way the light dances on a historic facade at dusk, or the mesmerizing chaos of rush hour. These are the moments that truly define a place, and time-lapse allows you to distill them into pure magic. Ready to unlock these secrets? Let’s go!
---
1. Why Time-Lapse? Beyond the Postcard Perfection
Before we dive into the nitty-gritty, let's talk about why time-lapse. In a world saturated with travel photos and quick video clips, time-lapse offers something different: perspective. It compresses hours, days, or even weeks into a captivating few seconds, revealing patterns and movements invisible to the naked eye.
Think about it:
- The Pulse of a City: Capturing the frenetic energy of Shibuya Crossing in Tokyo, the serene flow of boats on the Mekong Delta, or the transformation of a quiet piazza into a vibrant evening hub in Rome.
- Nature's Grand Show: Watching clouds race across a mountain range, the tide ebb and flow on a pristine beach, or the stars arc across a desert sky.
- Cultural Immersion: The methodical setup of a street food stall in Bangkok, the intricate weaving process in a Peruvian village, or the dawn prayers at a mosque in Istanbul.
These aren't just pretty videos; they're narrative pieces. They tell a story of time, change, and the unique character of a place. They’re what make your travel content stand out, making viewers feel like they’ve truly experienced a destination, not just seen a curated highlight reel. And trust me, the moments I’ve spent patiently capturing these sequences are often the most profound parts of my trips. It forces you to slow down, observe, and truly connect with your surroundings – something many tourists miss entirely.
---
2. Your Secret Weapon: Gear That Won't Break the Bank (or Your Back)
Forget lugging around heavy, expensive camera equipment. The beauty of travel time-lapse is that you can achieve stunning results with surprisingly minimal gear. The key is smart choices and knowing how to maximize what you have.
A. The Mighty Smartphone:
- Your Everyday Hero: Most modern smartphones (iPhone 11+, Google Pixel 4+, Samsung Galaxy S20+) have excellent built-in time-lapse modes. They're convenient, discreet, and always in your pocket.
- Apps to Elevate: For more control, try apps like "Lapse It" (iOS/Android) or "Hyperlapse" (iOS, Instagram's version). These allow you to adjust interval, resolution, and even add filters.
- My Go-To: I’ve captured incredible cityscapes in Lisbon and serene beach sunrises in Koh Lanta using just my iPhone 13 Pro. The results are often indistinguishable from more expensive setups, especially when optimized for social media.
B. The Essential Tripod (Pocket-Sized Powerhouse):
- Stability is King: A shaky time-lapse is a ruined time-lapse. A sturdy tripod is non-negotiable.
- Mini & Flexible: Look for compact, lightweight tripods. My favorite is a Joby GorillaPod Mobile Rig (around $50-70). Its flexible legs can wrap around poles, sit on uneven surfaces, or act as a stable mini-tripod. Alternatively, a basic compact phone tripod can be found for under $20 on Amazon.
- Pro Tip: Always carry a small phone mount that screws onto any standard tripod thread. This gives you maximum flexibility.
C. Power Up! External Batteries:
- Time-Lapse is a Battery Drain: Capturing hundreds or thousands of photos will quickly deplete your phone or camera battery.
- The Lifesaver: A high-capacity power bank (10,000mAh minimum, 20,000mAh is better) is your best friend. I carry two on longer shooting days. Prices range from $30-70.
- Solar Charger (Optional): For remote locations or multi-day treks (like my hike through Patagonia), a portable solar charger can be a game-changer.
D. Entry-Level Dedicated Cameras (If You're Serious):
- Action Cams: GoPro Hero 9/10/11 have fantastic time-lapse and TimeWarp (hyperlapse) features, are waterproof, and incredibly durable. Great for adventurous shots ($250-400).
- Mirrorless/DSLR: If you already own one, most have built-in intervalometers. You'll get higher resolution and more control, but it's more bulky and conspicuous.
My Personal Setup: For 90% of my travel time-lapses, I rely on my iPhone 13 Pro, a Joby GorillaPod, and a 20,000mAh power bank. It’s light, discreet, and delivers stunning results. I once spent an entire afternoon capturing the intricate dance of street vendors setting up in the Djemaa el-Fna square in Marrakech, and nobody even noticed my small setup.
---
3. Scouting Like a Local: Finding Unseen Perspectives
This is where the "locals don't want tourists to know" angle truly comes alive. It's not about being secretive, but about being observant, patient, and respectful – qualities often attributed to locals who truly understand their environment. Tourists often flock to obvious viewpoints. You, my friend, are going deeper.
A. Observe the Rhythms:
- Early Bird Gets the Worm (and the Time-Lapse): Locals know the magic hours. Wake up before dawn. Witness the city come to life, the morning mist lift, the first rays hit a landmark. These are often the quietest, most authentic moments. I captured an incredible time-lapse of fishermen heading out to sea from a remote village in Vietnam by waking up at 4:30 AM – a time no other tourist was stirring.
- Golden Hour & Blue Hour: The hour after sunrise and before sunset (golden hour) and the hour before sunrise/after sunset (blue hour) offer the most dramatic and flattering light.
- The Daily Grind: Look for patterns in everyday life: commuters flowing into a train station, market vendors setting up and packing down, children playing in a park, the ebb and flow of a pedestrian street.
B. Beyond the Obvious Viewpoints:
- Look Up, Look Down, Look Around: Don't just face the famous landmark. What's happening around it? Can you capture the clouds moving above it? The people interacting below it?
- Rooftops & Balconies: If you're staying in a hotel or Airbnb with a balcony, explore the views. Rooftop bars (often free to enter for a drink) offer incredible, elevated perspectives. I've found some of my best city time-lapses from hotel balconies in high-rise cities like Kuala Lumpur.
- Bridges & Overpasses: These offer fantastic angles for capturing traffic, river activity, or cityscapes. Just ensure your tripod is stable and won't vibrate.
- Alleys & Side Streets: These are often overlooked but can reveal the true character of a neighborhood. Capture the subtle play of light and shadow, or the quiet life unfolding.
- Seek Permission (When Needed): If you're in a private establishment or want to set up in a busy public space for an extended period, a quick, polite ask can go a long way. Most people are intrigued by time-lapse.
C. Embrace the Unexpected:
- Weather Wonders: Don't shy away from dynamic weather. Clouds gathering, rain starting, fog rolling in – these make for incredibly dramatic time-lapses. I once captured a mesmerizing storm rolling over the Cliffs of Moher in Ireland, and it’s still one of my most viewed videos.
- Events & Festivals: The setup and dismantling of a festival, a parade moving through a street, or the crowds gathering for a performance. Be mindful and respectful of personal space and cultural customs.
My Anecdote: In Venice, instead of just capturing the Grand Canal from a bridge, I found a quiet alleyway off Campo Santa Maria Formosa. I set up my phone to capture the subtle shift of light on the ancient brickwork as a few locals went about their morning, occasionally passing by. It wasn't a grand, sweeping shot, but it captured the intimate, timeless essence of Venice that felt truly authentic.
---
4. Master the Shot: Settings & Techniques for Cinematic Flow
Once you’ve found your spot, it’s time to dial in your settings. This is where you transform a series of photos into a smooth, captivating video.
A. Intervalometer: The Heartbeat of Your Time-Lapse:
- What it is: The interval is the time between each photo your camera takes. This is the most crucial setting.
- Rule of Thumb:
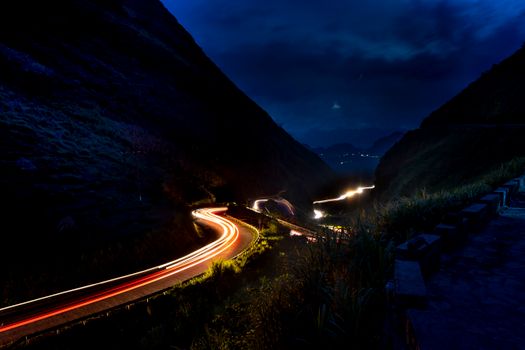
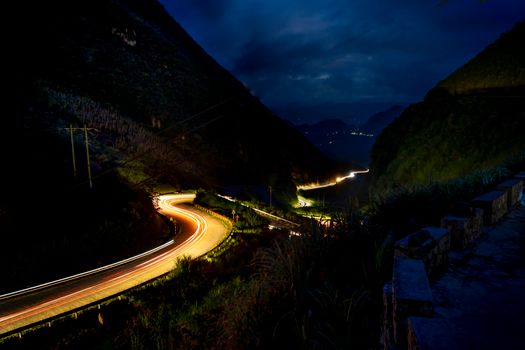
- Fast-moving subjects (traffic, clouds): Shorter intervals (1-3 seconds).
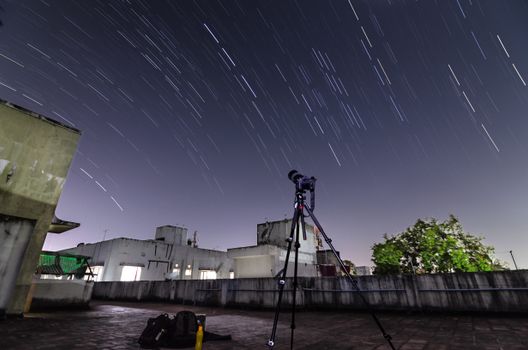
- Slow-moving subjects (sunsets, stars, construction): Longer intervals (5-15 seconds, or even 30+ for stars).
- Example: For a 30-second final video, if you want to capture 1 hour of activity at 5 frames per second (fps), you'll need 150 photos. If the interval is 10 seconds, it will take 1500 seconds (25 minutes) to capture.
- Experiment: There's no perfect interval. Start with a guess and adjust. It's better to have too many frames (shorter interval) than too few.
B. Exposure & Focus: Set it and Forget It:
- Manual Everything: If your camera or app allows, set everything to manual (focus, exposure, white balance).
- Focus: Auto-focus can "hunt" during a time-lapse, causing distracting shifts. Manually focus on your main subject and lock it.
- Exposure (Crucial!): Auto-exposure will adjust as the light changes, leading to flickering in your final video (the dreaded "time-lapse flicker").
- Daytime: Set your ISO as low as possible (100-200), choose an aperture that gives you desired depth of field (f/8-f/11 for landscapes), and then adjust shutter speed for a correct exposure. Lock these settings.
- Sunset/Sunrise (Ramp Metering): This is tricky. If your app/camera supports "ramp metering" or "exposure ramping," use it. Otherwise, you'll need to manually adjust exposure as the light changes or accept a gradual fade to black/white. Some high-end cameras do this automatically.
- Night/Stars: Maximize your aperture (lowest f-number, e.g., f/2.8), set ISO high (1600-6400 depending on camera), and use a longer shutter speed (15-30 seconds) – this also helps avoid flicker.
C. Composition: The Art of the Frame:
- Rule of Thirds: Place your main subjects along the intersecting lines or at the intersection points for a balanced shot.
- Leading Lines: Use roads, rivers, fences, or architectural elements to draw the viewer's eye into the scene.
- Foreground Interest: A strong foreground element (a unique tree, a local artifact, a person in repose) adds depth and scale.
- Movement: Ensure there's something moving in your frame (clouds, people, traffic) to make the time-lapse engaging.
D. The "Hyperlapse" Twist (Moving Time-Lapse):
- What it is: A time-lapse where the camera itself is moving. Think walking through a bustling market or driving along a scenic route.
- Technique: Requires even more stability. Use a gimbal (DJI Osmo Mobile for phones, or a dedicated camera gimbal) or incredibly steady hands. GoPros excel at this with their "TimeWarp" feature.
- My Experience: I captured a hyperlapse walking through the spice souk in Dubai, and the fluid motion combined with the compressed time created an incredibly immersive experience. It felt like a dream.
---
5. Post-Production Magic: Editing for Impact & Shareability
You’ve got hundreds, maybe thousands, of photos. Now, to turn them into a cinematic masterpiece.
A. Software Choices:
- Phone Apps:
- InShot / CapCut: Great for quick edits, adding music, and basic color correction. Free versions are excellent.
- Adobe Premiere Rush: More powerful, cross-platform, subscription-based.
- Desktop Software (for serious creators):
- Adobe Premiere Pro / DaVinci Resolve (Free): Professional-grade tools for advanced editing, color grading, and flicker removal.
- LRTimelapse (for advanced users): Specifically designed for time-lapse workflows, especially for de-flickering and exposure ramping.
B. The Editing Workflow:
- Import & Sequence: Bring all your photos into your chosen software and turn them into a video sequence (usually at 24-30 frames per second).
- De-flicker (if needed): If you had auto-exposure or changing light, you might see flicker. LRTimelapse is best, but some video editors have de-flicker plugins.
- Color Grade & Enhance: Adjust brightness, contrast, saturation, and white balance to make your video pop. Consistency is key.
- Stabilize (for hyperlapses): If you shot a hyperlapse, use software stabilization to smooth out any bumps.
- Speed Ramps (Optional): Start slow, speed up, then slow down again for dramatic effect.
- Add Music: Choose royalty-free music that matches the mood and pace of your time-lapse. Epidemic Sound and Artlist are popular choices for creators. Music is incredibly important for setting the tone!
- Export: Export in high quality (1080p or 4K) for social media.
C. Instagram-Worthy & Shareable:
- Length: Keep it concise! 15-30 seconds is ideal for Instagram Reels and TikTok. For YouTube, you can go longer.
- Aspect Ratio: 9:16 for Reels/TikTok, 16:9 for YouTube.
- Captions & Hashtags: Tell the story behind your time-lapse. Use relevant hashtags to reach a wider audience.
- Call to Action: Ask viewers where they'd like to see a time-lapse next, or what their favorite part was.
---
6. Ethical Time-Lapsing: Respecting Your Surroundings
Capturing the authentic pulse of a place also means being a responsible traveler. This is perhaps the most important "secret" locals want you to know: respect.
- Be Discreet: Your small phone and tripod are less intrusive than a large camera rig. Try to blend in.
- Respect Privacy: Avoid pointing your camera directly at individuals without their consent, especially in culturally sensitive areas. If people are part of the scene, ensure they are just part of the overall movement, not the sole focus.
- Don't Block Paths: Set up your tripod where it won't obstruct pedestrian traffic or cause inconvenience.
- Leave No Trace: Pack out everything you pack in. Don't disturb natural environments.
- Be Patient & Polite: If someone asks what you're doing, explain it simply. Most people are curious. If asked to move, do so gracefully.
- Cultural Sensitivity: In some religious sites or private ceremonies, photography (especially time-lapse which involves extended setup) might be forbidden or require special permission. Always observe local customs and signage.
By being mindful and respectful, you not only ensure a smoother shooting experience but also foster positive interactions, which is, after all, a core part of authentic travel.
---
7. My Time-Lapse Adventures & What I Learned
My journey into time-lapse started almost by accident. On a rainy afternoon in Kyoto, Japan, I was stuck inside, watching the rain fall. I set up my phone on my windowsill and captured an hour of the raindrops hitting the pavement outside, blurring the distant temple gates. The resulting 15-second clip was surprisingly meditative and beautiful, capturing a quiet moment of Kyoto that few tourists would ever see. It wasn't a grand vista, but it was real.
Since then, I’ve chased sunrises over the temples of Angkor Wat (Cambodia), watched the intricate dance of tea pickers in Munnar (India), captured the nocturnal transformation of Times Square (NYC) from a discreet hotel window, and even documented the slow, majestic flow of clouds over the Dolomites (Italy) during a hiking trip.
Each experience taught me something:
- Patience is a Virtue: Sometimes you wait for hours for the right light or the perfect moment. Embrace it. It's part of the journey.
- Trial and Error is Your Best Teacher: Not every time-lapse will be a masterpiece. Learn from your mistakes. Adjust your interval, change your composition.
- The Story Matters Most: Think about what you want to convey. Is it energy? Serenity? Transformation? Let that guide your choices.
- Small Moments Can Be Grand: You don't always need an iconic landmark. A quiet street, a local market, a coffee shop – these can yield equally compelling stories.
The magic of time-lapse isn't just in the final video; it's in the process. It forces you to slow down, to truly see a place, and to capture its essence in a way that transcends a simple photograph. It’s about uncovering the subtle narratives that define a destination, the ones that locals live and breathe every day, but often go unnoticed by the hurried traveler.
---
The Time to Transform Your Travel Stories is NOW!
So, there you have it – your comprehensive guide to creating breathtaking time-lapse videos that capture the authentic soul of your travels. No need for fancy equipment or a film crew. Just your phone, a small tripod, a power bank, and a keen eye for the hidden rhythms of the world.
Stop just taking pictures of places; start telling the story of time unfolding within them. Capture those moments that even locals cherish, but often go unseen by the rushing tourist. Your next trip isn't just a collection of destinations; it's a canvas for cinematic storytelling.
Ready to slow down, observe, and create something truly unforgettable? Grab your gear, find your secret spot, and start capturing the magic.
What's the most unique time-lapse you've ever imagined capturing? Share your ideas in the comments below, or better yet, create one and tag @Tripsora on Instagram! We can't wait to see the hidden stories you uncover.
---
More pictures


Tags
Share this guide
We may earn a commission if you click a link and buy a product or service, at no extra cost to you. How affiliate links work.
Been there?